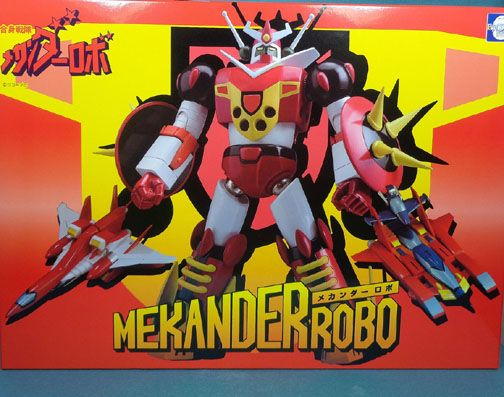
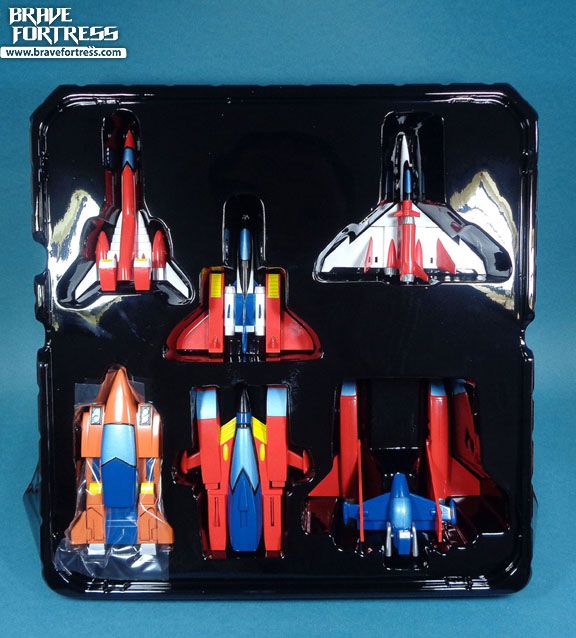
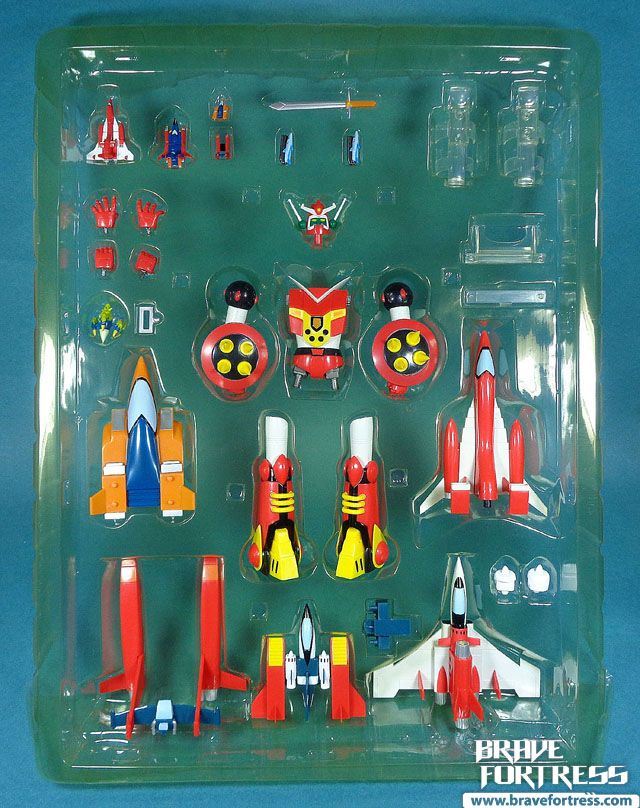
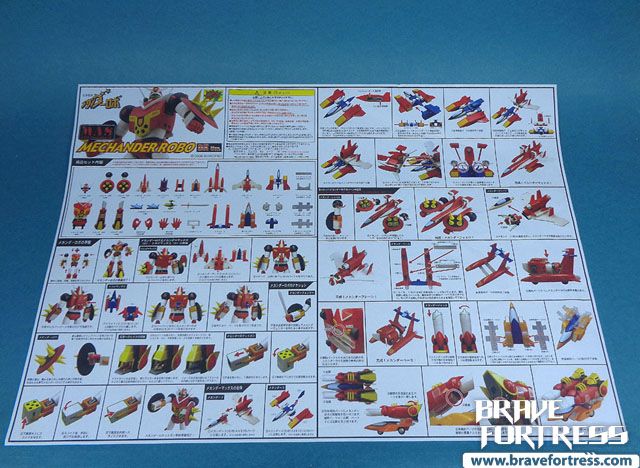
Evolution Toy Mekander Robo
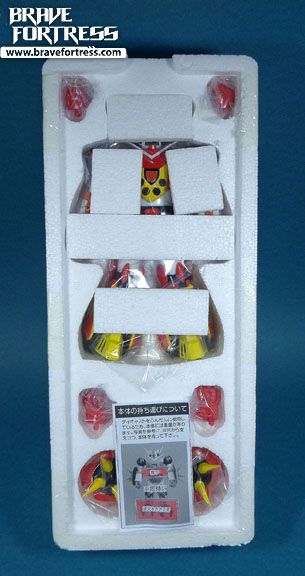
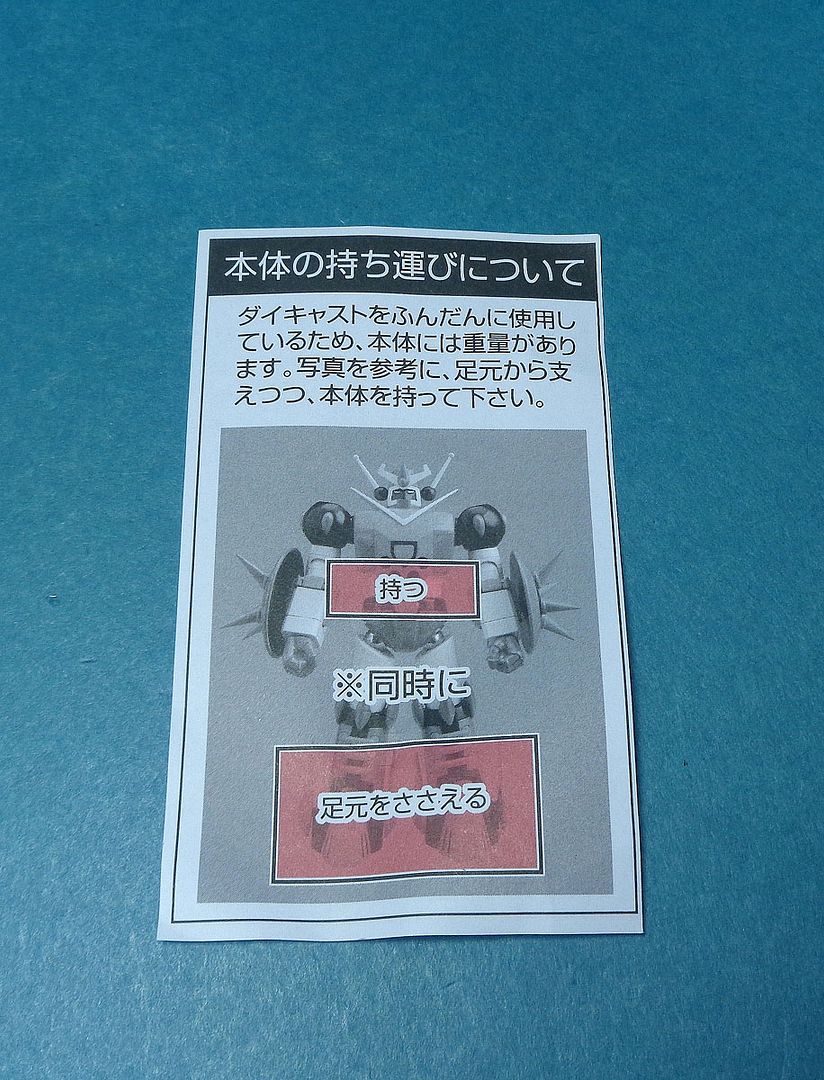
lol… they included a disclaimer for how to handle the figure due to the amount of diecast in the body and feet. It is recommended that you lift the figure by holding the torso and legs.
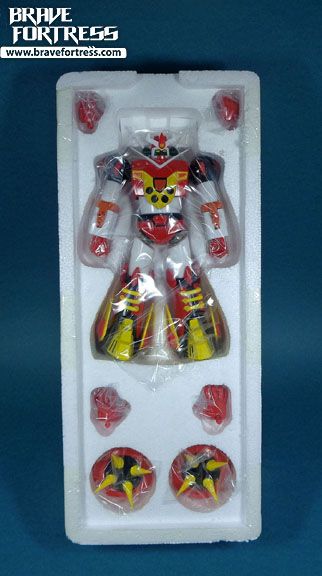
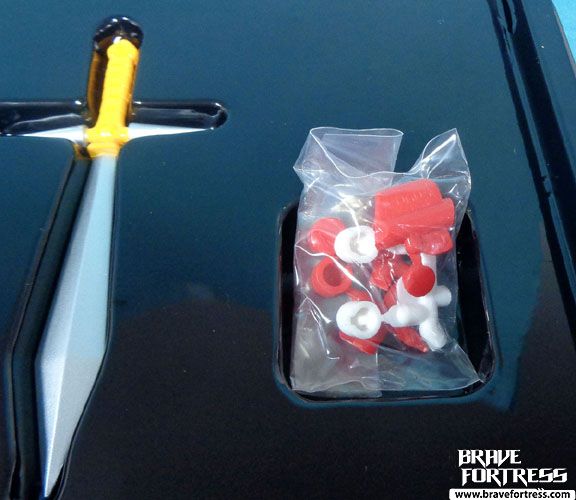
Also included are cover caps for the back to cover screw holes. I didn’t bother with these but it’s nice of them to include them into the set.
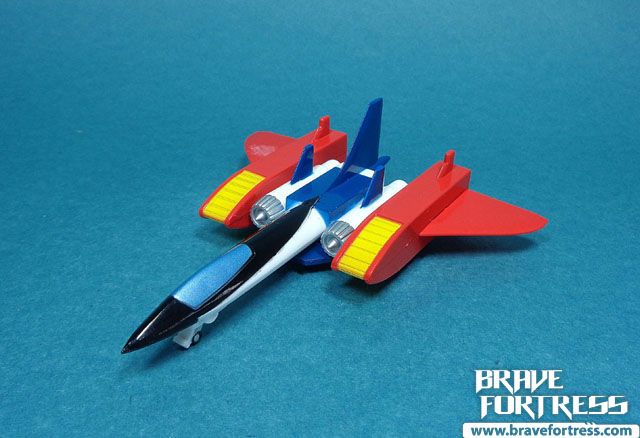
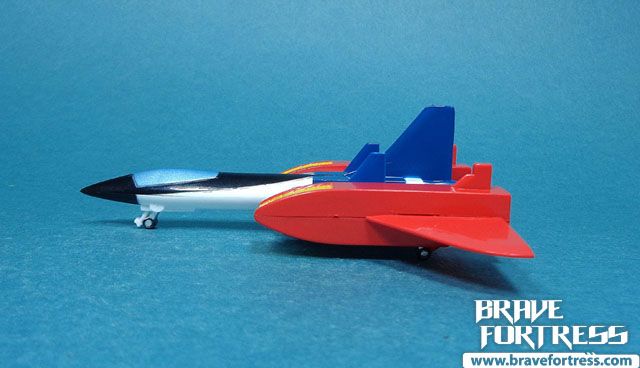
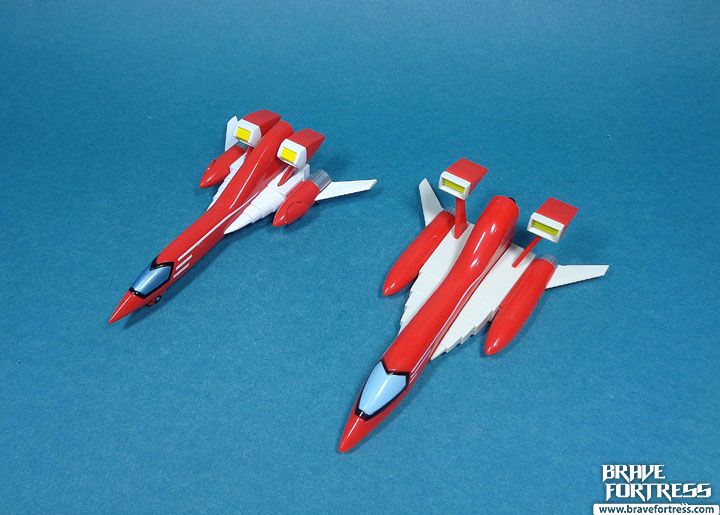
Mekander 1 (Pilot: Jimmy Orion)
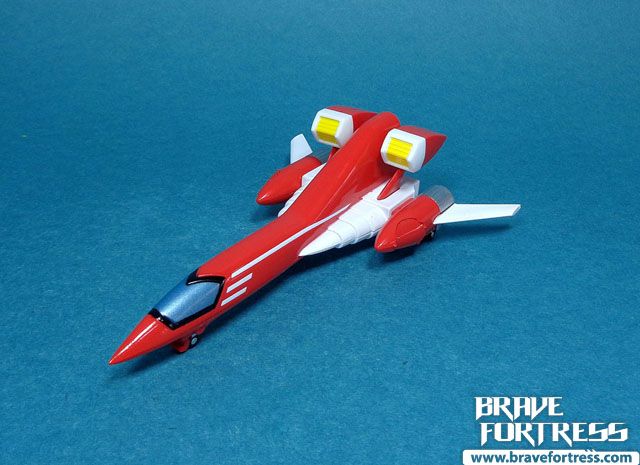
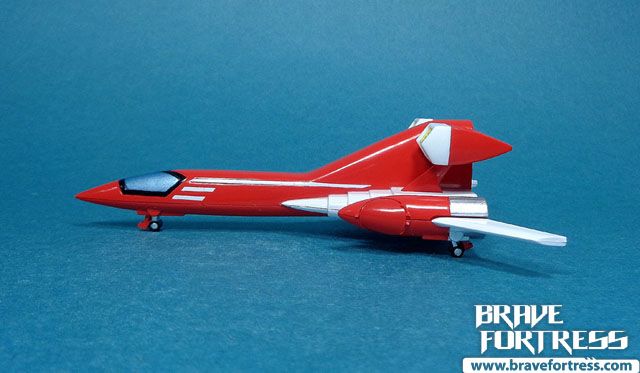
Mekander 2 (Pilot: Kojiro Hachijima aka Marcus Vance)
Mekander 3 (Pilot: Prof. Shikishima’s son, Ryosuke Shikishima aka David Humbolt)

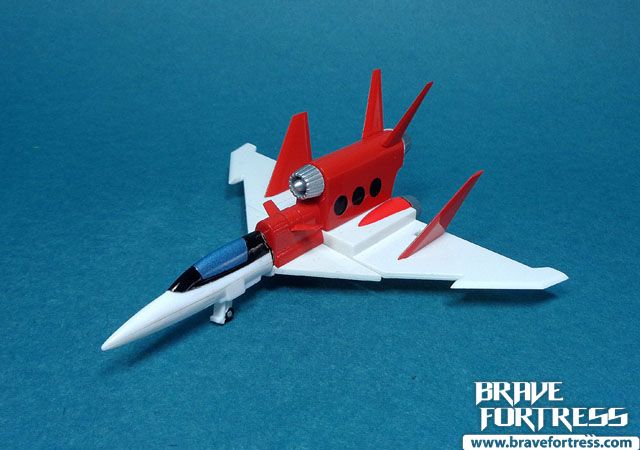
Gattai Mekander Max!
Similar to the CM’s Corp version, the Mekander Max requires parts removal to make the combination work.
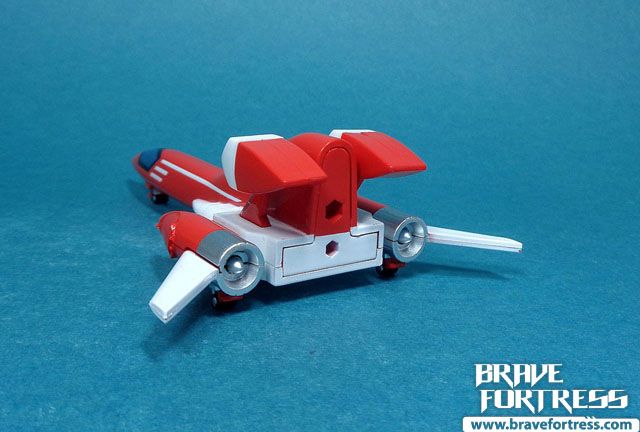
Mekander 3 requires sliding the fuselage into position to look show accurate when combining.
Make sure you align the fins and tabs properly before slapping Mekander 3 in place.
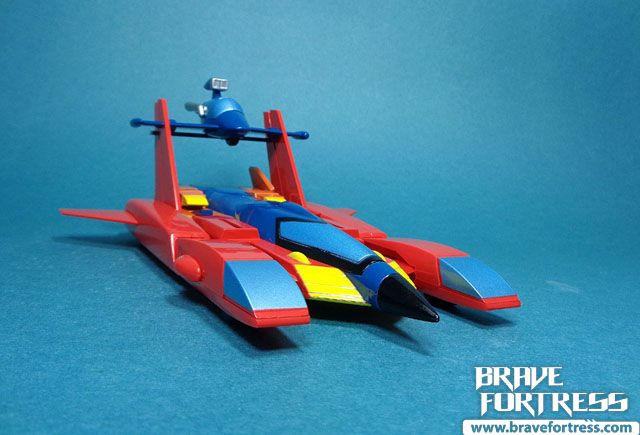
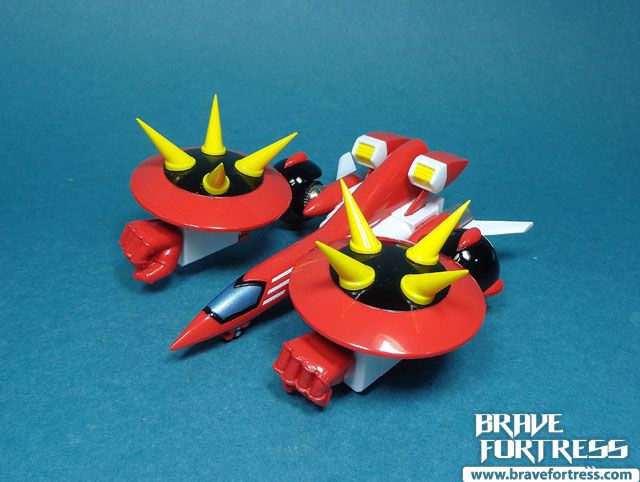
Mekander Max

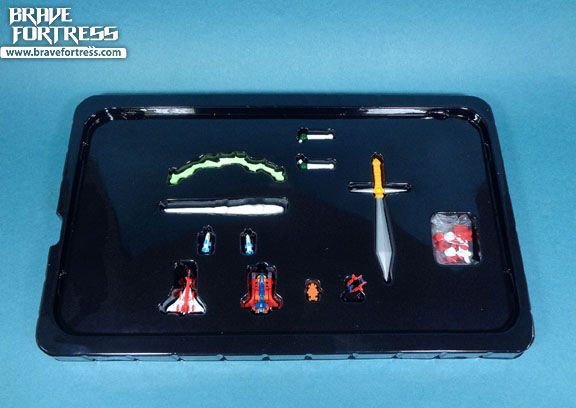
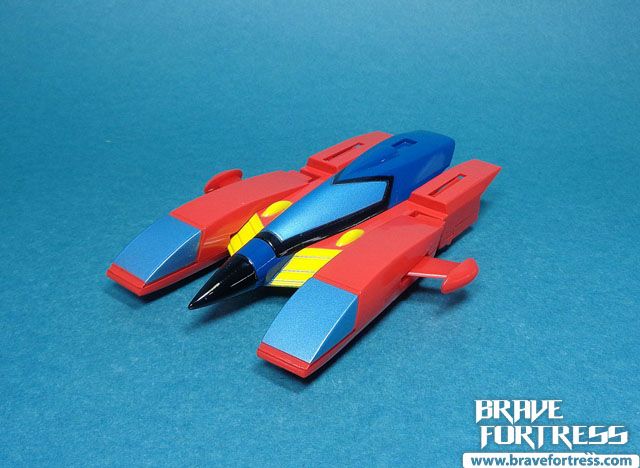
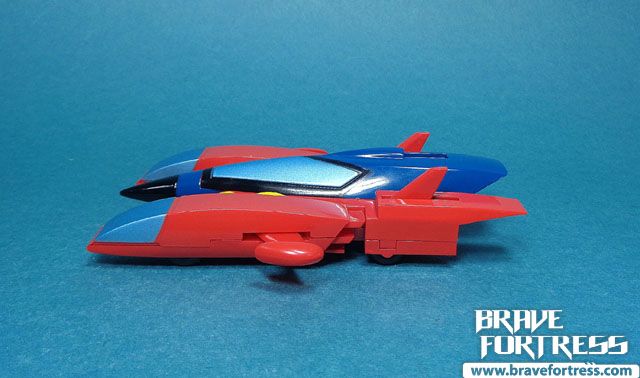
Similar with the CM’s Corp version (yes, I will be doing this a lot in this review, what can I say?), This set comes with a mini-version of Mekander Max for combining with Mekander Robo.
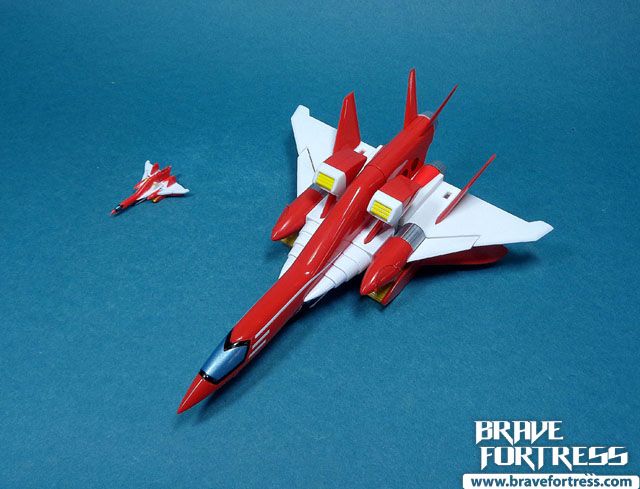
Sigh… my mini Mekander Max came with its tailfin unglued. I’ll have to try to glue it in later, but the piece is so small, I’m worried it will make a mess.
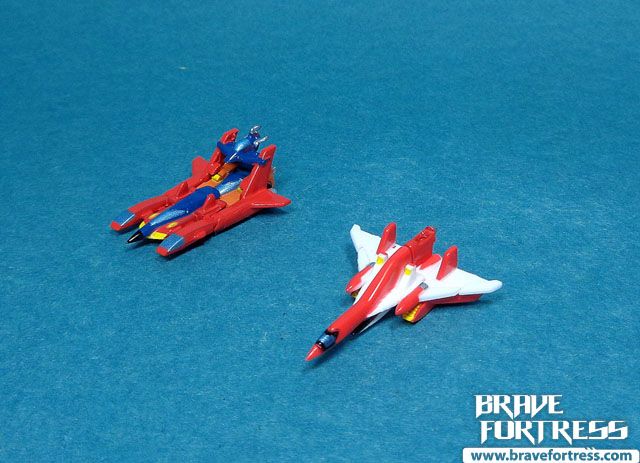
Later on, the Mekander Max would become damaged in battle and be unusable. Professor Shikishima (aka Prof. Humbolt) then introduces the Trycars for the team to use to be able to combine with Mekander Robo.
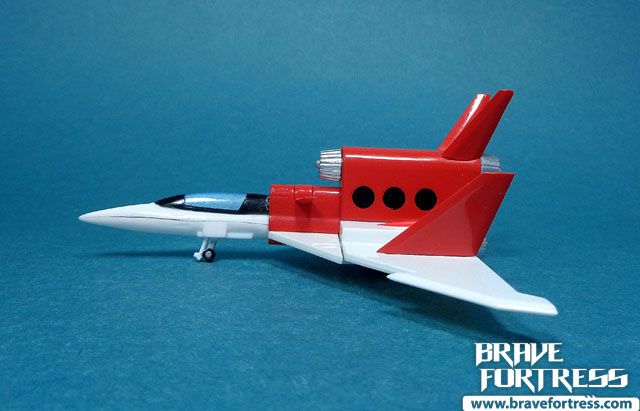
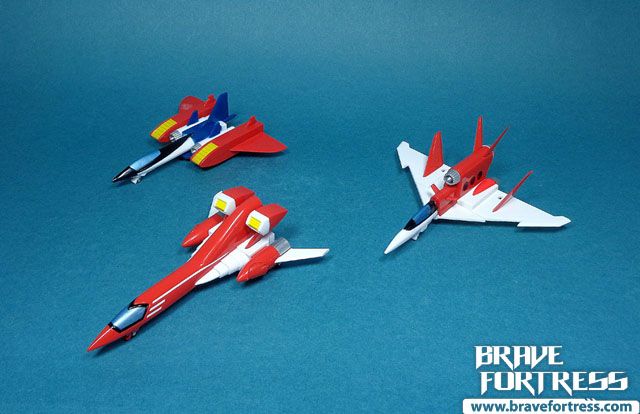
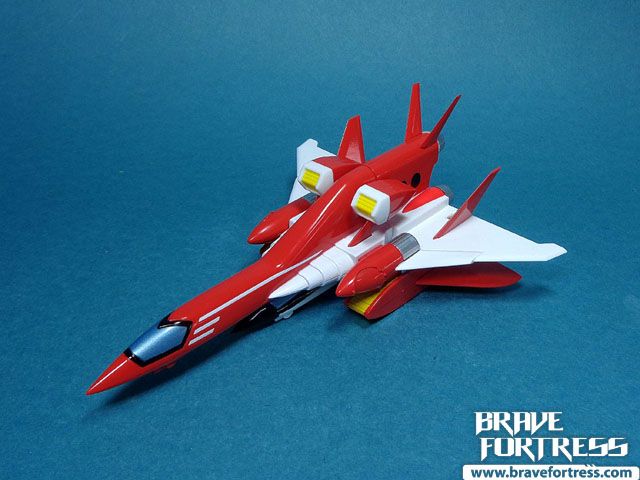
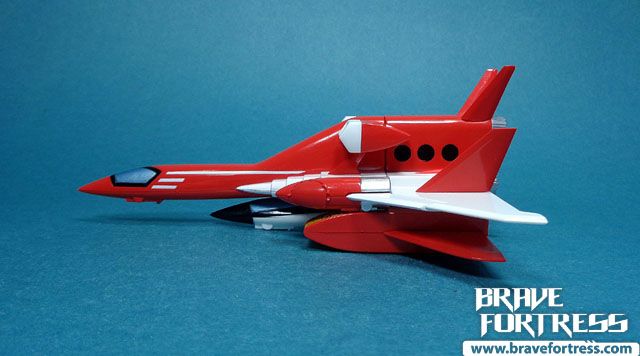
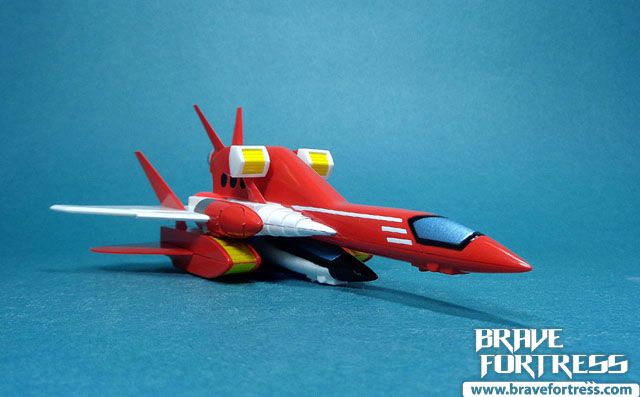
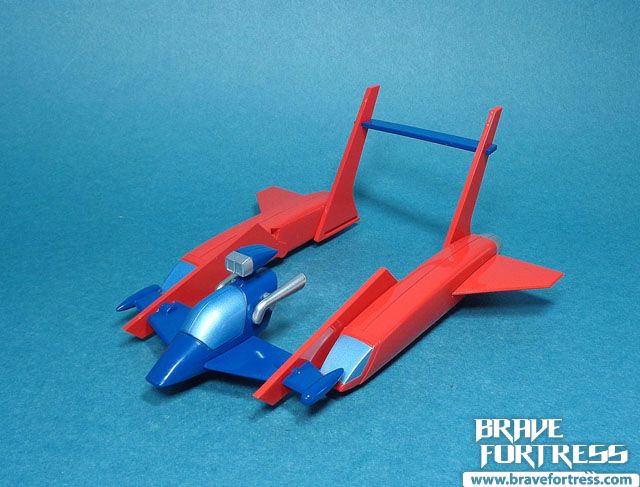
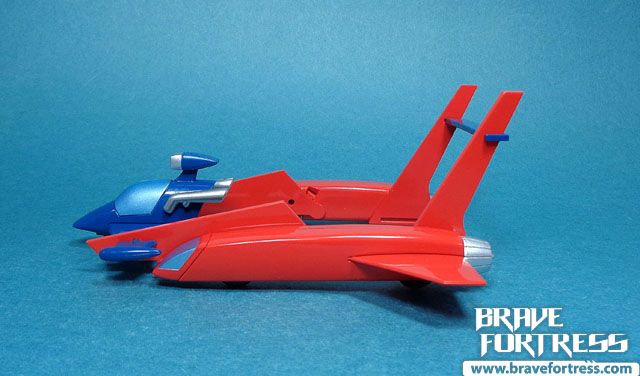
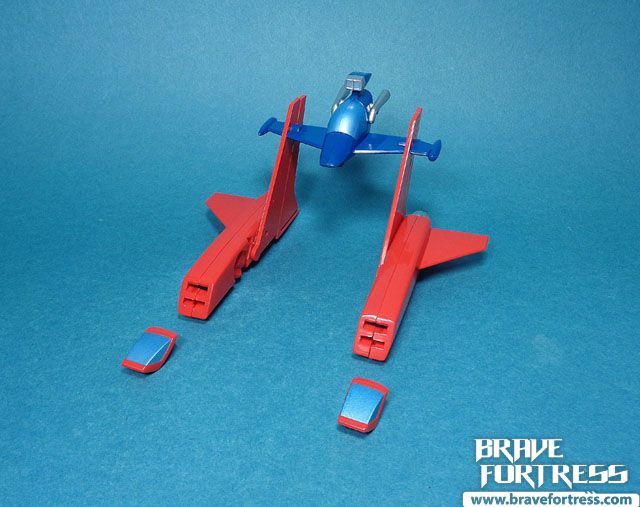
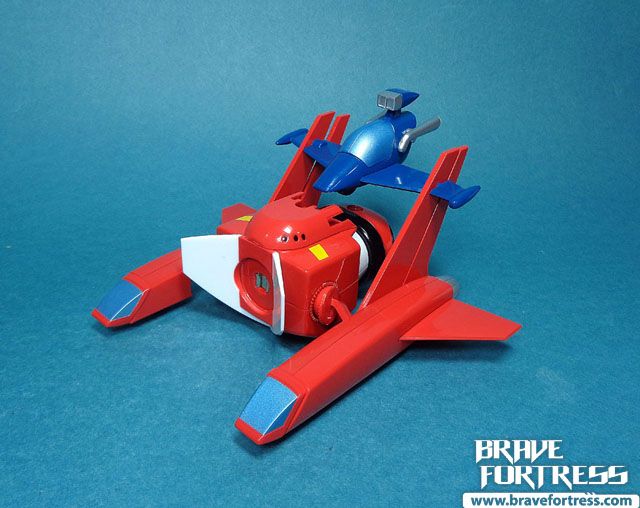
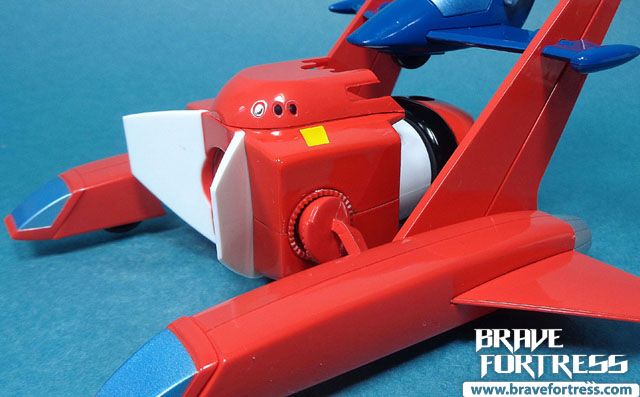
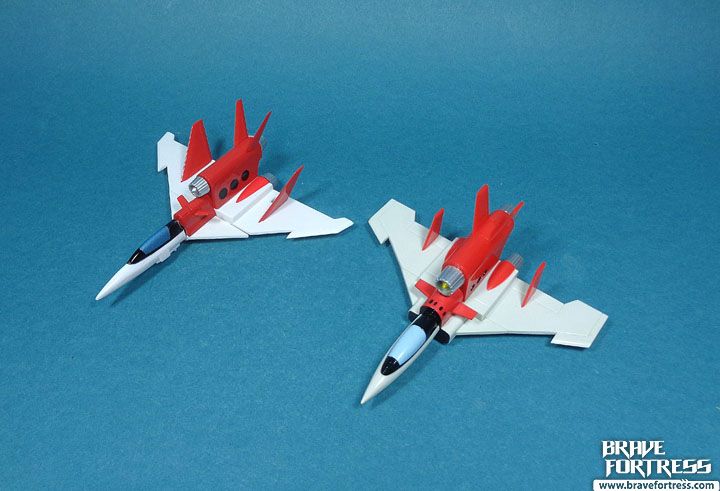
Trycar 1 (Driver: Ryosuke Shikishima / David Humbolt)
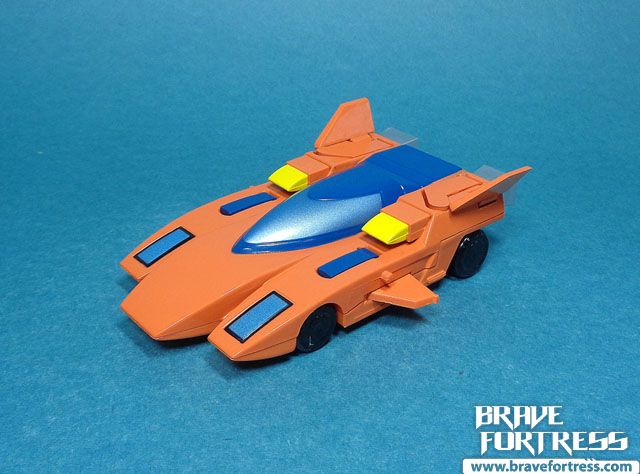
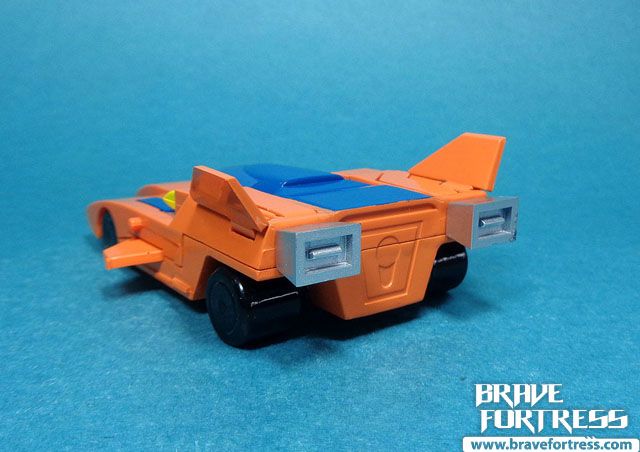
The Trycar 1 has an optional attachment that makes it more show specific to when it becomes Mekander Jack.
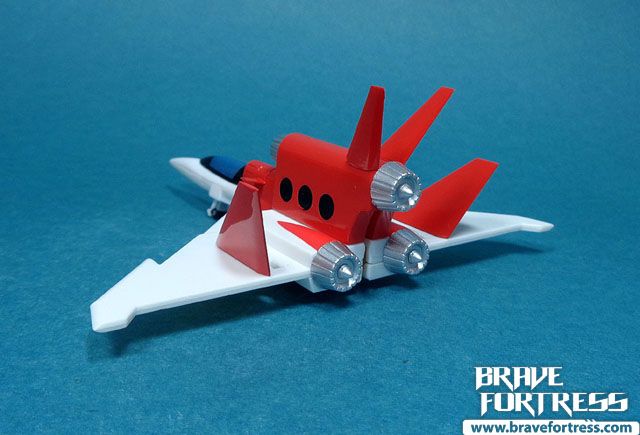
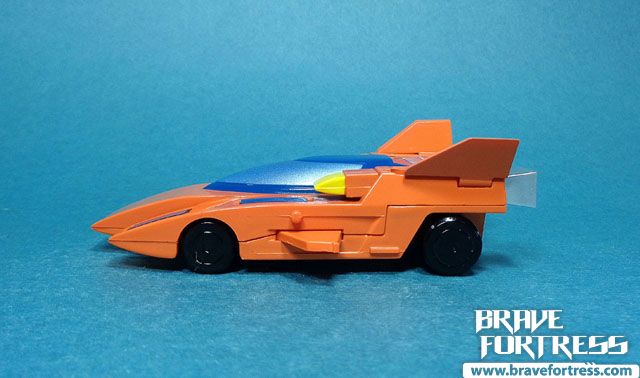
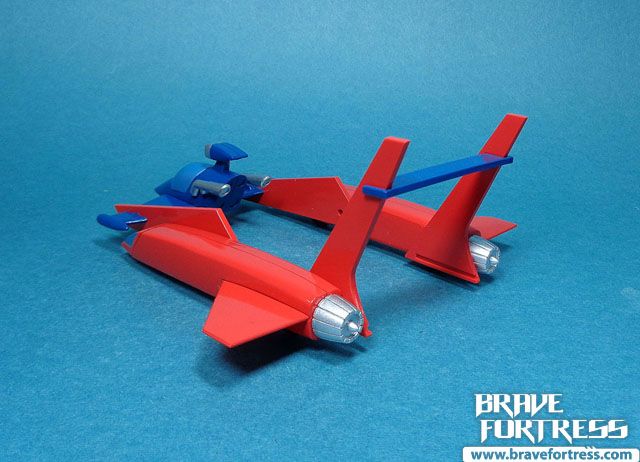
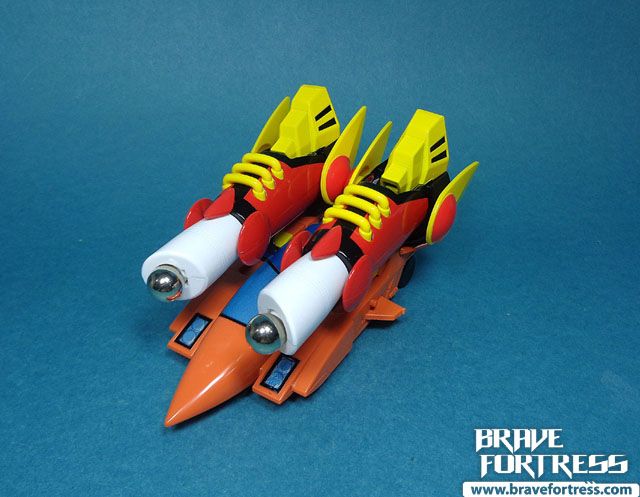
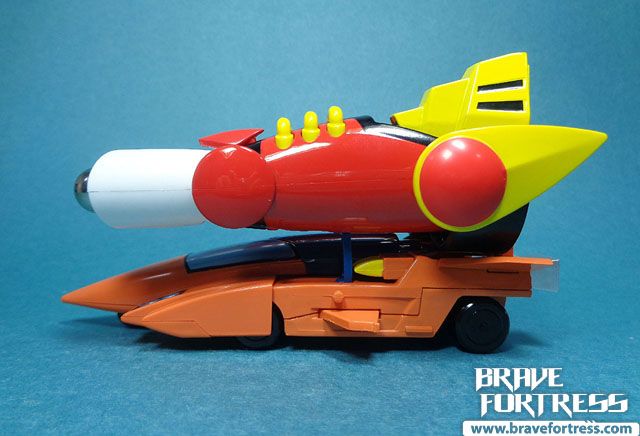
Trycar 2 (Driver: Jimmy Orion)
Trycar 3 (Driver: Kojiro Hachijima/ Marcus Vance)
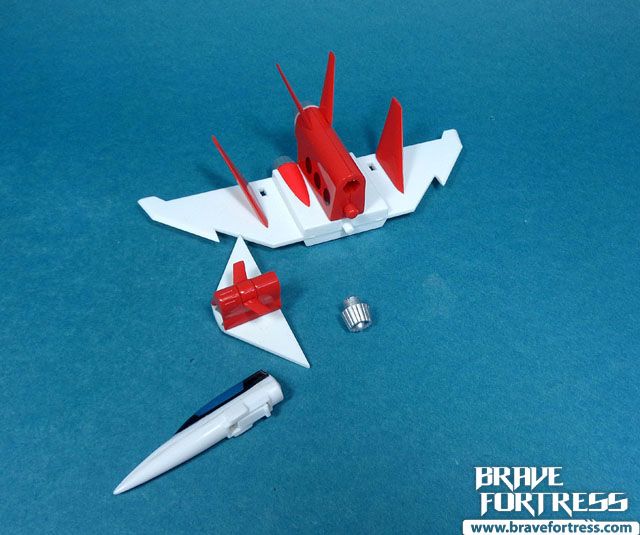
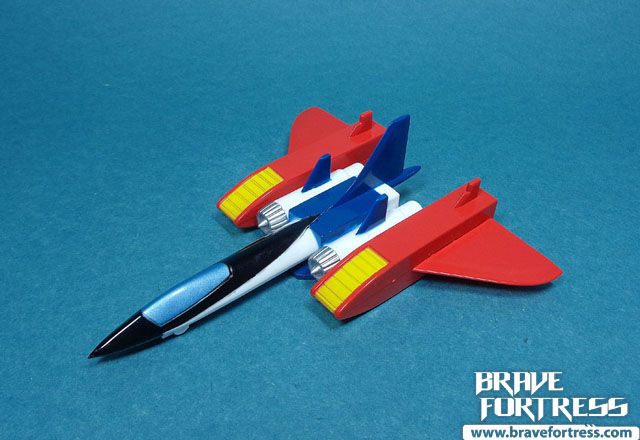
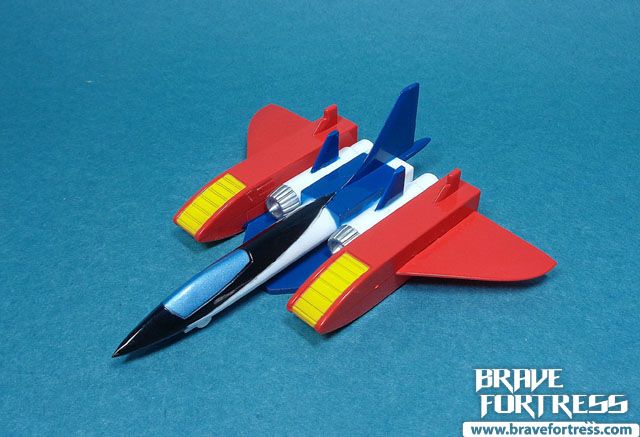
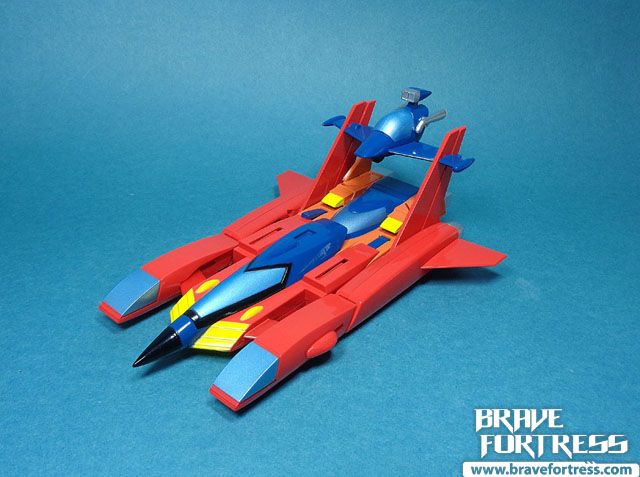
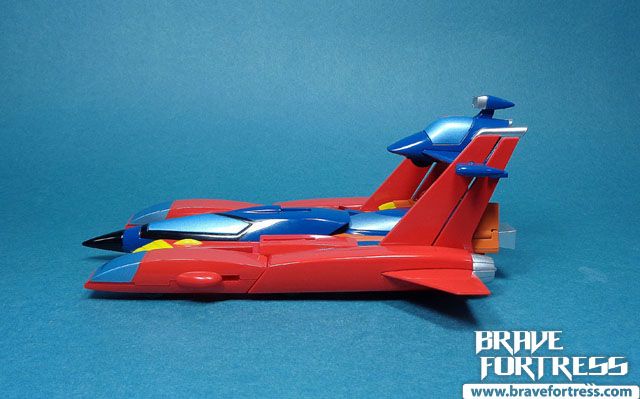
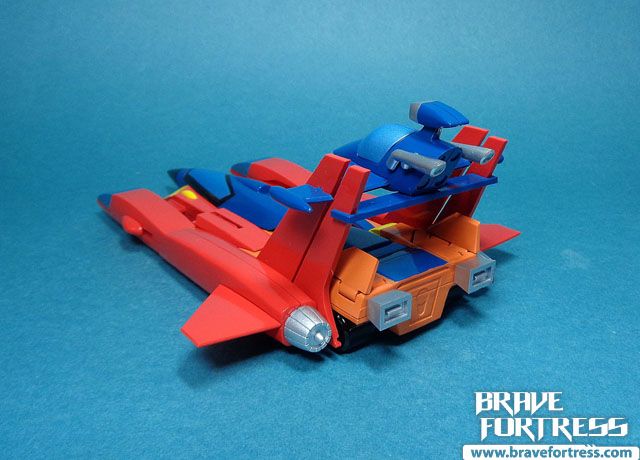
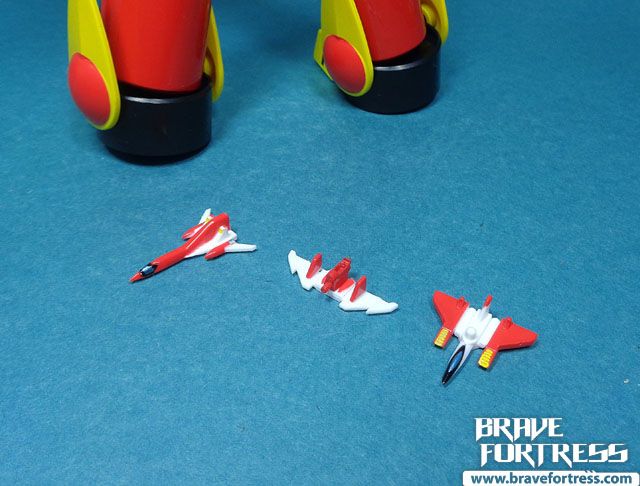
The three cars can combine to form Trymax. This will again require some parts removal to make it work, particularly with Trycar 3.
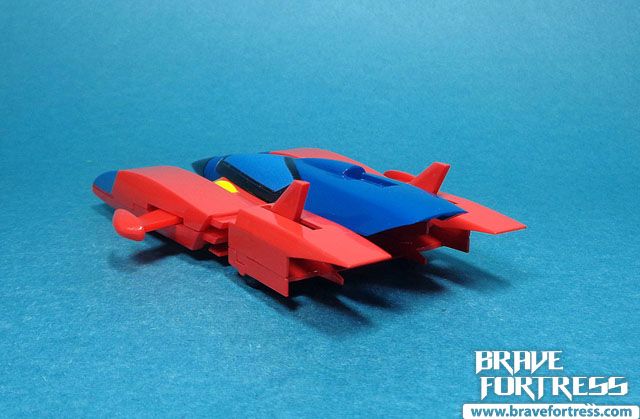
Trymax
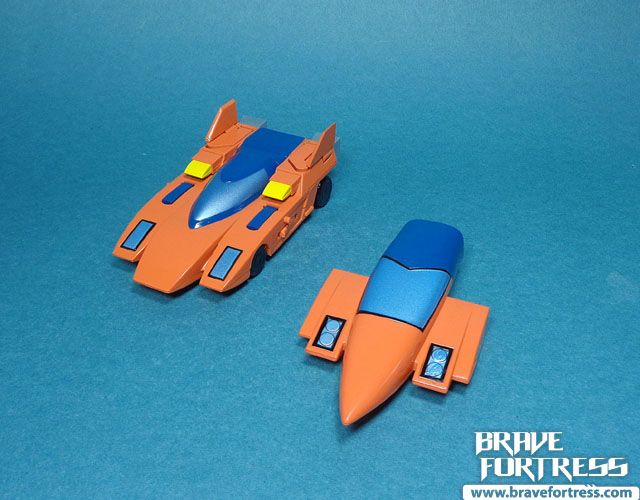
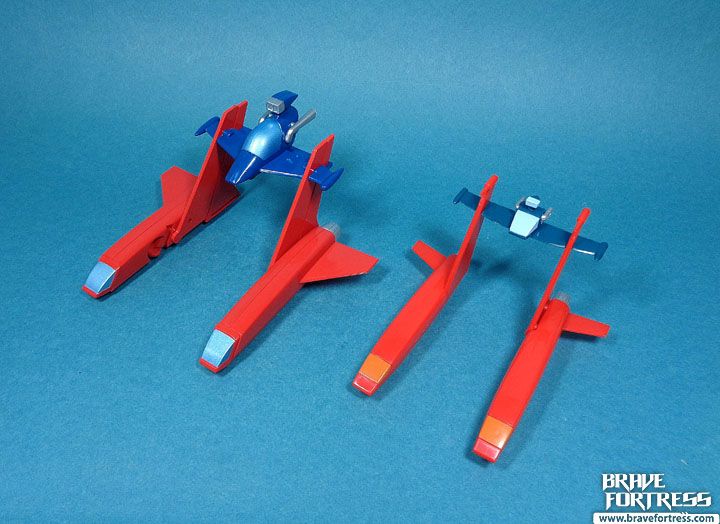
Evolution Toy also included a mini Trymax for plugging into Mekander Robo’s back.

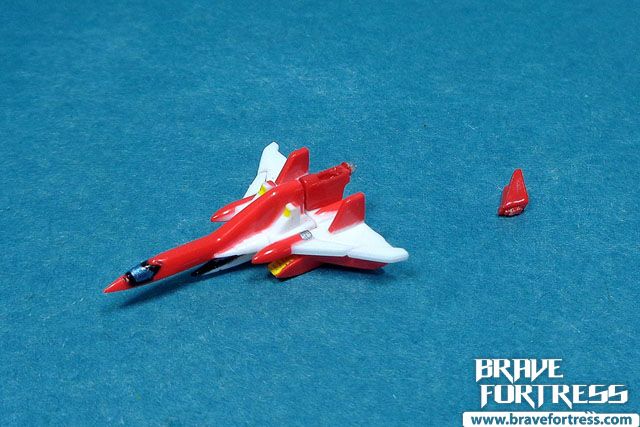
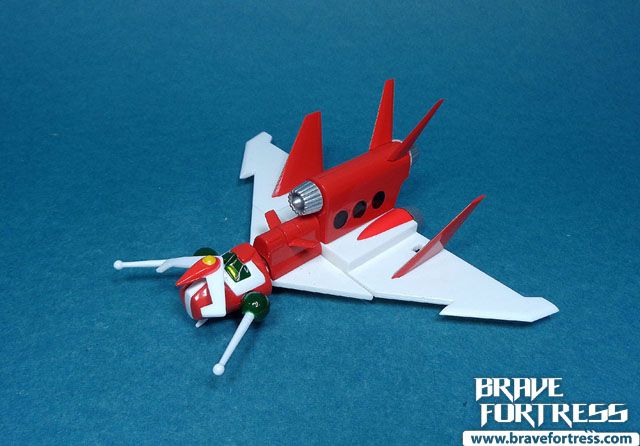
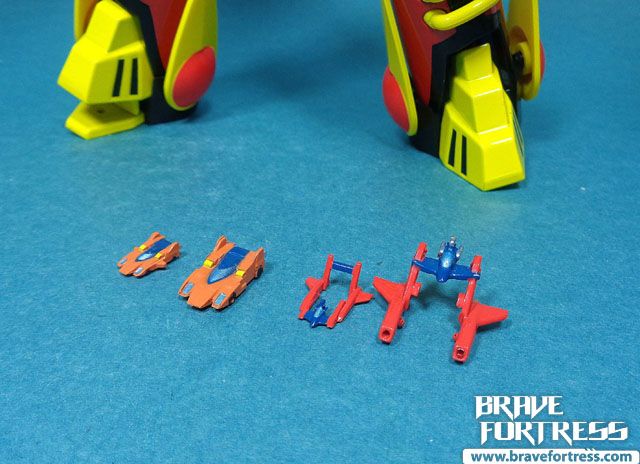
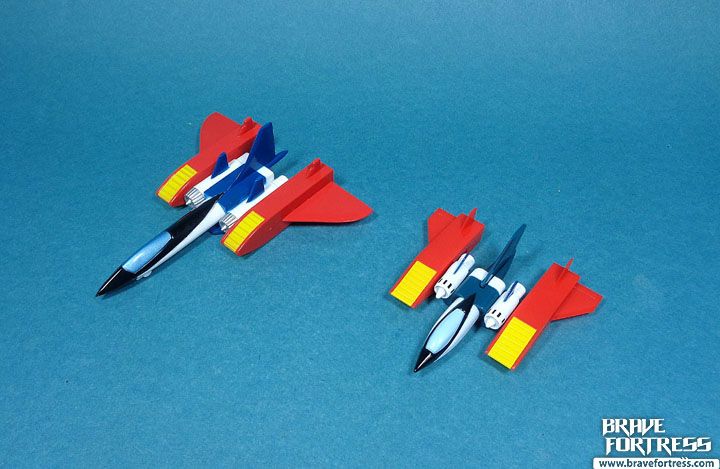
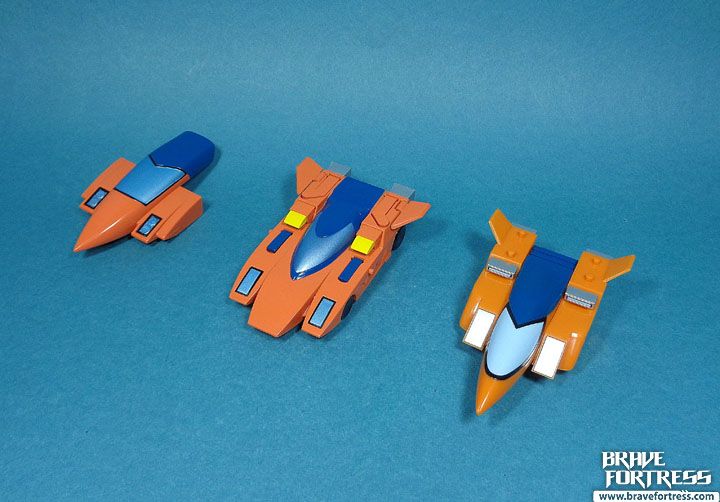
The Mini vehicles. Surprisingly they can also seperate into their individual smaller units. Something the CM’s Corp version’s minis can’t do.
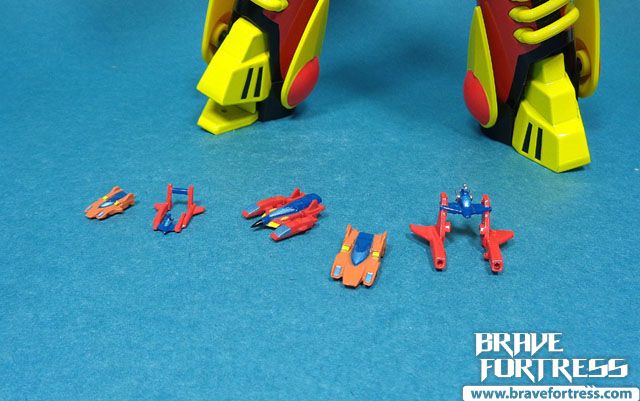
Mini Mekander 2 doesn’t come with the front section sadly.
Both Mini Mekander Max and Trymax can plug into the back of Mekander Robo, but it requires removing the front sections of the vehicles so they will fit in properly.

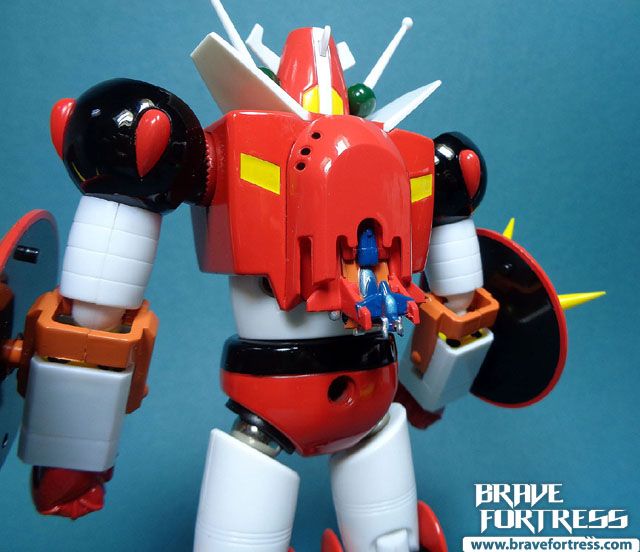

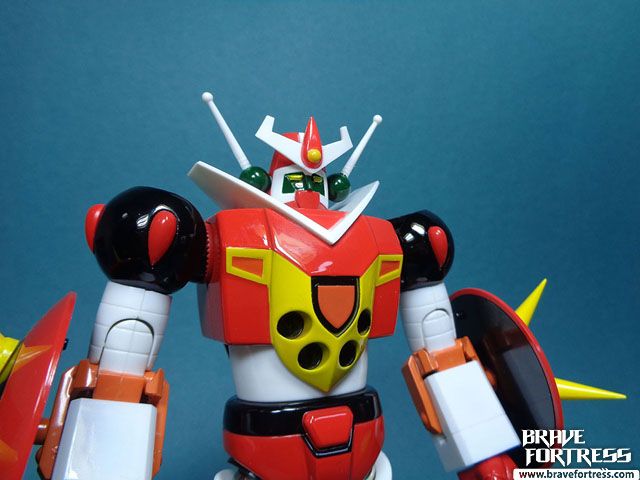
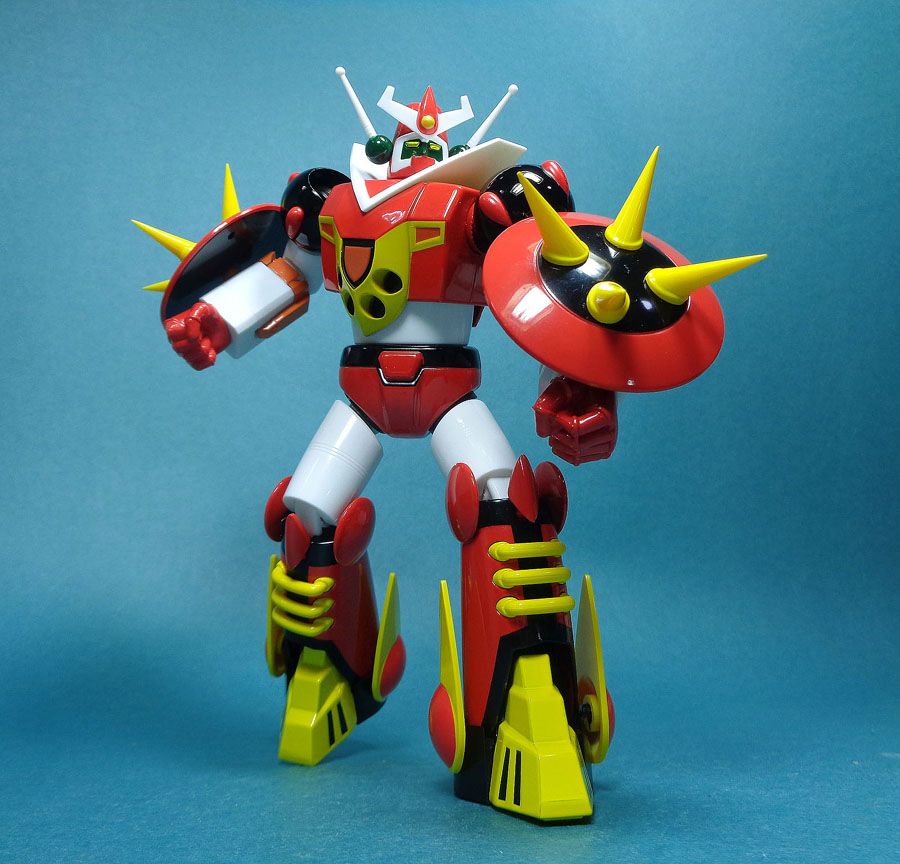
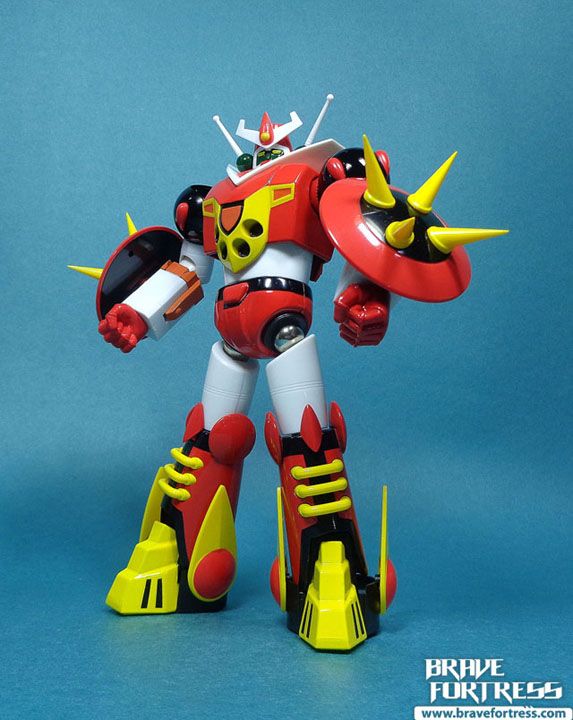
MEKANDER SWITCH ON!!!
Mekander Robo we finally get this guy in diecast form. Although this wasn’t that big a hit in Japan when it aired (toymaker Bullmark went bankrupt and the show had to recycle clips just to stretch the episodes to reach the finale). It was a hit in the Philippines and in Korea.
Strictly speaking, the toy feels like it lifted a lot of design ideas from the CM’s Corp’s release from a few years back. Fortunately, the sculpt work and proportions have improved and the addition of diecast parts make it a must have for fans of the show.
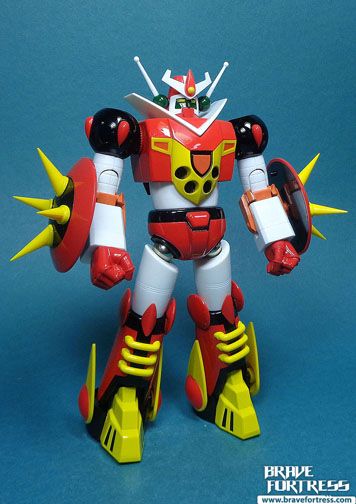
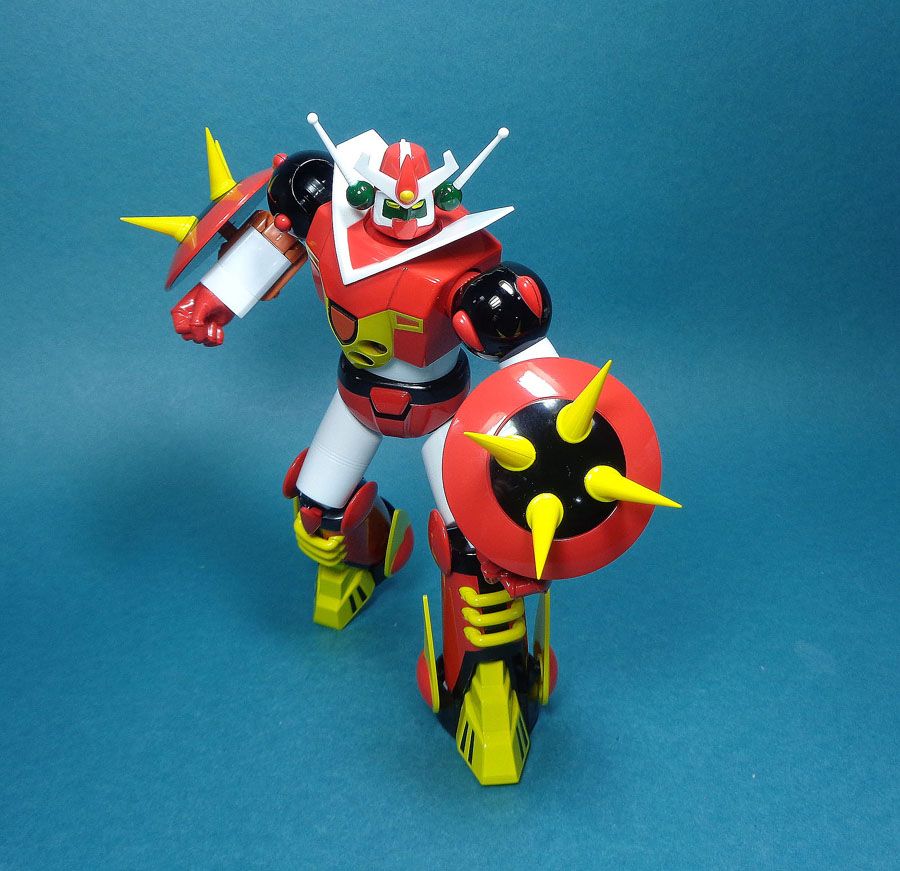
Despite using magnets, the figure is poseable. The magnets won’t fall off so it’s all good. It can hold decent poses and I’m actually impressed. It holds better than the CM’s Corp. release by a mile.
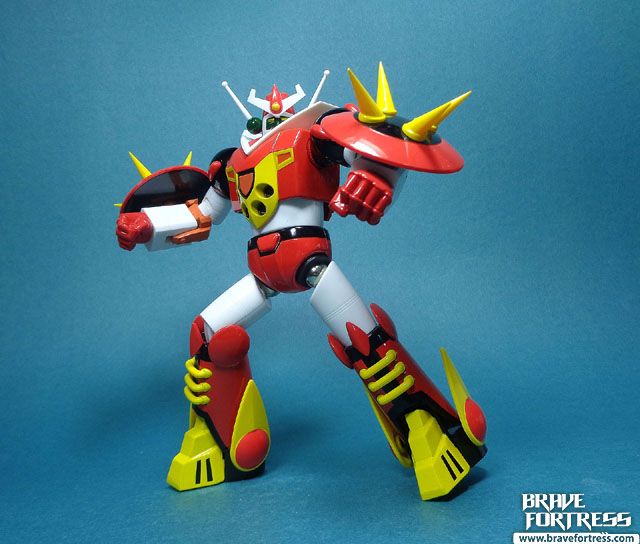
The toy can do pretty decent poses, just don’t expect to high-kick poses.
Good thing they decided to use a hinge joint for the knee instead of a magnet joint, better stability.
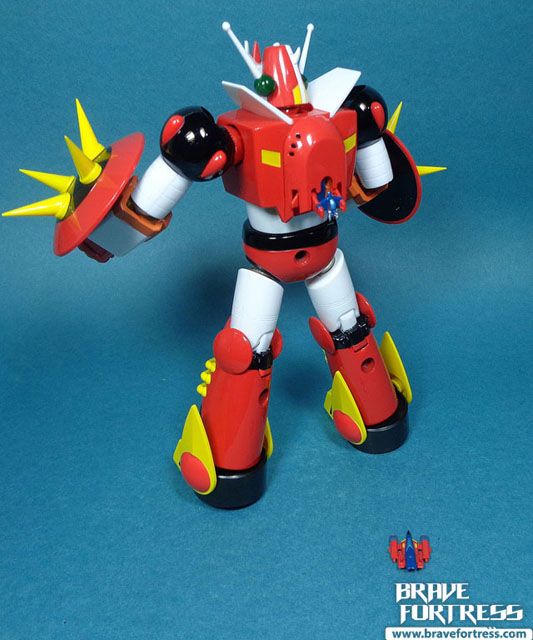
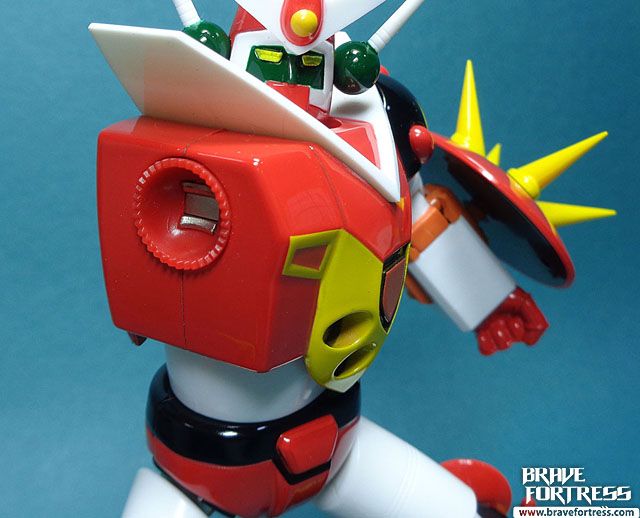
Mekander Attacks
Mekander Flame
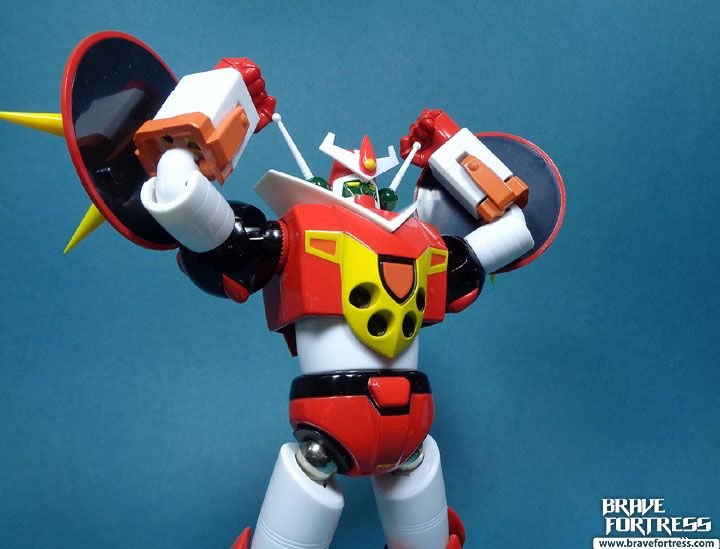
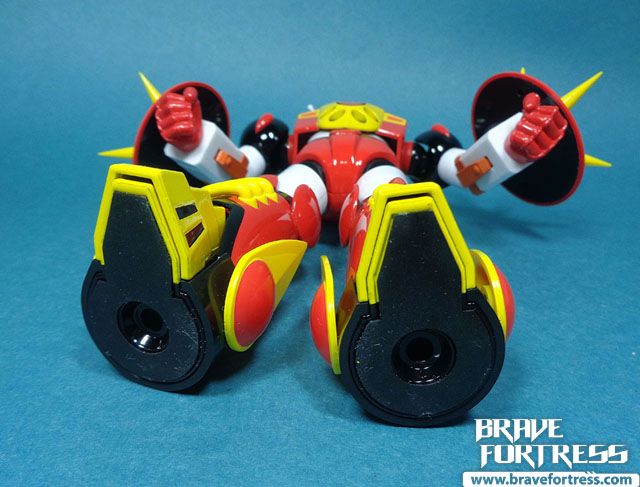
Mekander Rocket Guns
Similar with the CM’s Corp. version, this one too requires removing the fists before being able to rotate the foreams.
After posing the Rocket Guns, make sure to properly peg the forearms back into this post, otherwise they arms won’t lock properly.

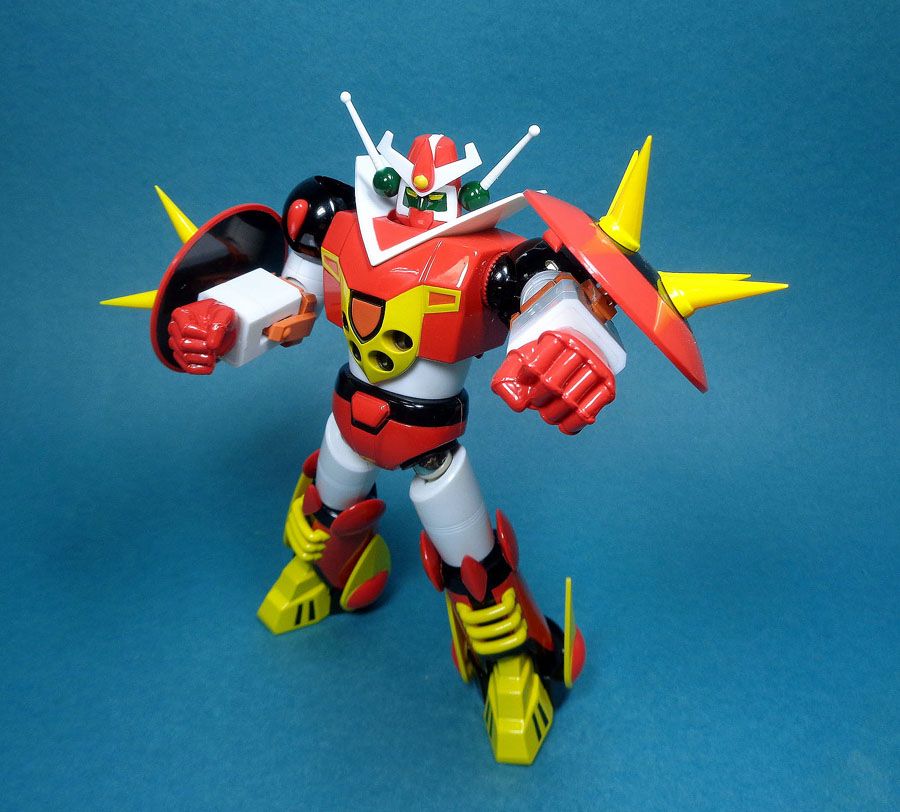
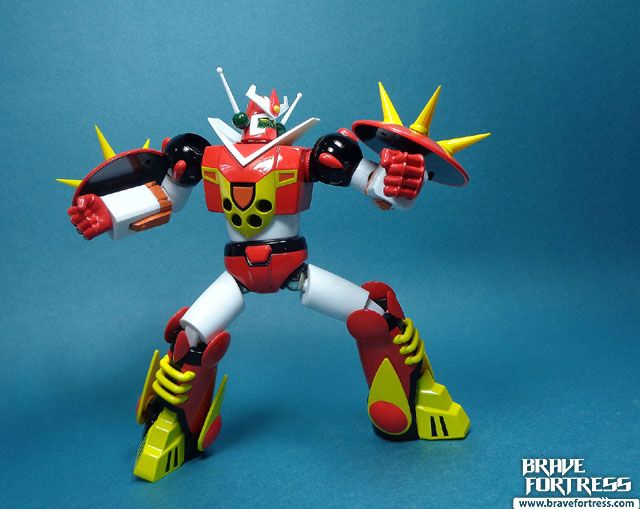
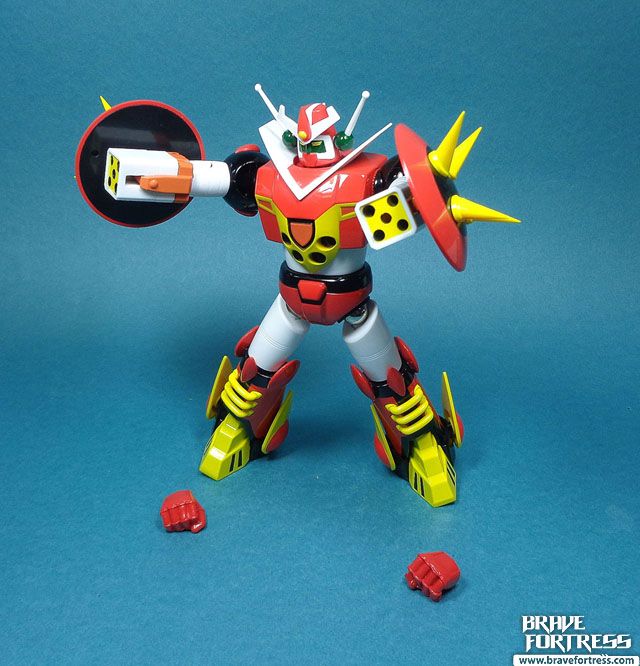
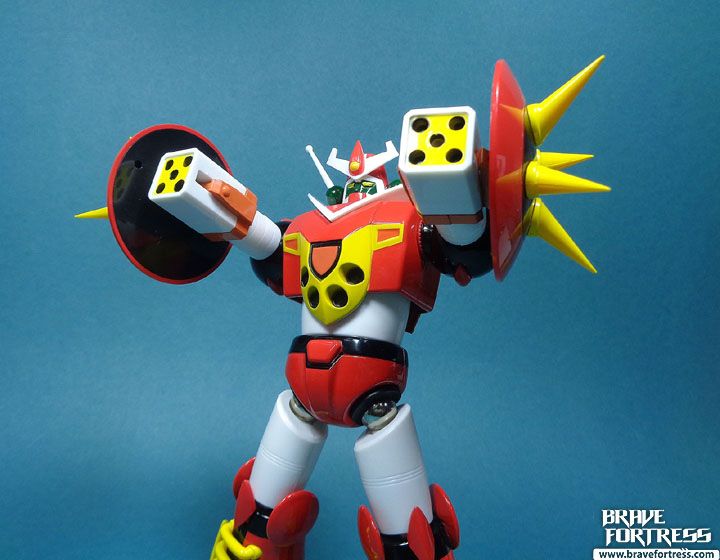
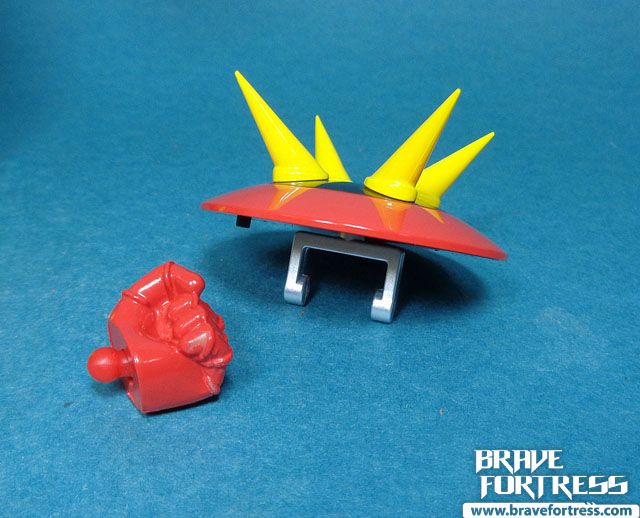
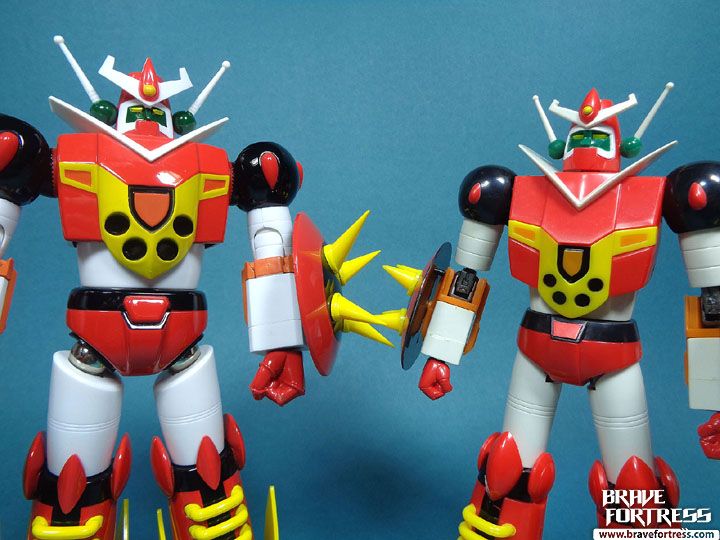
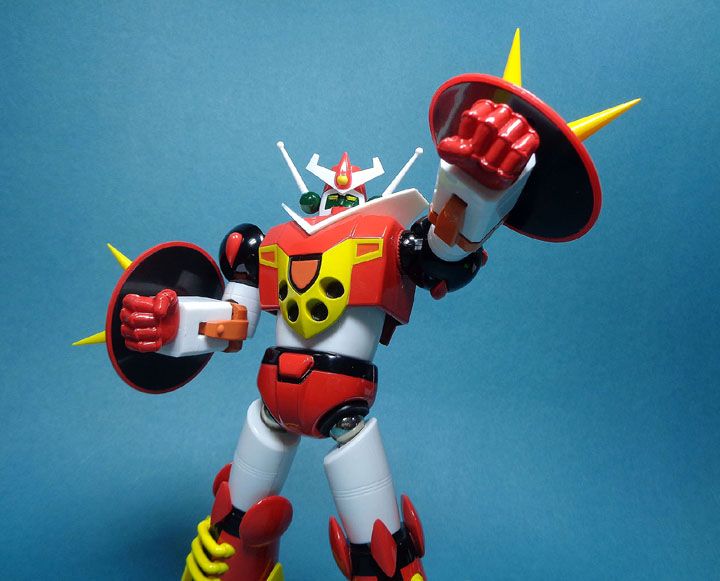
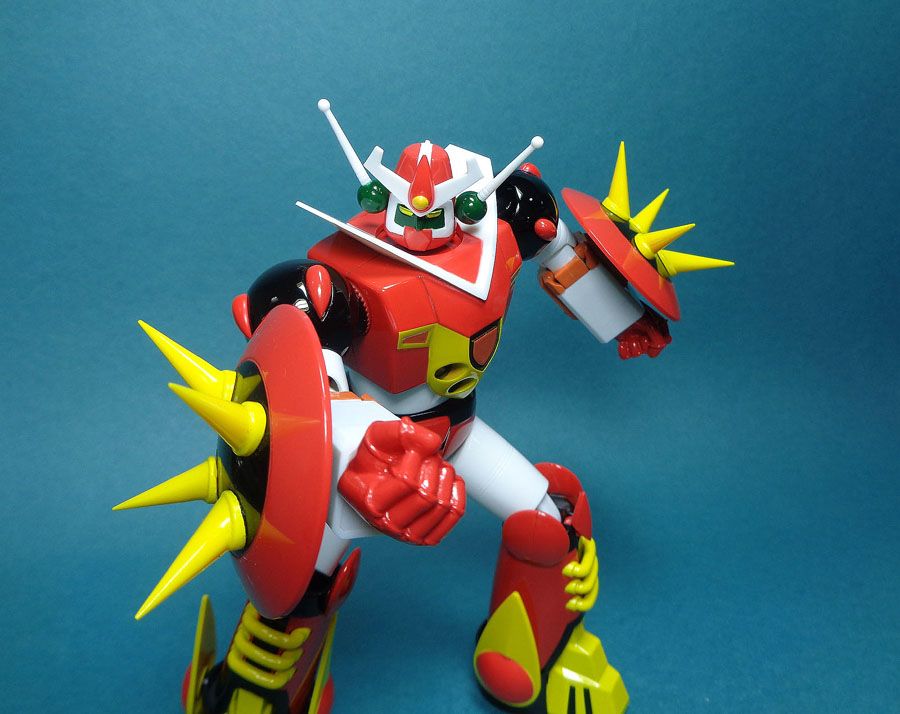
Mekander UFO Double
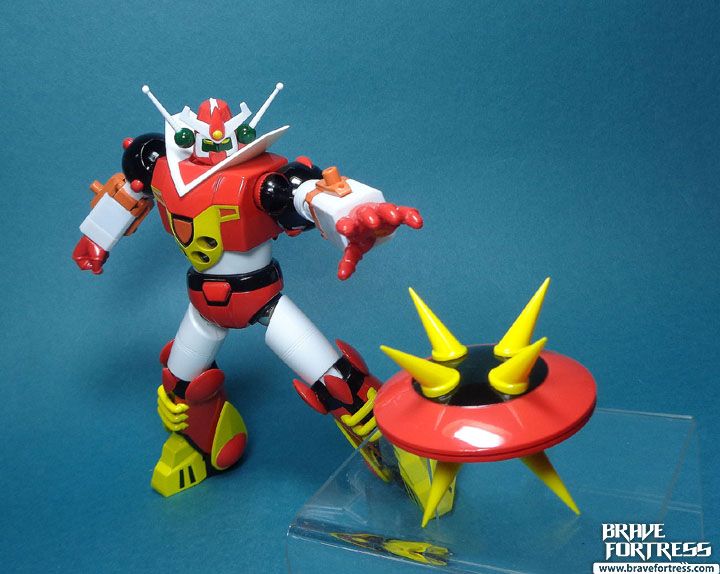
Don’t bother with using the shield attachment for the fist. It’s too tight a fit and will ruin the fist, not to mention possibly breaking the c-clip on the attachment.
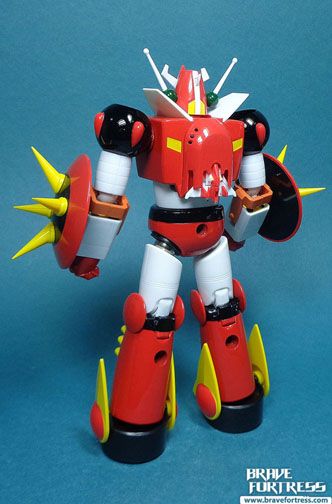
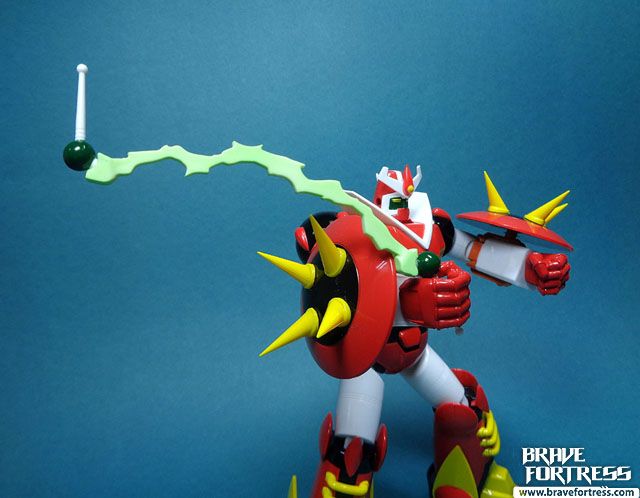
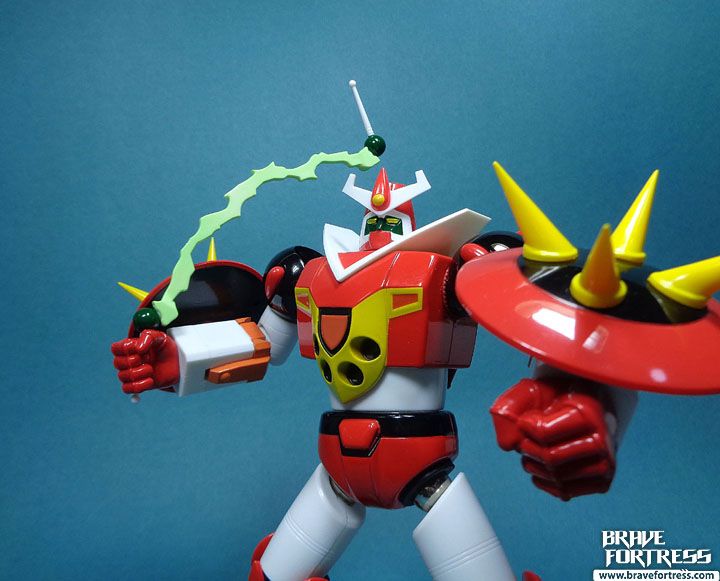
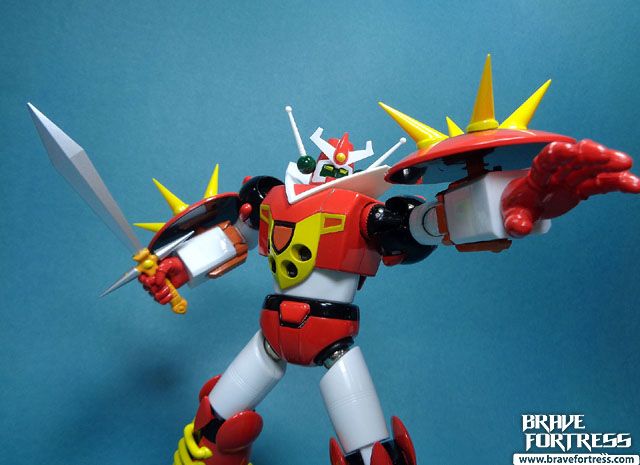
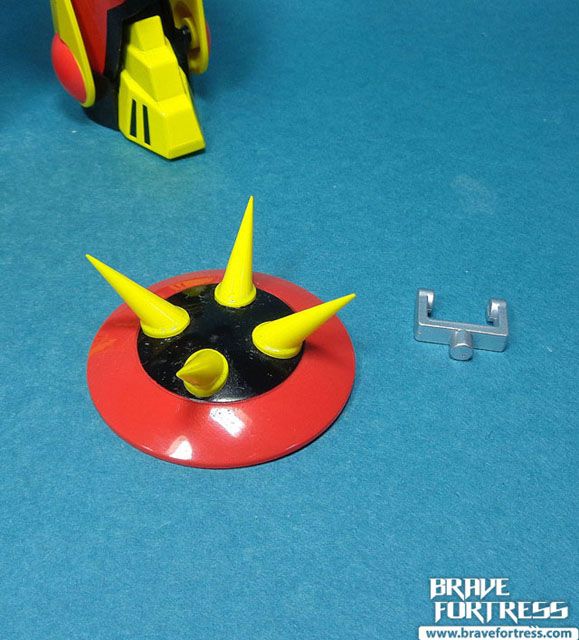
Mekander Raichack
Requires removing Mekander’s antennae and plugging them into this energy effect.
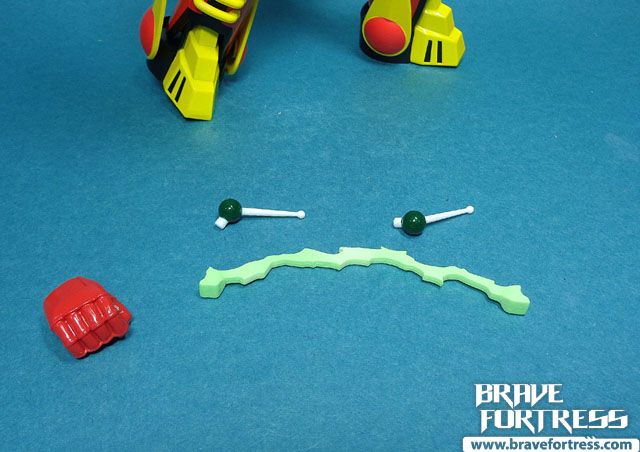
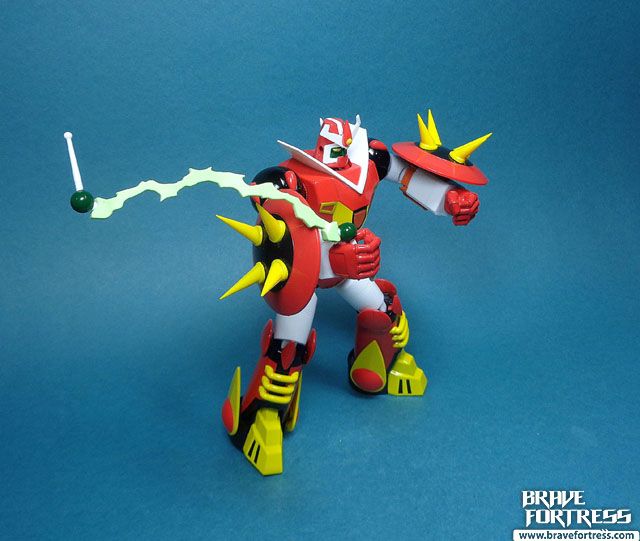
The grip on the Raichack is a bit loose since the thin antenna slots into fist holes that are meant to hold the Fencer handle. So it easily falls out of the grip.
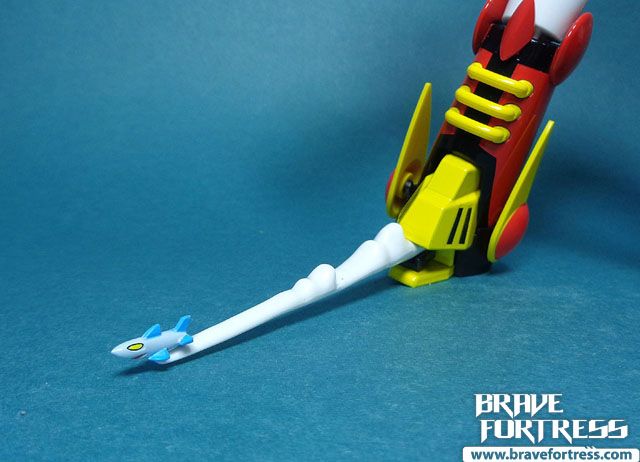
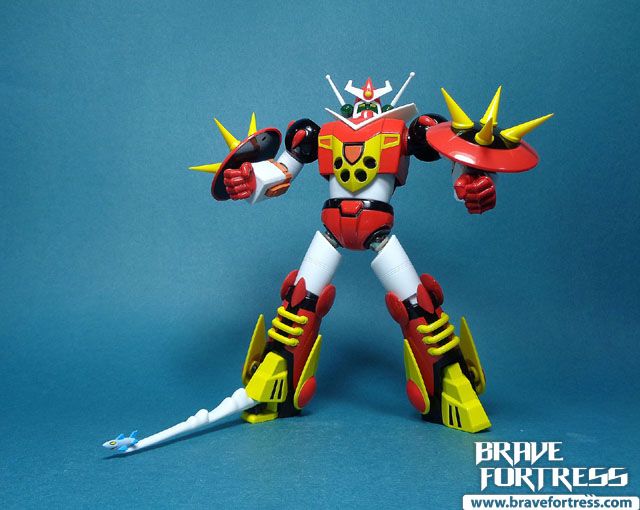
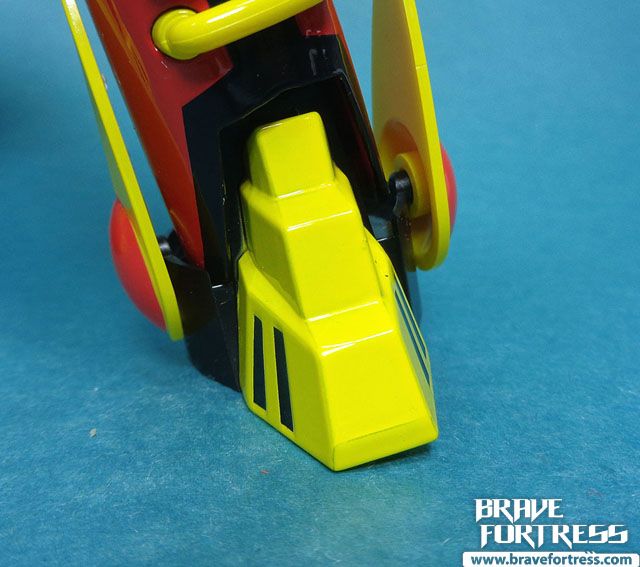
Large Air Torpedo Jaws
You can lift up Mekander’s feet and place the torpedo (with the catapult) inside. There’s a peg for the catapult to connect to.
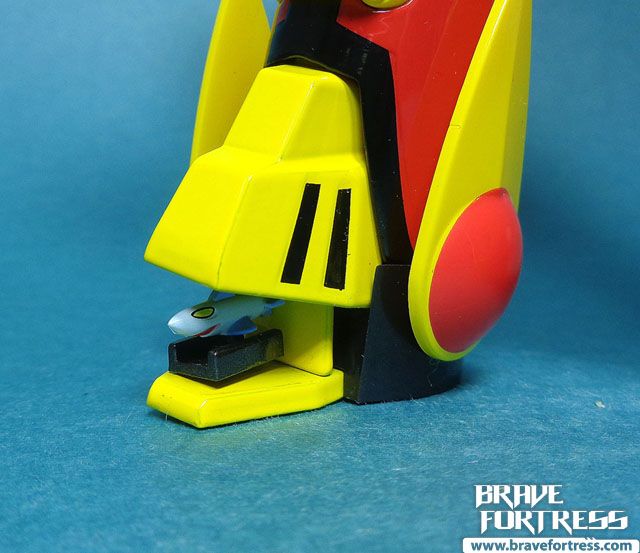
They also included an effect part for the torpedo to make it seem like it’s shooting out. Too bad it’s only one, meaning you can’t “fire” both torpedoes at once.
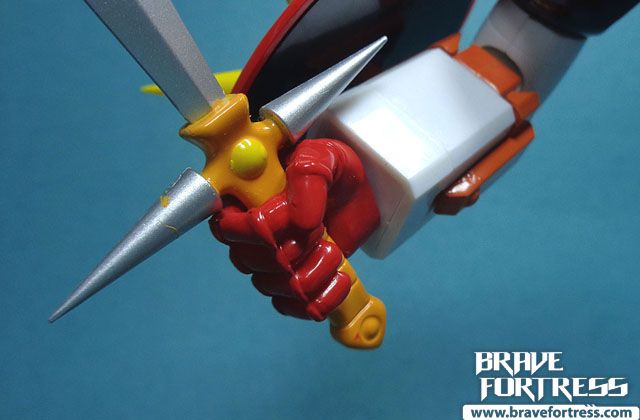
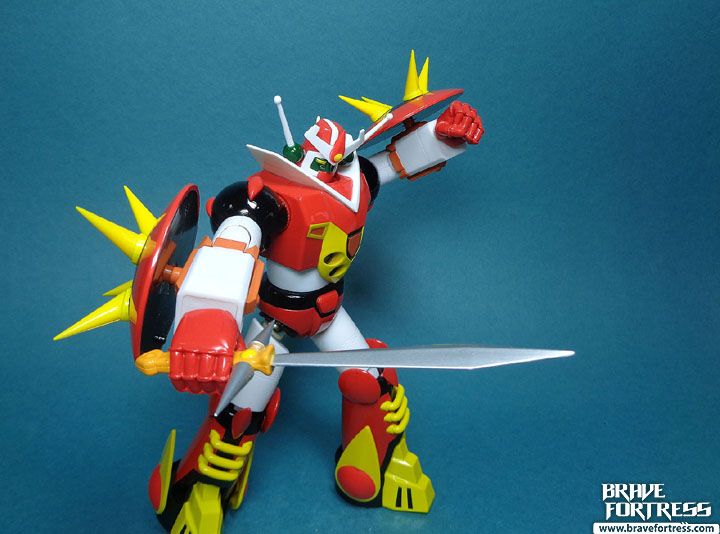
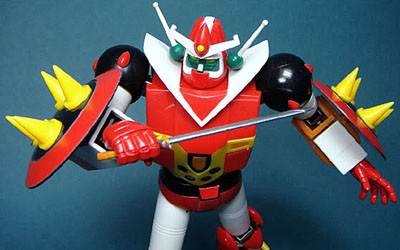
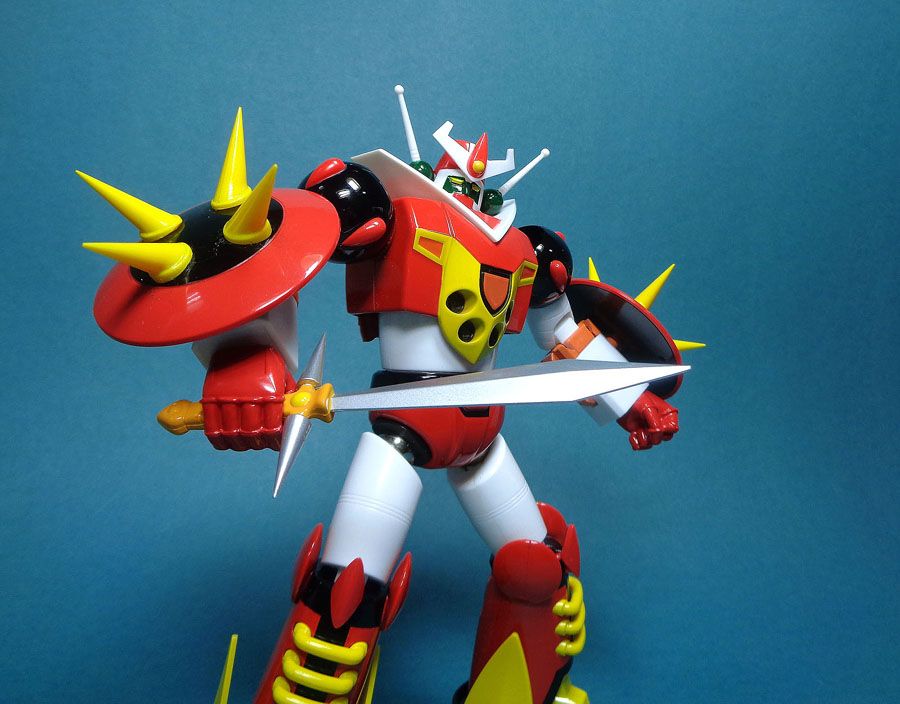
Mekander Fencer
Attaching the Fencer is kind of a chore. Normally, in this day and age, we now get removable sword handles so that we don’t damage the fists. Not here. We just use brute force and push the large handle into the fist! Sigh…. Likewise, my Fencer’s paint application is messy. Missing a spot on the sword guard.
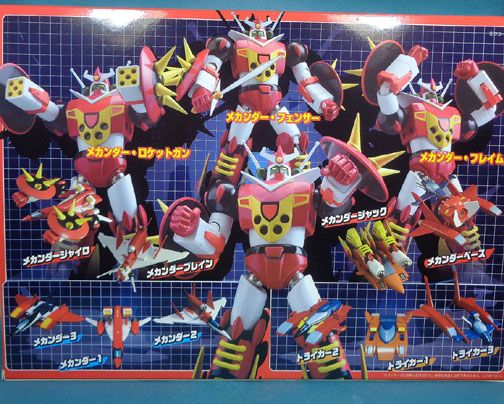
Halfway through the series, Mekander gets blown up fighting the Dragon Driller. Professor Shikishima reveals they have a back up Mekander Robo that launches from 4 separate ships, combines and then grows to the size of the original (whut?).
The new Mekander is supposed to be stronger than the original but it doesn’t really show in the battles, it also sports the same weaponry as the V1 Mekander in the show, so what was Professor Shikishima smoking?
Mekanda 1 was refitted with Mekander’s arms(now called Mekander Gyro). The two pieces on its side can be removed to reveal magnet ports.

Mekanda 2 was refitted with Mekander’s head (now Called Mekander Brain).
Mekanda Trycar is refitted with the torso (Mekander Base).
This is connection is a bit awkward, it just can’t hold up the torso, no matter what I try. Don’t roll Mekander Base with the torso attached or it will definitely scrape the chest.
Mekanda Trycar is refitted with the legs (Mekander Jack).
This is what the legs are supposed to look like when they’re on the Jack. At first I thought you had to fit the support posts into the leg screws, turns out, you don’t have to.
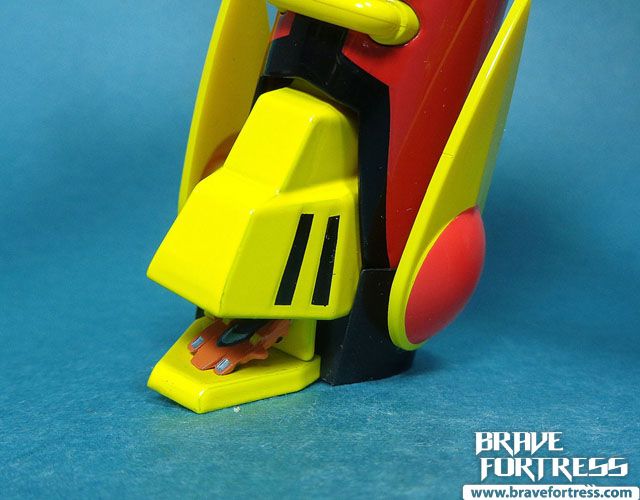
After combining, the Trycars would then “park” into Mekander’s feet. This set comes with “super mini” versions of the Base and Jack that can fit inside Mekander’s feet.
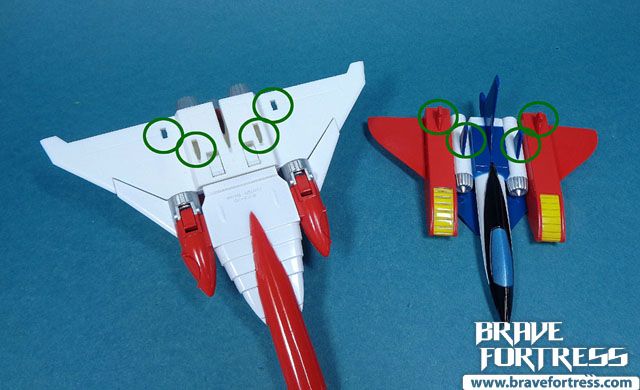
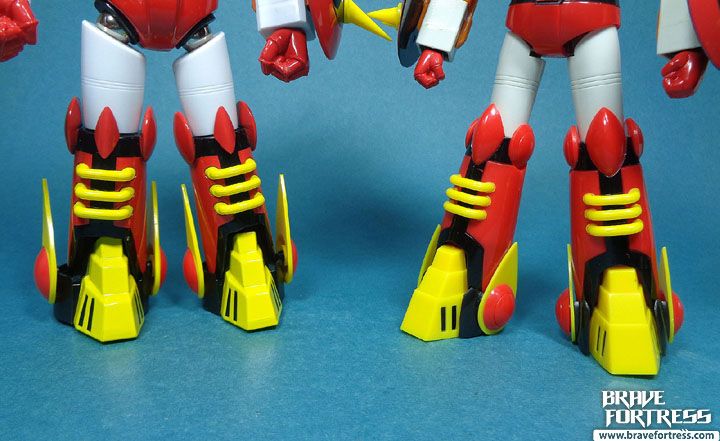
Comparison with CM’s Corps.’ Mecha Action Series DX Mekander Robo.
CM’s version on the right.
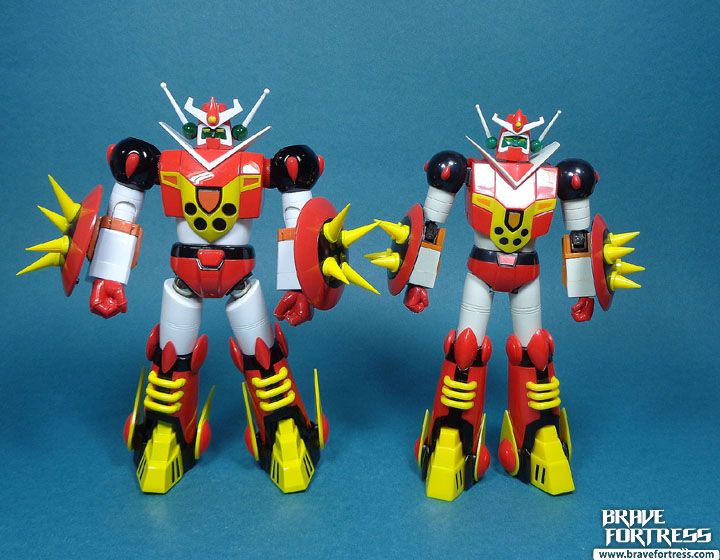
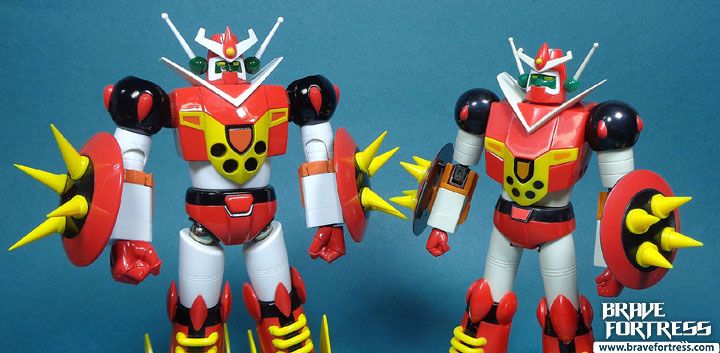
(Note: The CM’s version didn’t come with a Trycar 2).
Slightly off-topic but maaaan… the tray on my CM’s Corp. MAS Mekander really yellowed. It really surprised me. Luckily, the plastic on the toys have not yellowed, neither have the clear accessories. Just the trays, and it’s just the inner trays. The set comes with an outer clear cover for the tray and it hasn’t yellowed either so it’s not a “because I stored it somewhere hot” kind of thing.
I think maybe it’s the rubber parts of the joints oxidizing? The connections aren’t as tight anymore (not that they ever really were), as it seems that the rubber used to hold the “Revoltech” joints in place have somewhat hardened. Bummer…. anyway, one more reason to get the Evolution Toy Mekander I guess.
The Good
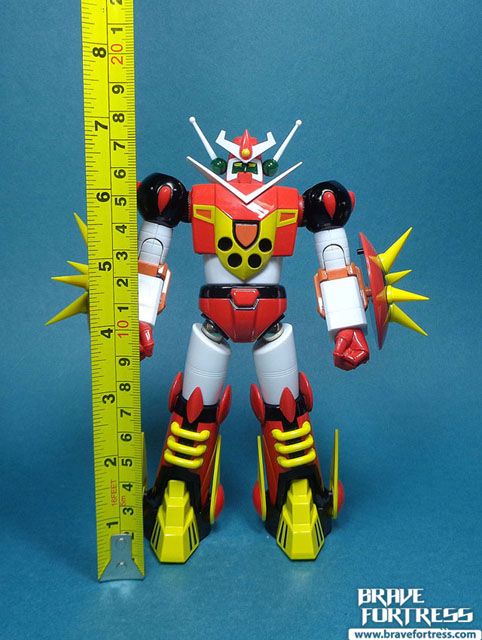
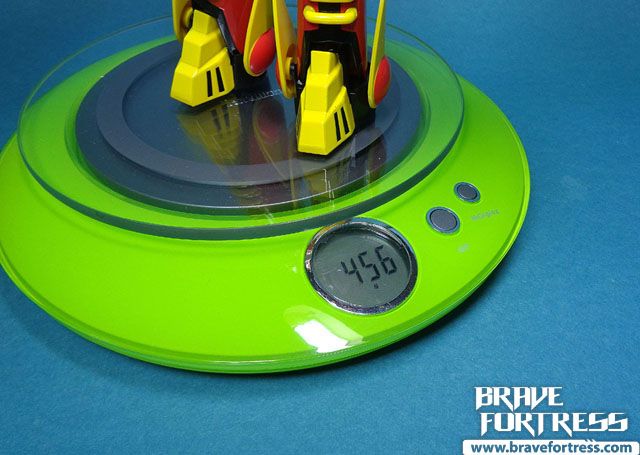
-Mekander stands roughly 7 inches tall and weighs 456 Grams.
-Diecast parts include:
–Torso (not including abs)
–Shoulders
–Waist
–Lower legs
–Feet
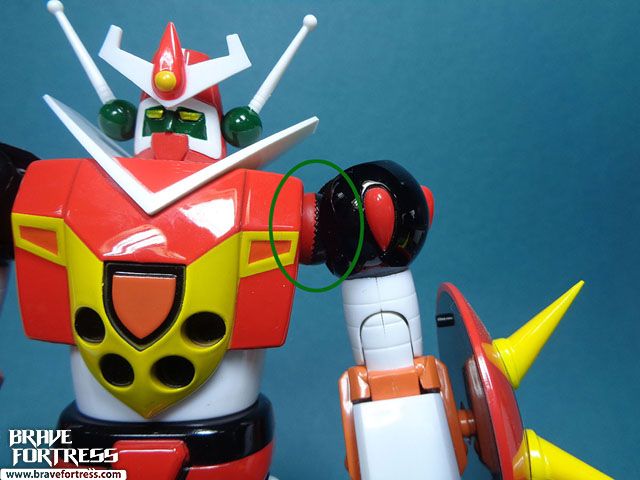
-Ratchet jointed shoulders, nice touch. They really make a world of difference when it comes to magnet joints.
-Optional extension parts for the groin joints, this will increase the range of motion for the legs.
-Thankfully, the knee joints are NOT magnet joints.

-The ankle joints on Mekander are well executed, they don’t feel loose or wobbly and they make the toy stand very well in a lot of poses.
-Mini Trymax and Mekander Max can disconnect to their smaller ships.

-Evolution Toy put some traction pads on the soles of Mekander’s feet. Good call.
The Bad
-No Omega Missile included.
-Sloppy paint apps in some areas

-Unglued tailfin on my mini Mekander Max.

-Don’t bother with the Mekander UFO attachment for plugging the shields into the fists, it’s a super tight fit and it will ruin the paint on the fists. It’s not worth it. Just don’t.

-Only one “Jaws torpedo” effect part, a spare one for the other foot would’ve been nice.

-Docking the Trymax and Mekander Max still requires removing the front units (similar to the CM’s Corp. version)
-Mekander Base really has trouble holding up the torso. DO NOT roll the vehicle while the torso is equipped, it will kill the paint on Mekander’s chest.

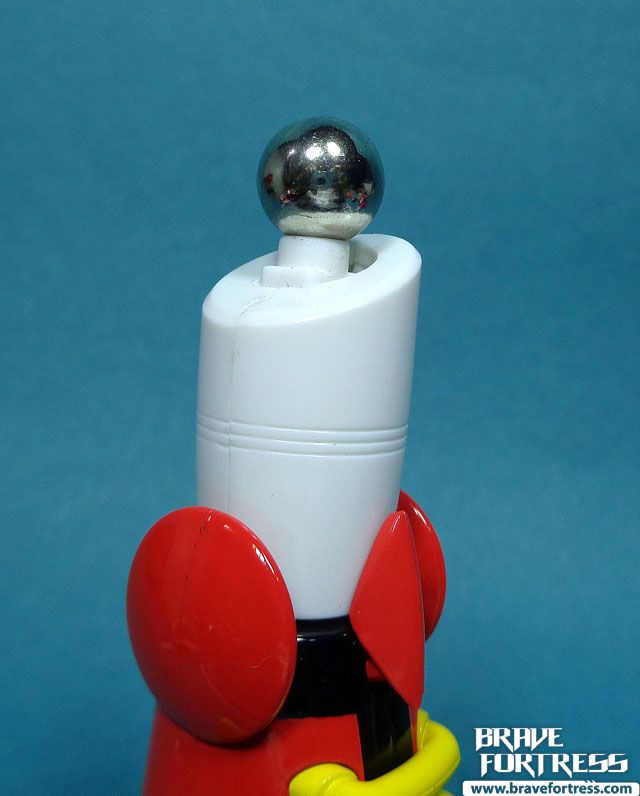
-The fist peg into the forearms directly, it’s plastic on plastic contact. I’m worried repeated swapping will loosen the connection. As is, my right fist port is already kind of loose, removing the fists takes very minimal effort.
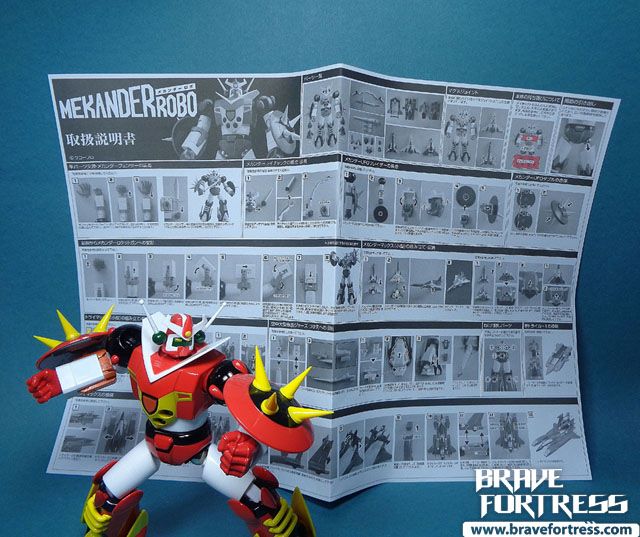
-Ugghh… a black and white manual, really? At least CM’s version was printed beautifully in full color.
The Ugly
The price? It seems really pricey for something that doesn’t really transform or have complex engineering built it. Plus the quality of the paint isn’t top grade for the price.
Overall, I like it. It’s a good modern-day update to the Mekander Robo toy. It’s bigger, heavier and looks way better. I know Evolution Toy’s robots mostly use magnet joints because it’s their thing, but the magnet gimmick totally works in favor of this toy since it’s a logical way of doing V2 Mekander’s combination gimmick.
I think this is their first time incorporating diecast into their robot action figure line? (please correct me if I’m wrong) I’m glad they made this figure with diecast metal, it just wouldn’t be the same if it was their usual run-of-the-mill resin-based robot figure.
I recommend picking this one up (if you can get past the high SRP). Despite the paint issues, it’s a solid-feeling toy. I doubt Bandai will ever make this guy since it wasn’t well received in Japan when it aired back in the 1970’s.
Here’s the old CM’s Corp. MAS Mechander (Mekanda) Robo gallery from a couple of years back.

Gold