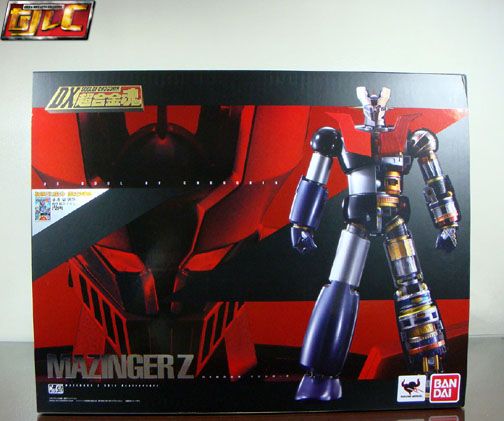
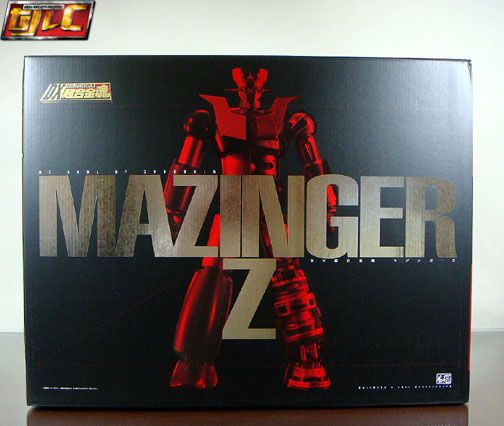
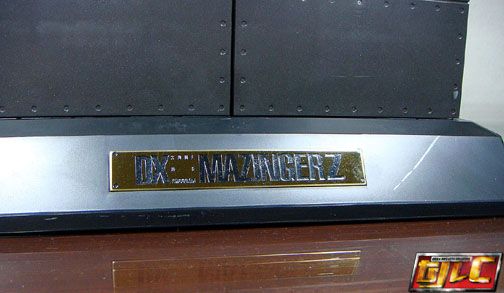
DX Soul of Chogokin Mazinger Z
Please click on the smaller image thumbnails to view larger pics.


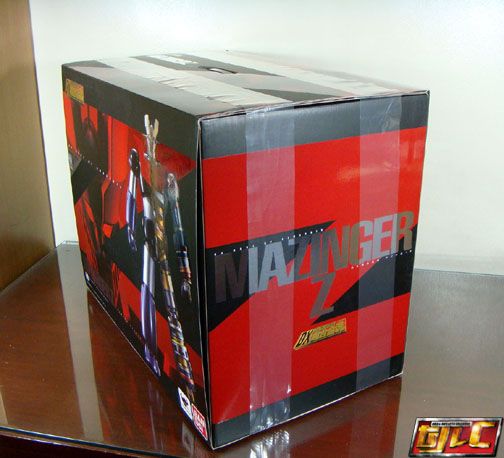
Shipping box dimensions are 22x18x13.5 Inches. It weighs roughly 9 Kilos and the shipping box to item ratio is 1:1 due to the size of the package
Bandai used black tape to seal the package. Unfortunately, the box thickness isn’t enough to protect the inner main box from dents. Some bumps on the outer box do get through. It’s not as bad as Hasbro’s but this might be a problem for some if you’re particular about pristine packaging.
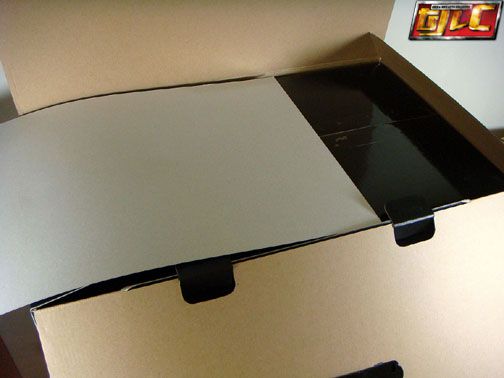
The inner box has an outer sleeve box (like a box of matches), held in place by 2 plastic wraparound bands. Everything is wrapped in a few sheets of Japanese paper.

Second Inner box
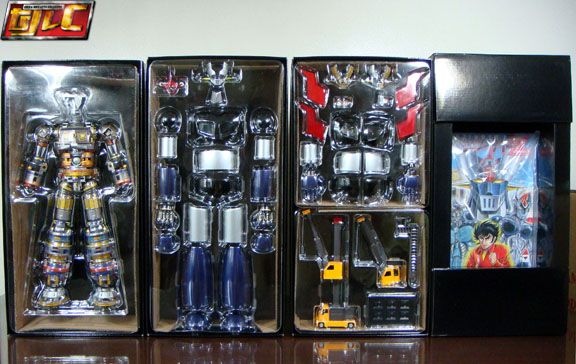
Finally, the contents!
Thin layer of cardboard up top (there’s also a thicker cardboard when you open the outer shipping box).
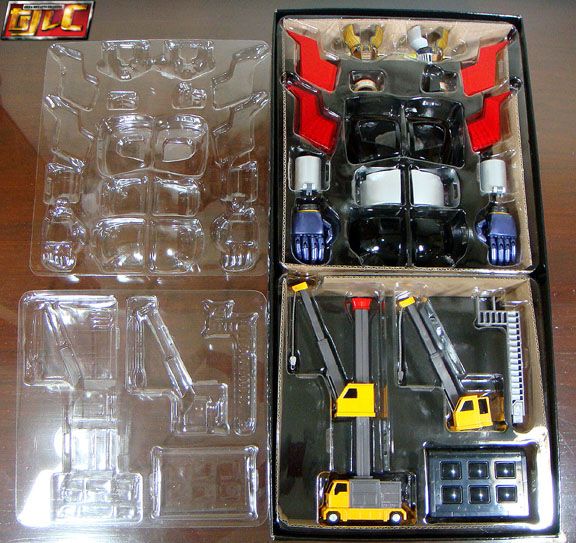
The 5 main, inner most boxes
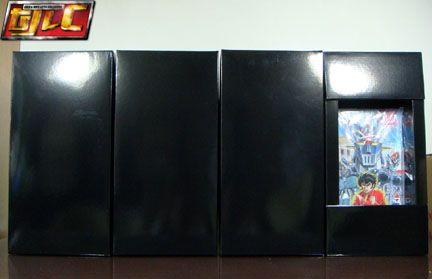
Trays and accessories.


Whew. It took about 20 minutes to get to the toy (I wanted to keep the Japanese paper wrap intact, as it does help keep the contents dry even a little when I return everything back, I actually use Japanese Paper a lot in storing my figures and toys, even the Ziploc bagged ones).
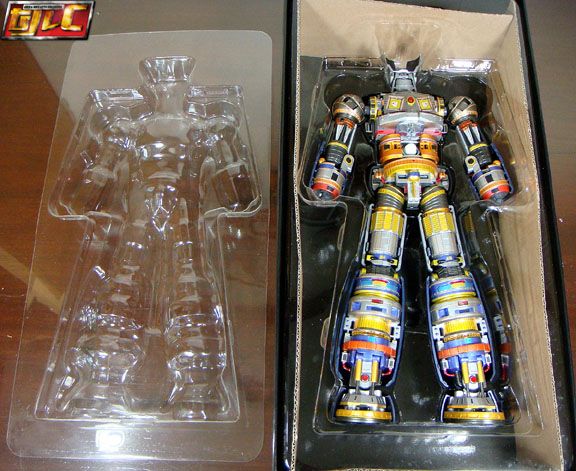
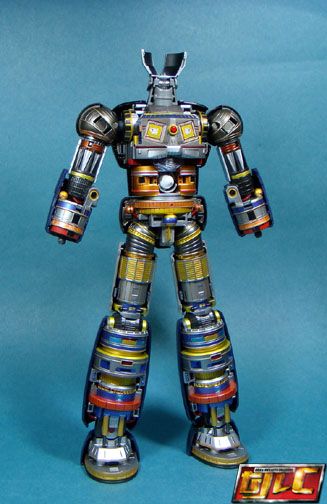
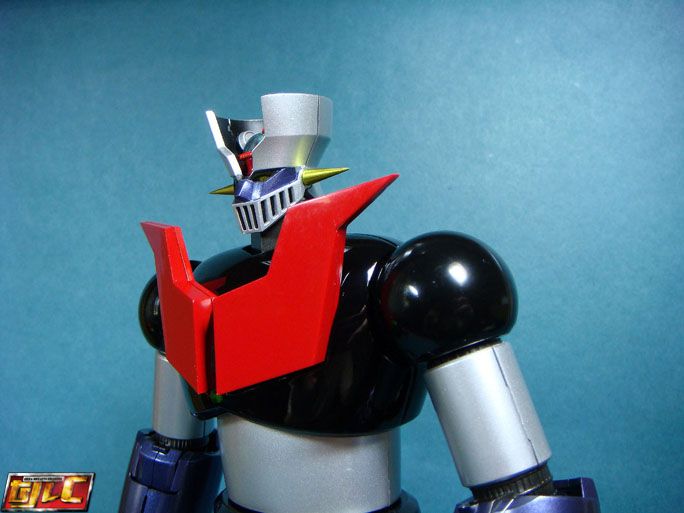
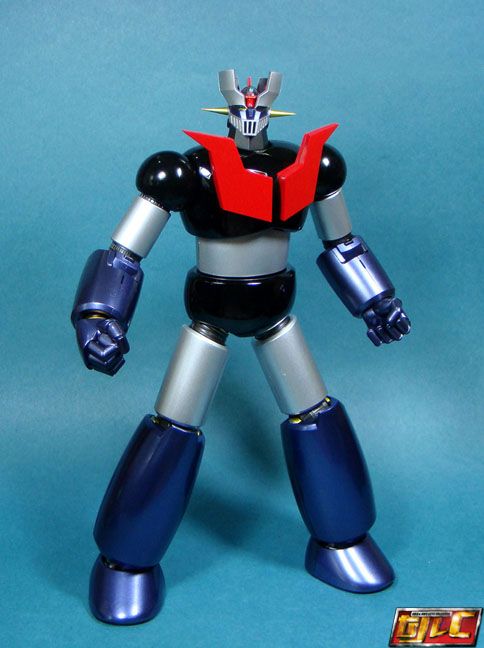
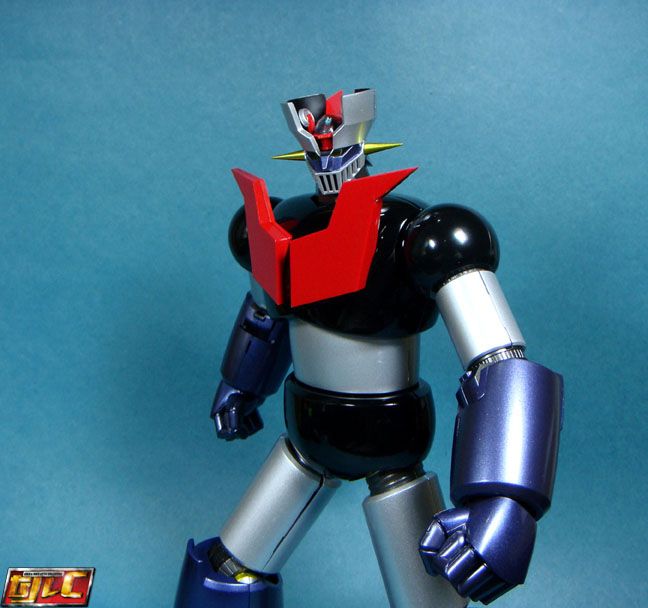
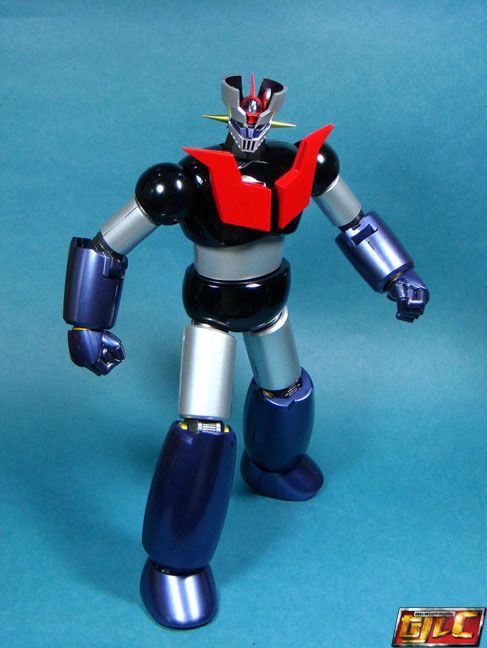
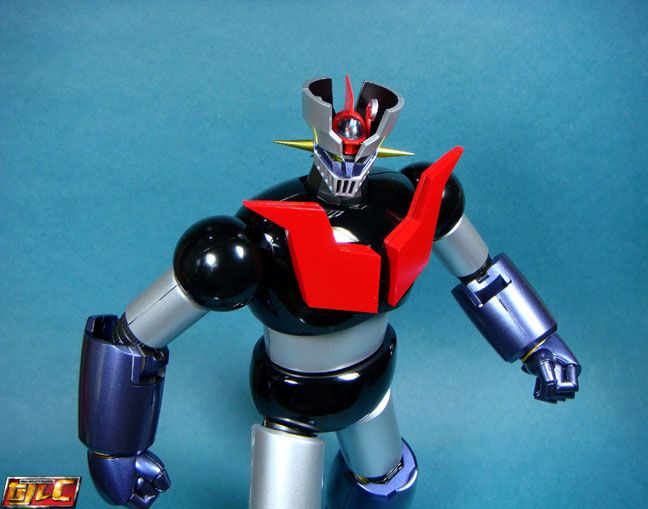
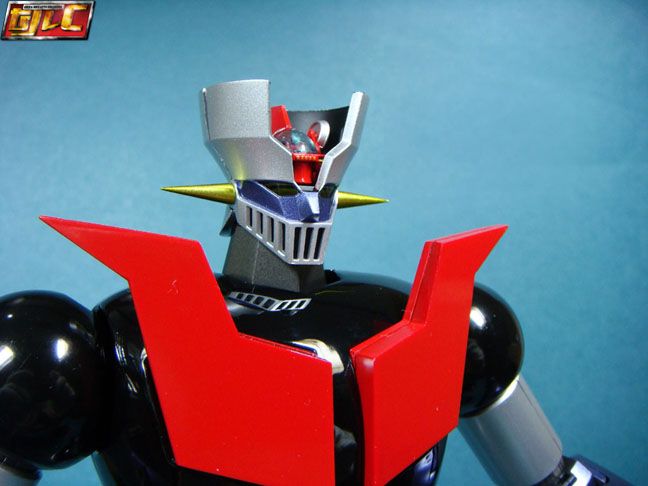
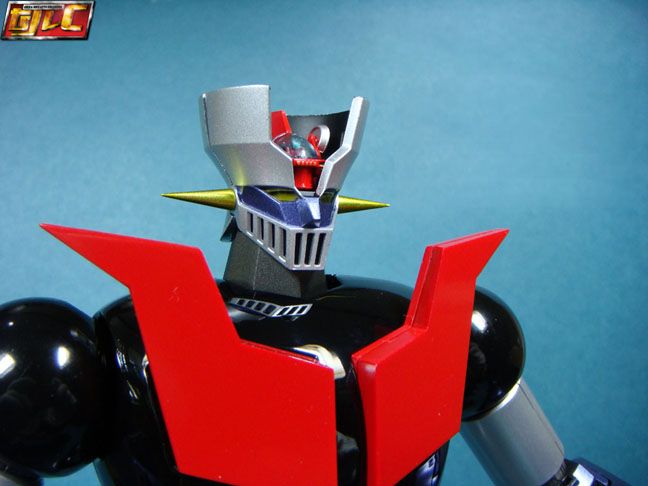
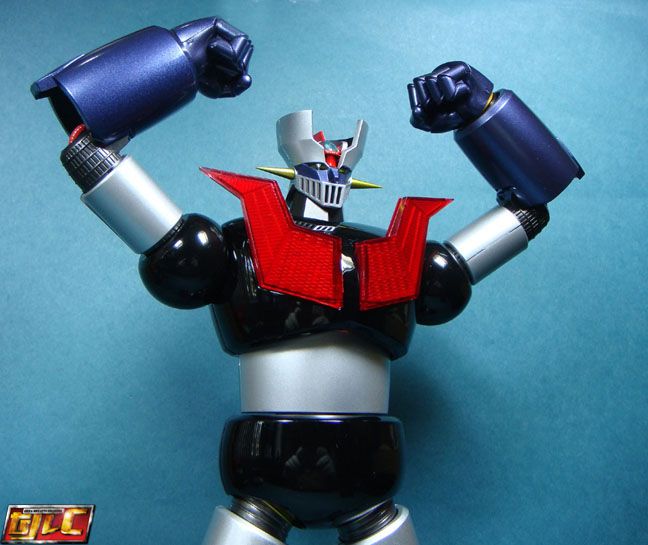
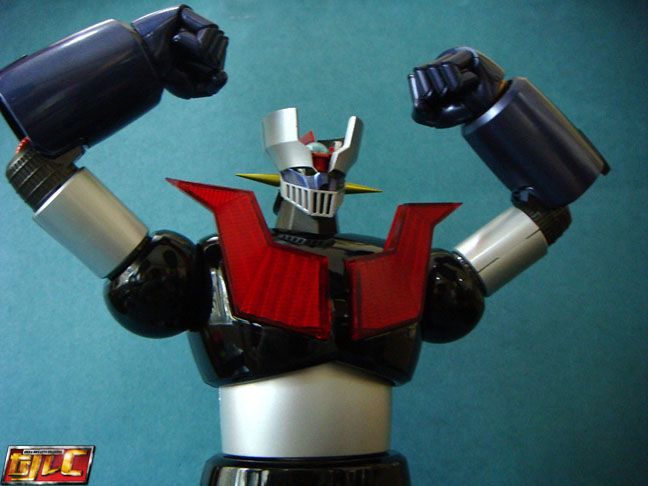
“NAKED MAZINGER Z”


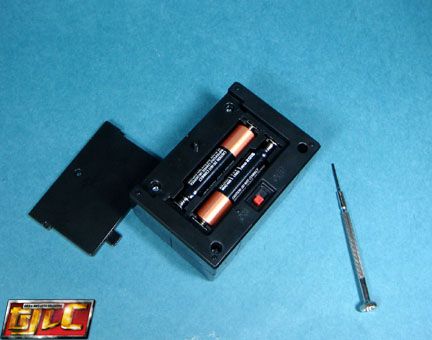
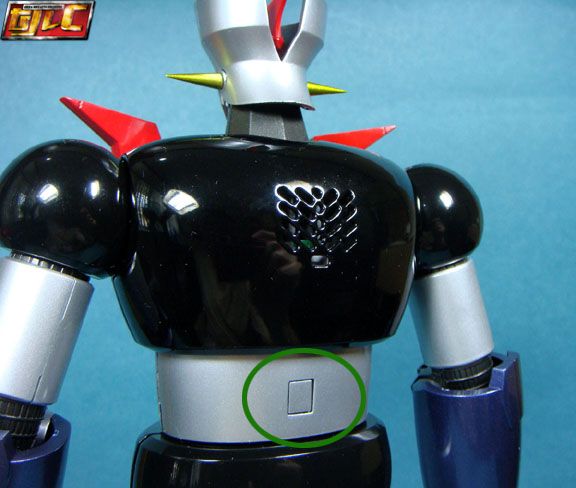
Voice box
Red button switch in the center. The electronic voice box in Mazinger’s chest will go into “sleep mode” after being idle for 3 Minutes. You will have to remove Mazinger’s chest plate and push the switch off, then on again to re-activate it.

Requires 2 AAA batteries. Another 2 AAA batteries are also required for the remote control.
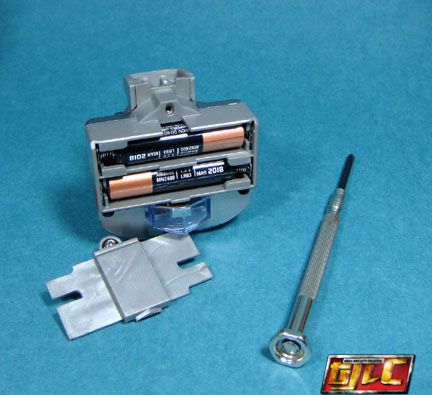
Bulb for the light up eyes
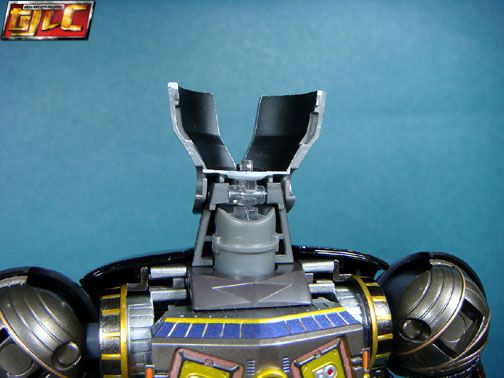
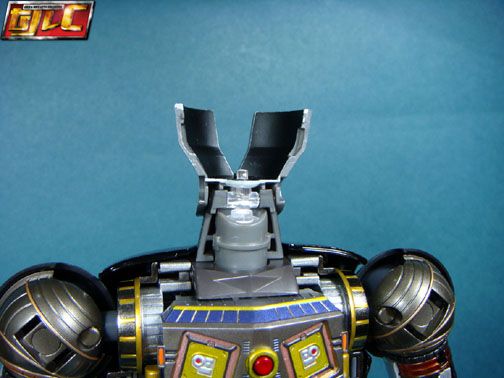
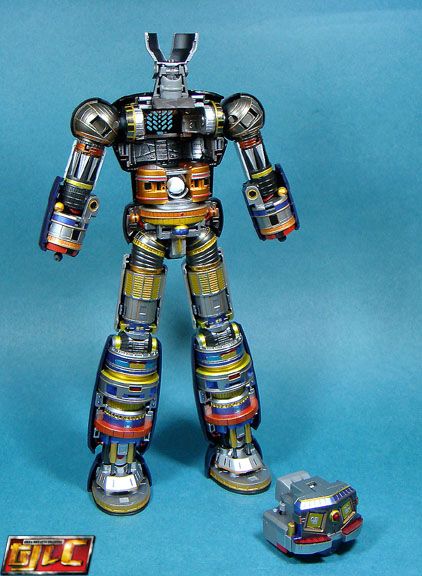
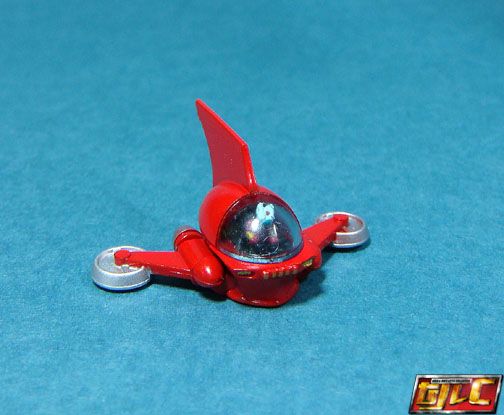
Hover Pileder- The wings do fold up. I only wish the c0ckpit hatch opened so I could fix Koji, he seems to be sitting off-center on mine, kinda like he’s trying to dodge something…. or letting out a fart..
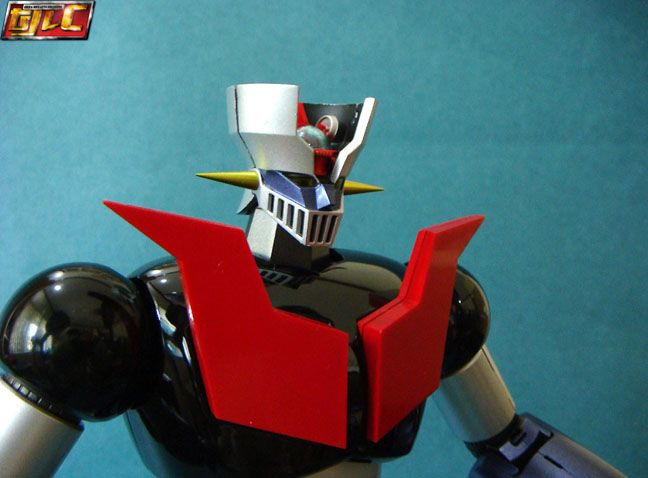
Bandai included optional parts for the torso for us to make a half-naked Mazinger, like in the old stickers and posters from the 1970s. Nice touch. 🙂
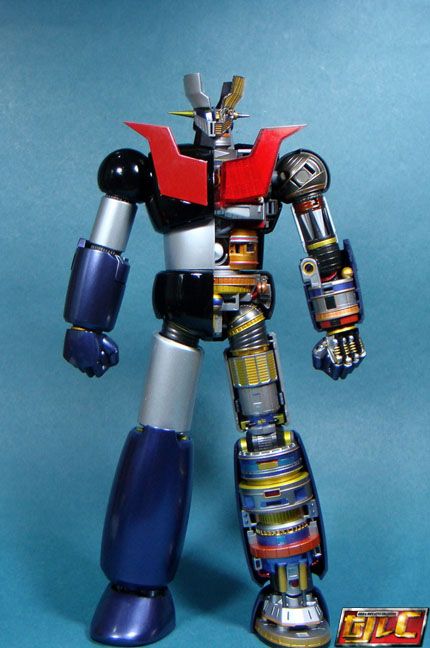


The downside here is that we can only make a left-sided naked Mazinger due to the faceplate’s default orientation. Which is a shame since Bandai did give us torso parts for a right-sided naked Mazinger.

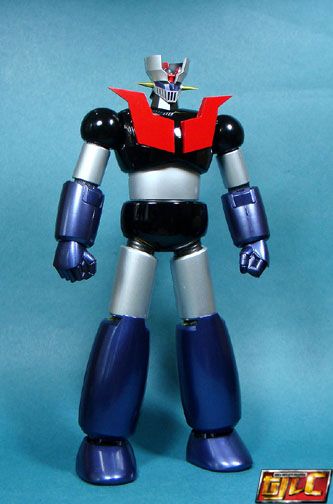
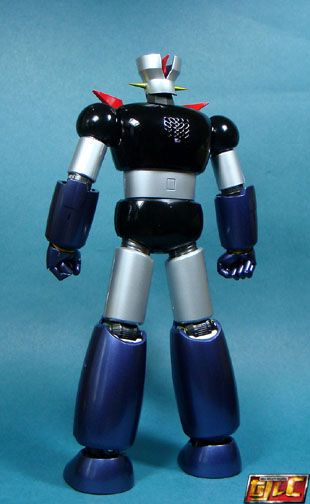
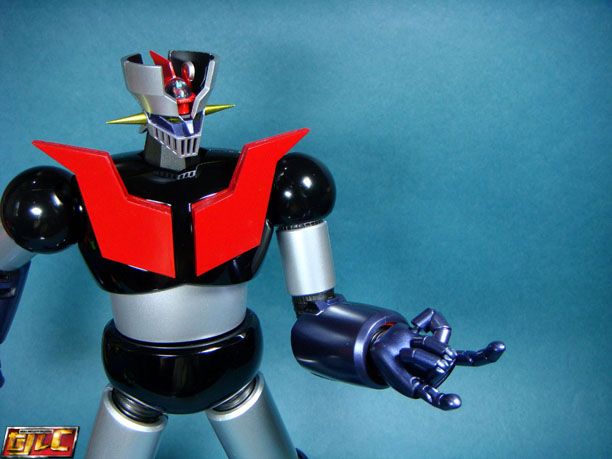
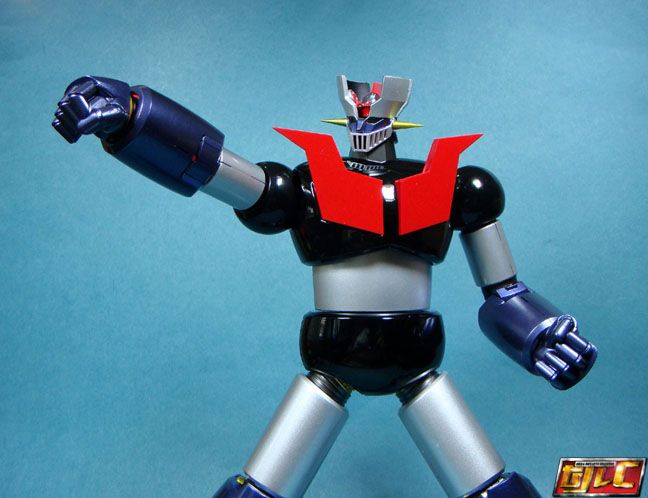
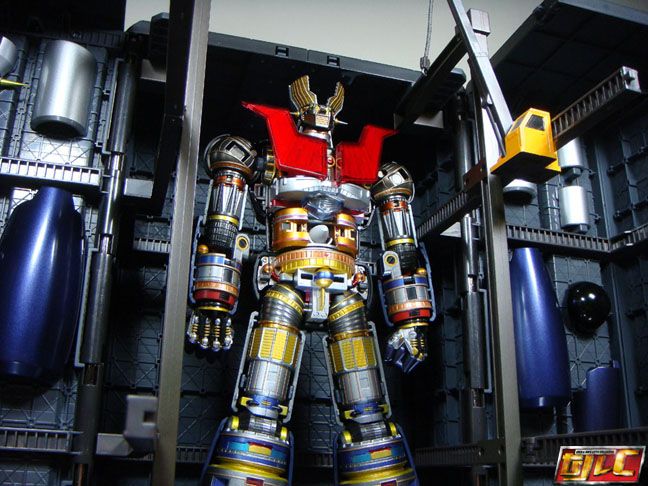
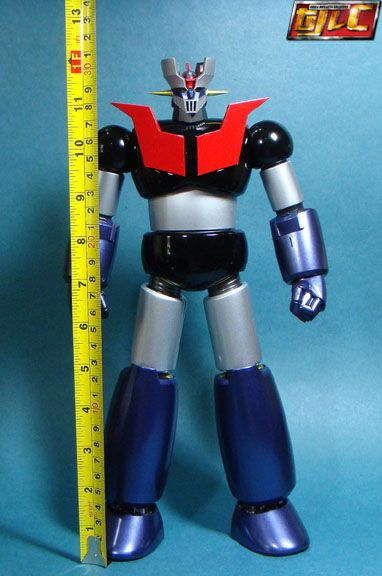
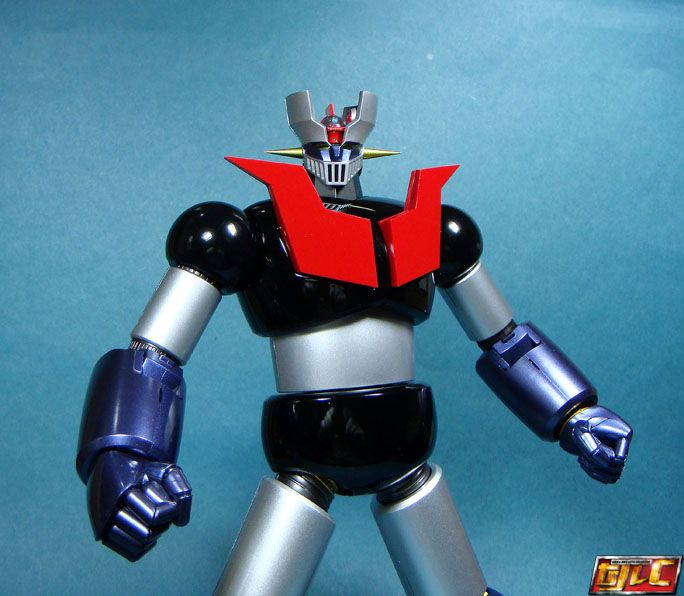
I love the look, it’s like Mazinger stepped right out of the cartoon. The image of the toy is spot on, more than the Soul of Chogokin Gx-01 and Gx-01R versions.
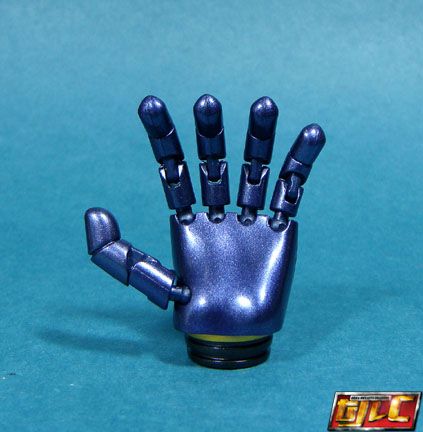
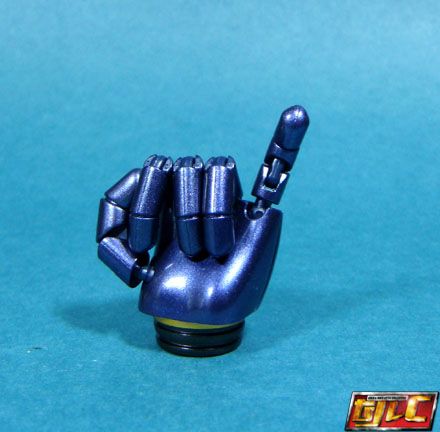
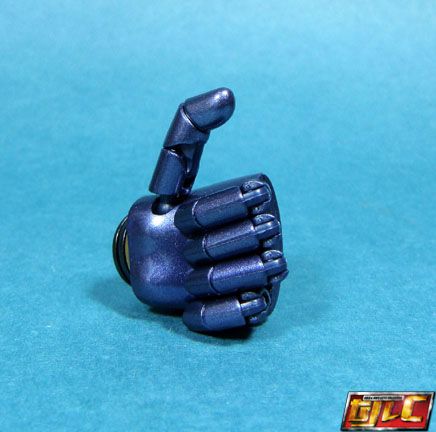
Mazinger also comes with optional hands that have articulated fingers.

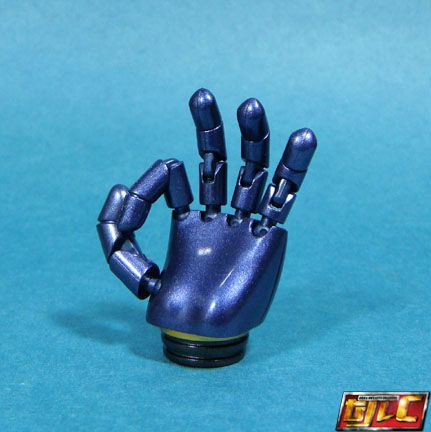
Pinky swear or booger pick? You decide!
A downside here though is that the thumb isn’t articulated on the last digit, so it can’t do a proper thumbs up.
“Thwip!”
A bit of caution though, changing the fists can be a hassle. I had a hard time swapping them in due to the large wrist pegs, I don’t know, maybe I was just being too careful handling the articulated fists for fear that I might press too hard and break the joints on them? You will definitely need to take down the forearms though before swapping fists.
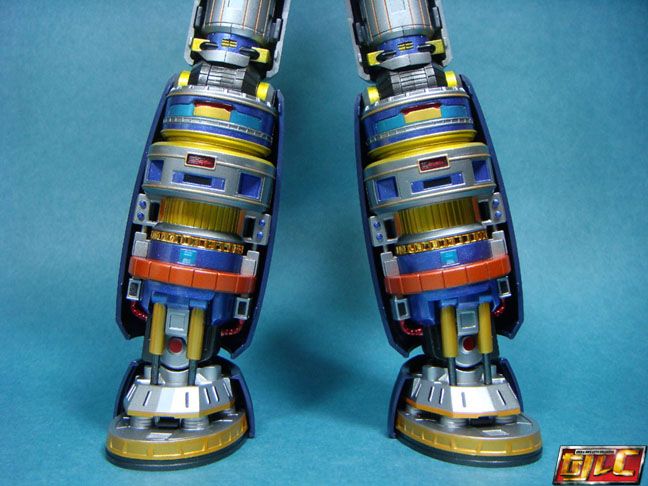
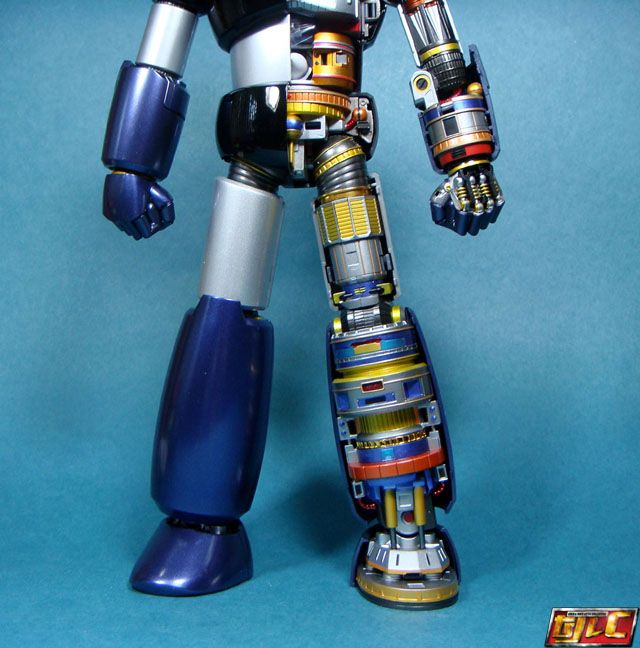
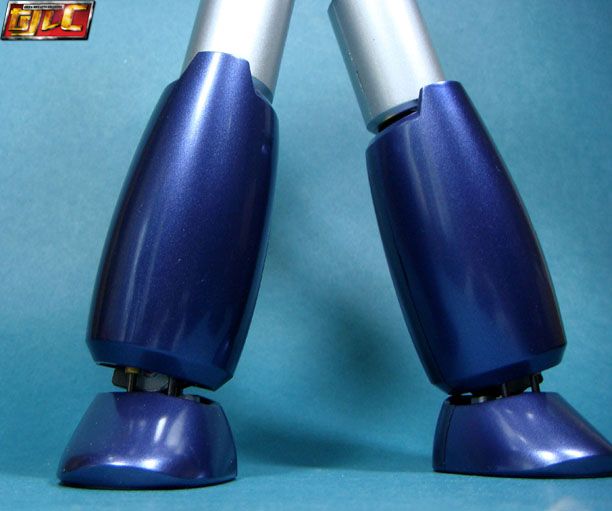
Working ankle pistons
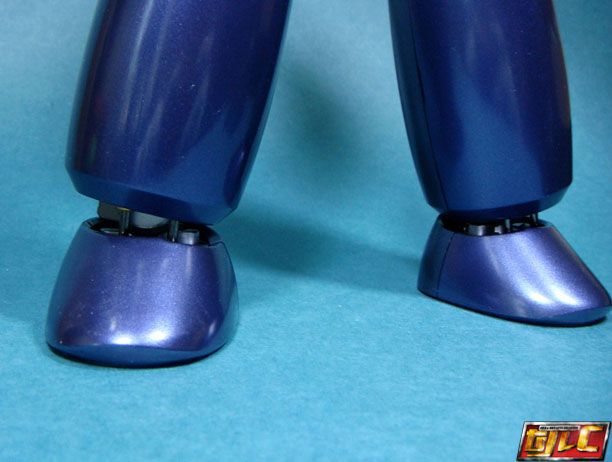
A while back there were some images of DX Mazinger that showed the ankle pistons sticking out like sore thumbs. It doesn’t seem so bad in person though. But I guess one’s mileage may vary.
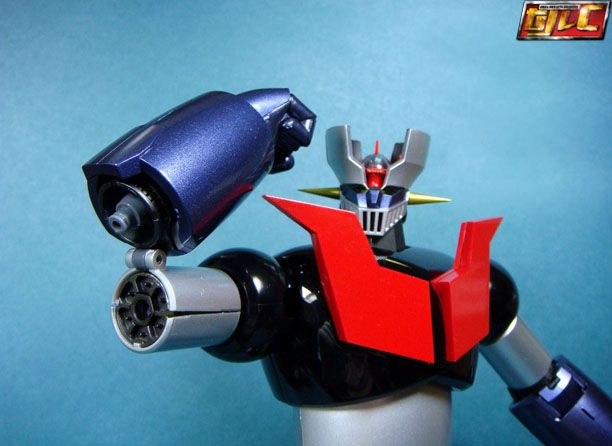
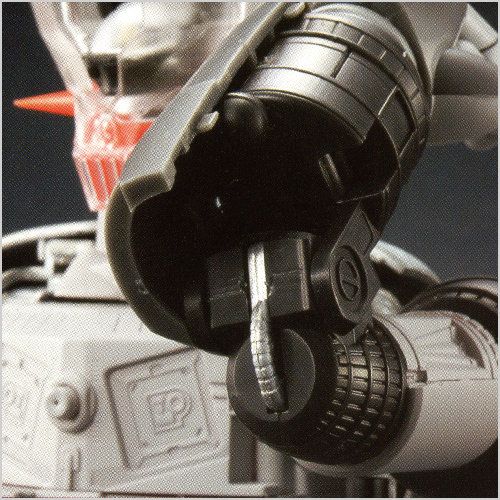
Rocket Punch!
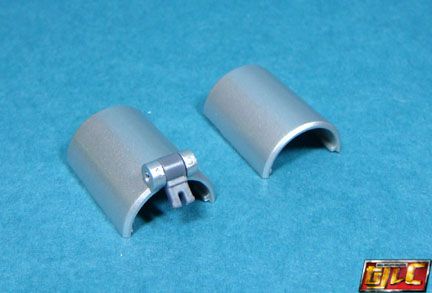
Before you can do the Drill Missile pose, the bicep plate needs to be swapped out with the one with the hinge.

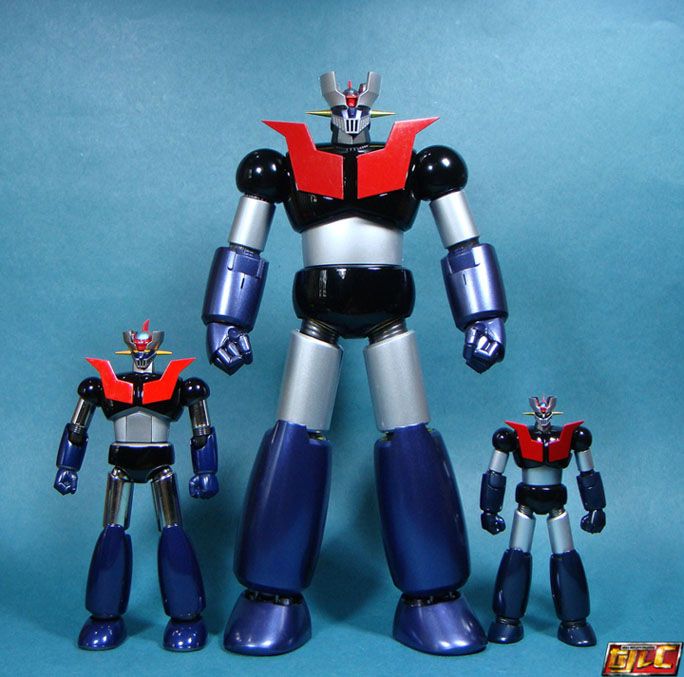
Comparison with the Gx-01R and the Super Robot Chogokin Mazinger Z
Rundown of the button combinations “codes”
Music tracks
-Button 1 – Mazinger Z Opening (50 Seconds)
-Button 2 – Z no Theme (65 Seconds)
-Button 3 – Bokura no Mazinger Z / Our Mazinger Z (70 Seconds)
If in case you feel the urge to sing along with the theme song, you can find the lyrics here
http://www.animelyrics.com/anime/mazingerz/Voice effects (Koji Kabuto’s voice is provided by Hiroya Ishimaru)
-A+1 – Mazin Go! Pilder On! (With light-up eyes effects)
-A+2 – “Kore demo kurae!” (Translation – “Chew on this!”)
-A+3 – “Koitsu de todomeda!” (Translation- “This’ll finish ya!”)
-B+1 – Rocket Punch
-B+2 – Koushiryuko Beam (Photon Beam)
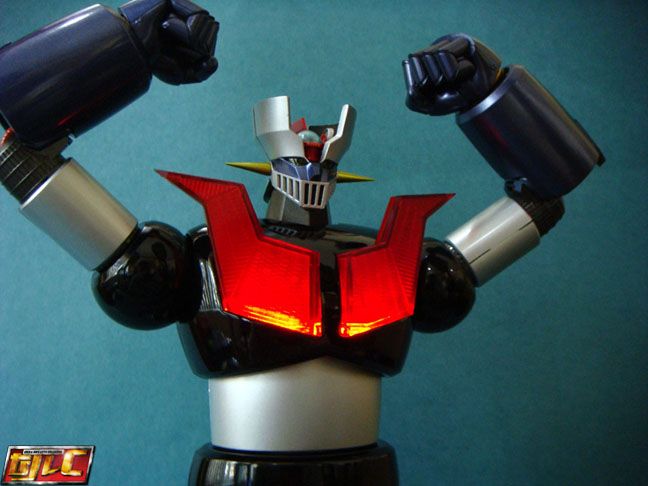
-B+3 – Breast Fire (with light-up optional chest panels effects)
-C+1 – Rust Hurricane
-C+2 – Drill Missile
-C+3 – Mazinger Z “Running” sound effects
“Hidden” button combos (already pre-programed into the toy but set to be “revealed” when the Scrander set is released I guess).
-A+C+1 – Scrander Cross
-A+C+2 – Southern Cross Knife
-A+C+3 – Iron Cutter
For more translations/pronounciations of various popular Super Robot yells, shouts, attacks and reactions to being attacked go to this GameFAQ :
http://www.cheatcc.com/psx2/sg/super_robot_wars_impact.txtMazin Go! Pileder On!

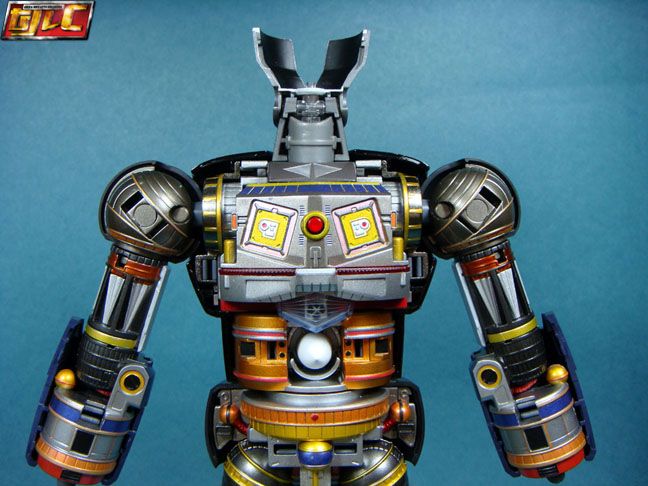
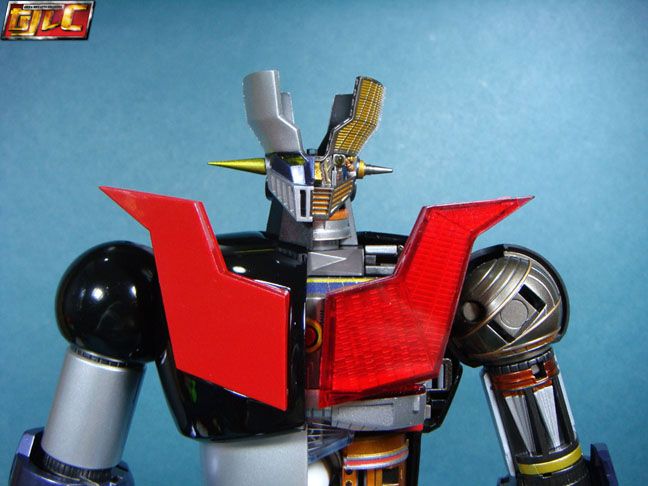
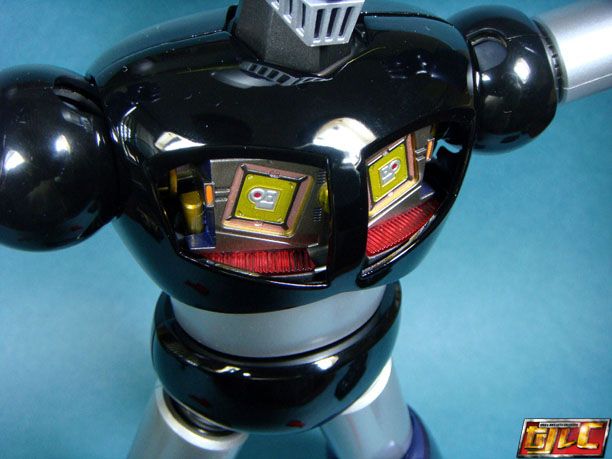
Breast Fire!
Light piping comes from underneath the “ribs” section of the torso
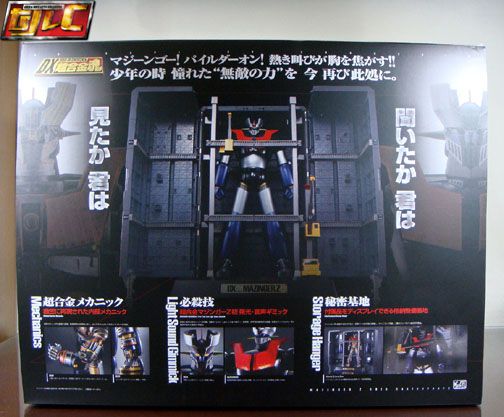
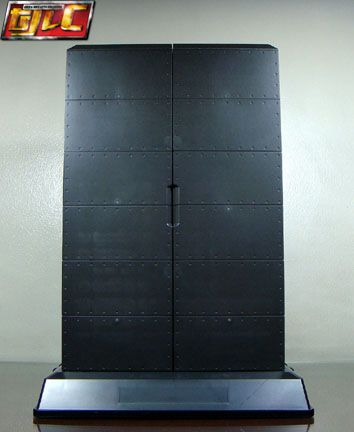
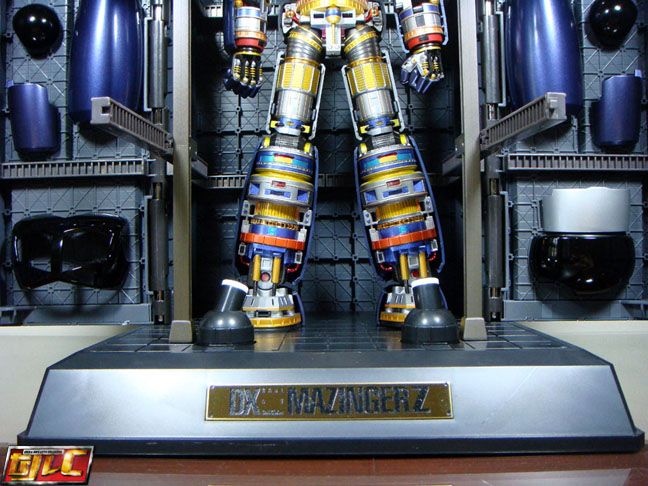
HANGAR BASE
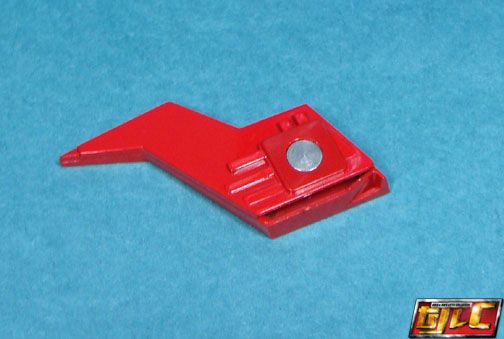
A metal nameplate is included, you can opt to apply sticker tape (included with the plate) on it to stick to the base, just leave it sitting there instead. I opted for the latter. The mount is angled a bit so the plate stays in place even without the stickers. Just remember it can fall off if you tip the hangar base too forward.
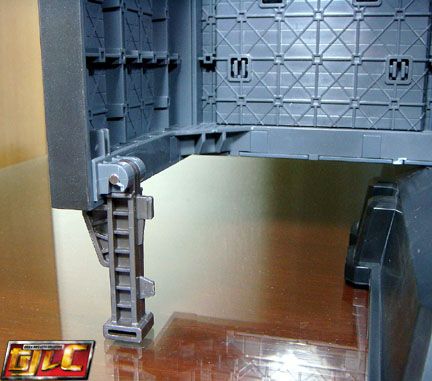
Support legs for the hangar doors.

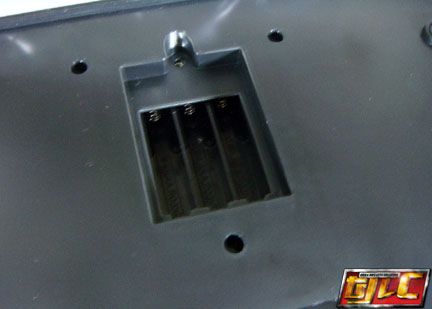
The hangar base requires 3 AAA batteries to run the display lights. Panel is located on the underside of the base.
The light switch is located in the back.
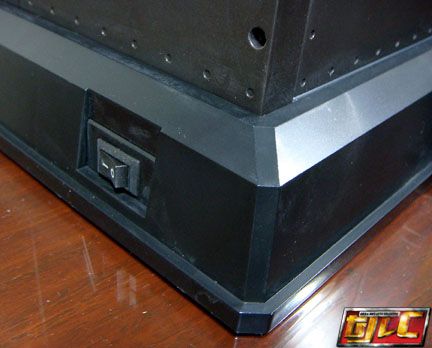
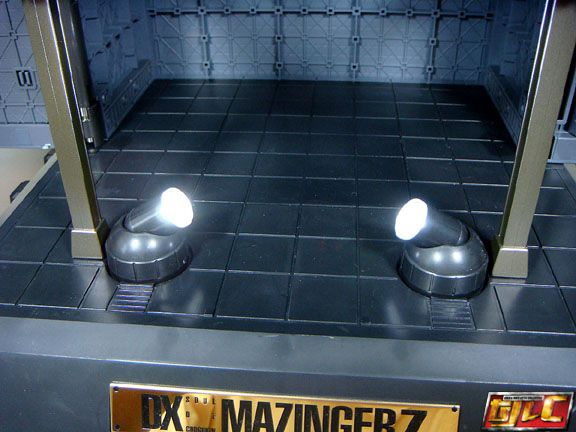

The lights are very powerful even in a well-lit environment.
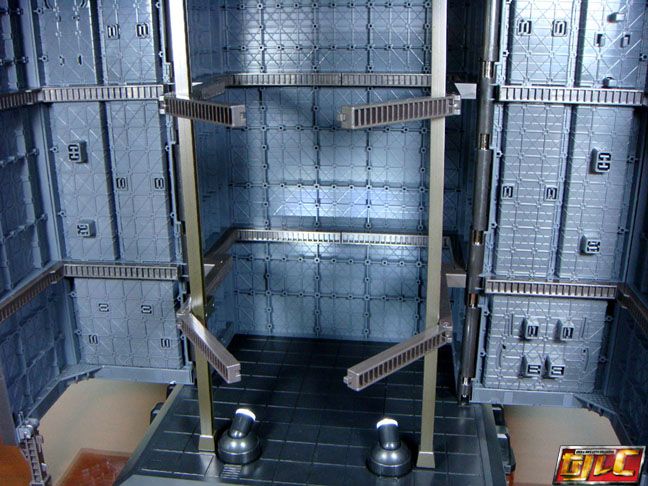
Mazinger’s armor parts can be stored in the doors. It’s a bit tricky in some parts but not too difficult.
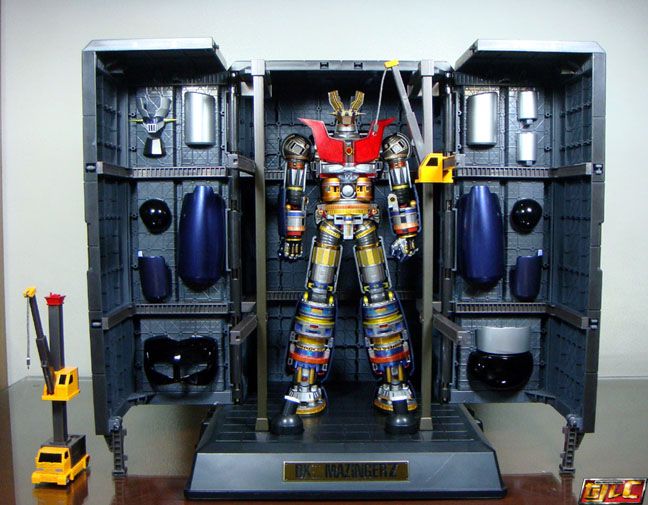
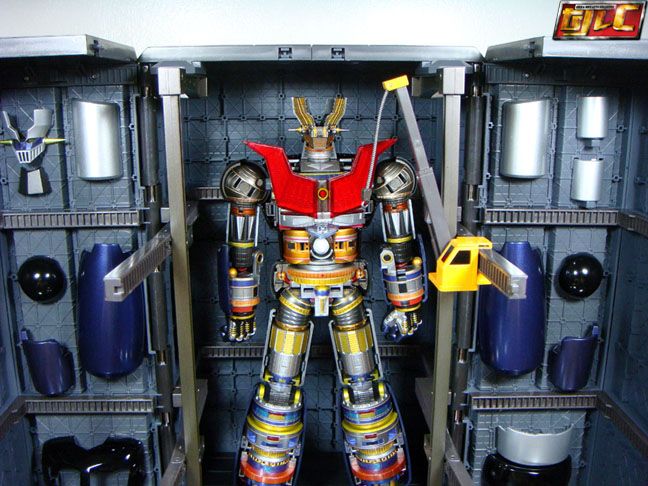
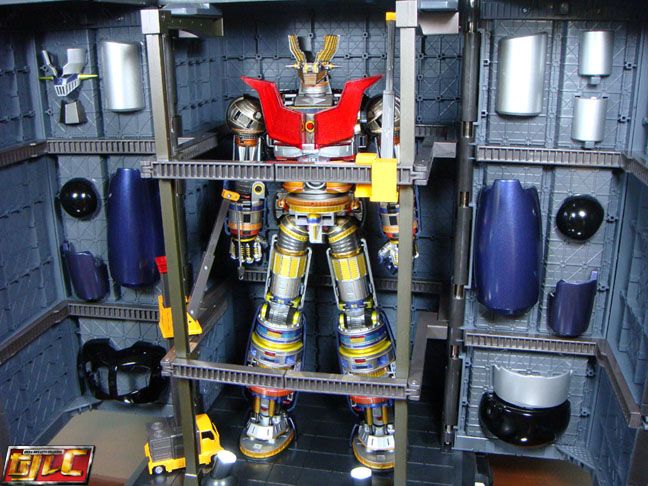
Mazinger plugs in securely to the back of the hangar base via this arm:
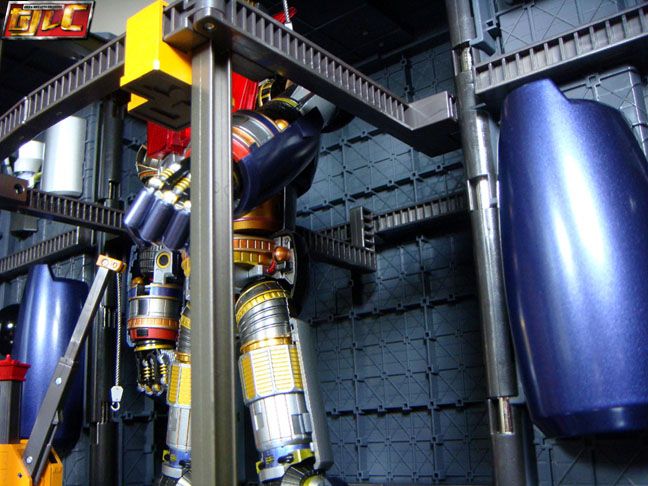
I strongly recommend plugging the arm into Mazinger first, then into the base, and not the other way around.
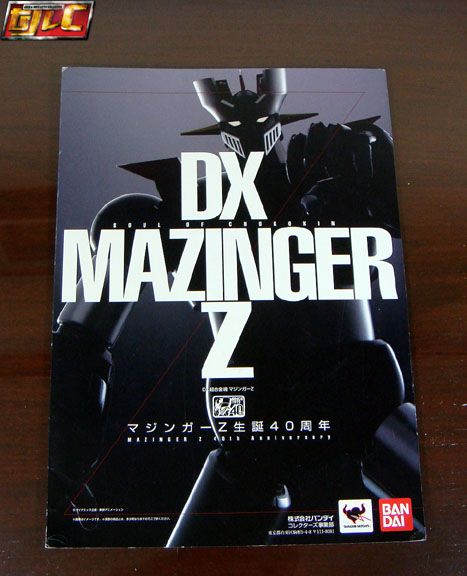
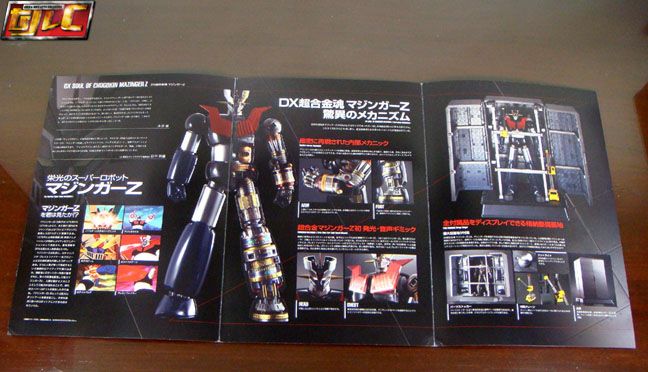
BONUS PROMOTIONAL MATERIALMagazine-sized, gate-fold pamphlet

There’s also a bonus free Go Nagai autographed poster for the first 100 Hong Kong customers who preordered.
I’m not 100% sure of the numbers (first 100 customers???) But the poster itself fetches an insane, hefty price in Hong Kong right now I hear. Some shops charging as high as an extra 1000 HKD for the DX Maz with the poster now? I don’t have first hand knowledge of this so I may be off, but that’s what I’ve heard.
The poster isn’t anything awesome though, even the autograph itself is just reprinted with the poster and not an actual “live” autograph.
(Image taken from the net)

The Good
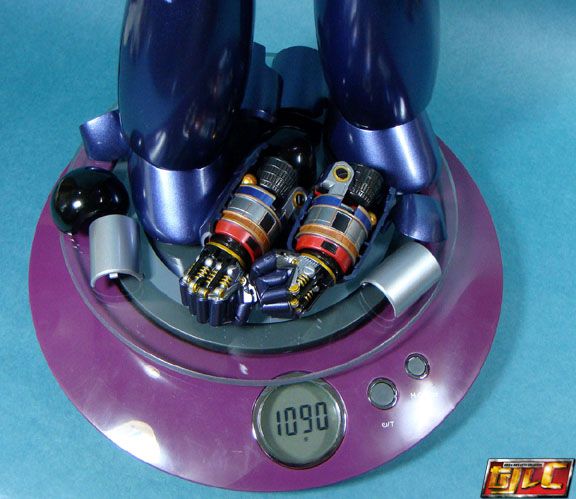
-The main “Naked Mazinger” weighs 635 Grams

-With the armor and accessories, the DX Mazinger weighs about 1090 Grams (over a Kilo)
-Diecast parts include:
—Inner shoulders (main body)
—Groin joins (main body)
—General crotch area (main body)
—The “pistons” in the ankle areas (main body)
—Back portion of the main torso (main body)
—Front upper torso armor (silver abdomen area is plastic)
—Front waist area armor
—Front lower leg armor plates
—Front feet armor plates
—The red elbow cables? At least according to the early prototype pics.
-Magnets used for the Breast fire pieces (also for the shoulder armor?)

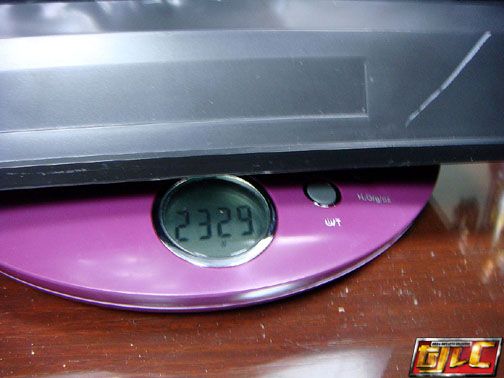
-The Hangar-base weighs about 2329 Grams
-Fully loaded with Mazinger and the parts and cranes, the hangar weighs roughly 3227 Grams

-Working electronics and sound effects.
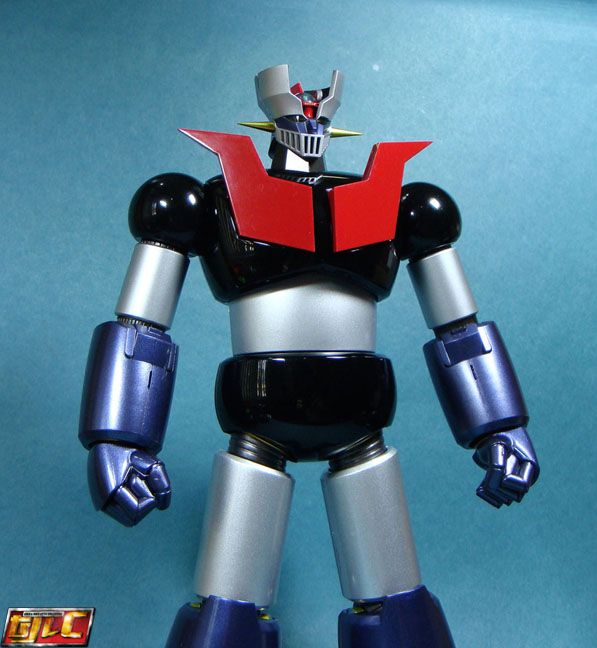
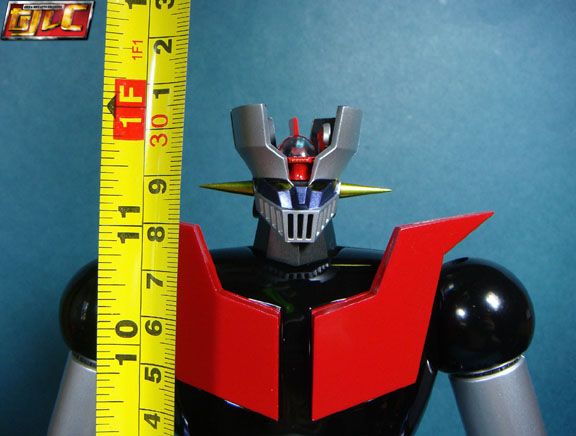
-Mazinger stands roughly 12 Inches tall.
-Good, solid joints!
-Connections for the armor plates are generally good and lock in solidly (except maybe the faceplate). I was half-expecting flaws everywhere. Glad I was wrong.
-A Manga is included with the manual, according to Go Nagai, it’s supposed to be episode 0 of the classic Mazinger. somewhat explaining why Koji’s grandpa has a huge hangar underneath his house and what his relationship to Dr. Hell is.
The Bad
-Koji’s a bit slant in the Hover Pileder in my unit. I know it sounds like I’m nitpicking but it really bugs me.
-The music track seems kind of weak on mine, the voice clips are clear but they easily drown out the music when activated. Anyone else feel the same? I was kind of surprised at how low the volume was for the music.
Case in point, if you watch the video I uploaded of the electronics, you can hear the sound of a truck horn in the background at one point, given that I was three storeys up and it recorded that clearly, while I’m only inches away from the toy and the sound from Mazinger sounds like it’s across the room, it gives you an idea of how weak the audio volume is
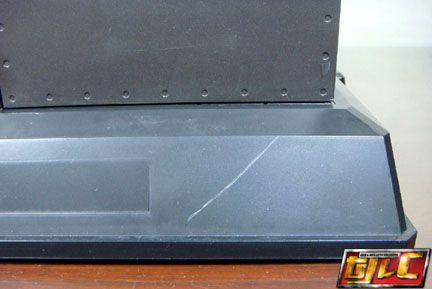
-Sigh… there’s a huge, ugly scratch on the front of my Hangar Base, right out of the box and right next to the name plate…luck of the draw, eh?
-Very, very tight wrist pegs, can be a problem when swapping the fists.
-No working Rocket Punch?
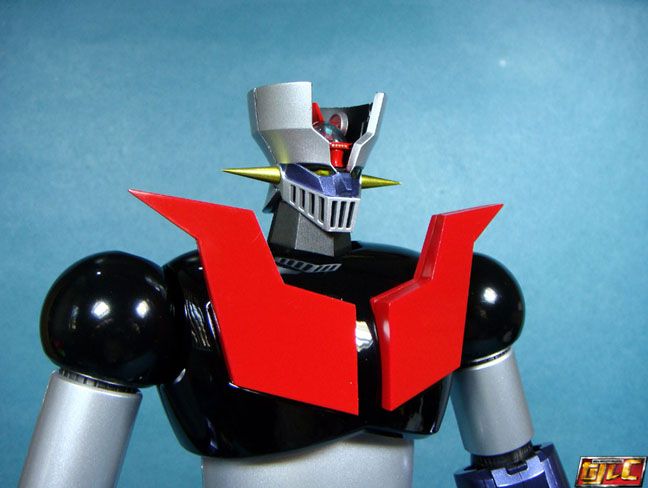
-Faceplate comes off too easily
-Shipping box could’ve been a bit thicker, or at least have some styrofoam lining the corners, something like what Fewture does with its shipping boxes
The Ugly
The elbows. Particularly the right one. I think this has been a big problem for some. It’s a big enough of a headache that Bandai had to address it by posting an online “guide” for it. Which means it’s not an “isolated case” thing.

To properly insert the forearms, you have to first press on this red cable here:
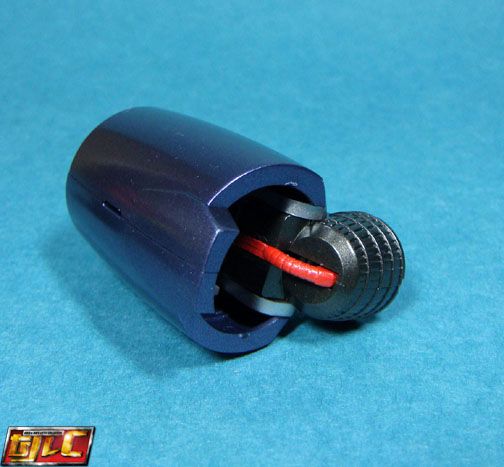
This will make the connector piece pop out on the other side.
You then have to align the connection properly, plug the connector in and press hard against that red cable and wait for the “click” to make the connection lock in right.
Unfortunately, this isn’t an absolute solution, as there are reports that even after trying this the connection isn’t that great.
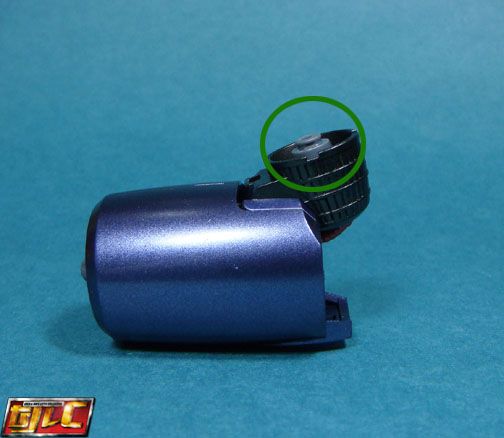
However, strangely enough, on my unit, the right elbow is missing a spring. Normally when you press against the red cable, you will feel some resistance due to a spring inside. My left elbow has this. But my right elbow is missing the spring.
This is actually a good thing, as the spring retracts the connector joint. In fact, the spring works against the connection. I really don’t know if this is an unofficial fix or running change Bandai made after the whole elbow flaw fiasco or an accidental QC mistake that fixed the problem.
Personally though, I would’ve preferred they gave us something simpler for the forearm connection, even along the lines of Gx-01/01R. Heck, they already “cheated” on the Drill Missile area by having to swap out the bicep plate, why not just throw in the whole package and swap the entire assembly like with the Gx-01/R, instead of giving folks grief with the weak forearm connection design.
In conclusion, this is still a decent piece, but given the price point and the big negative (the elbow), it might be something for the diehard Mazinger Z fans and maybe not for the casual, selective Gokin collector.
On a more personal note, however, a bigger disappointment for me is the lack of a working Rocket Punch, since for me, that’s the attack that defines Mazinger as Mazinger.
Funfact: “Kabuto” means helmet in Japanese.
Gold