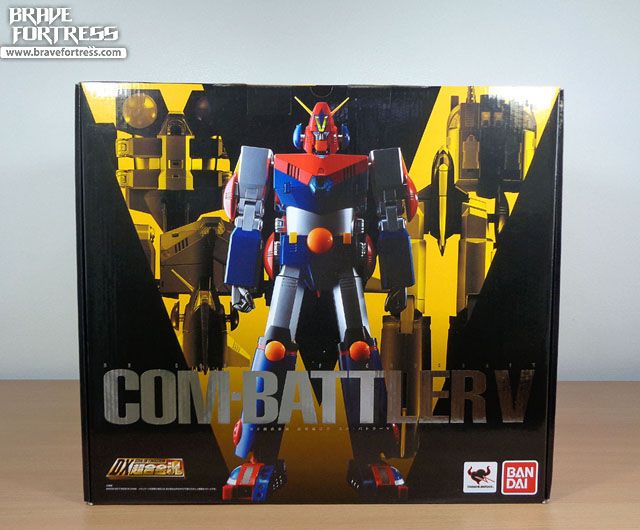
Soul of Chogokin DX Combattler V
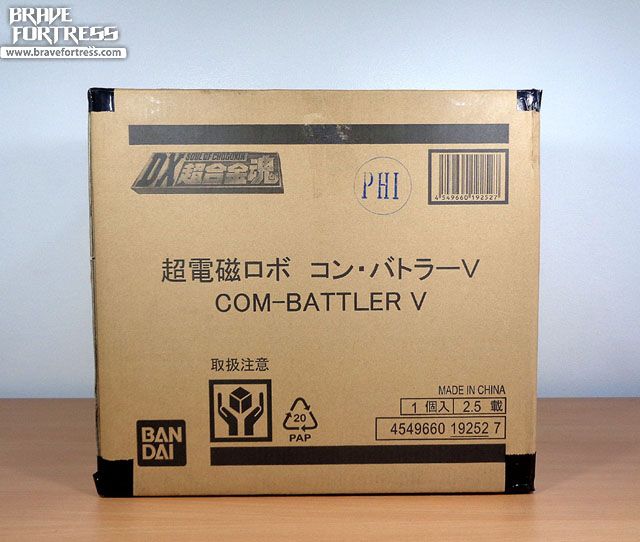
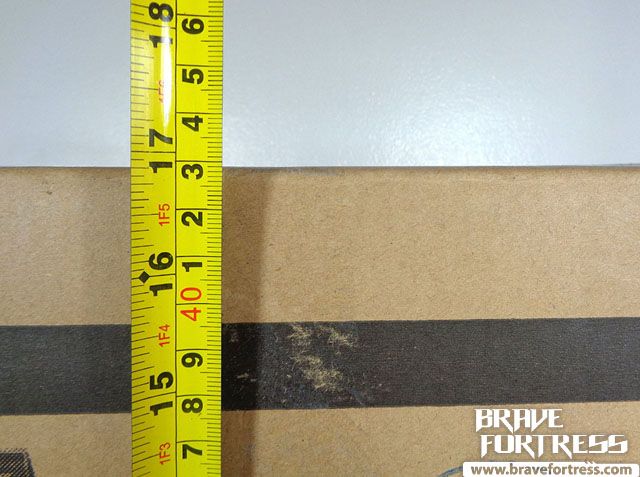
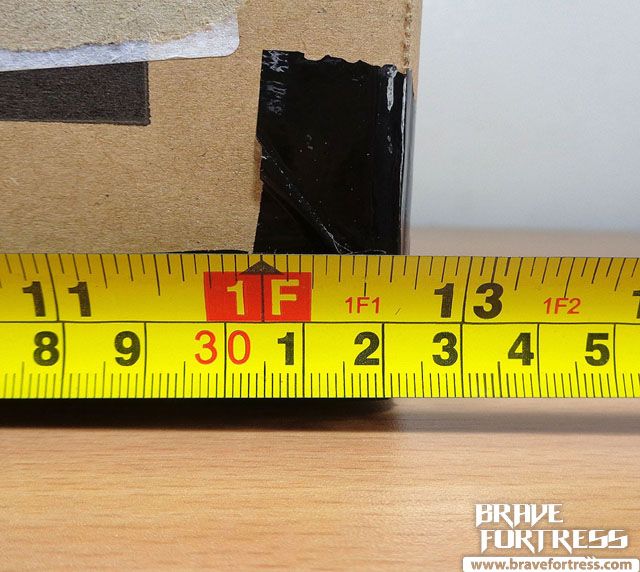
Box measures 18.5 x 17 x 12.5 inches

Hehe, Bandai Philippines holo sticker.
Inner box
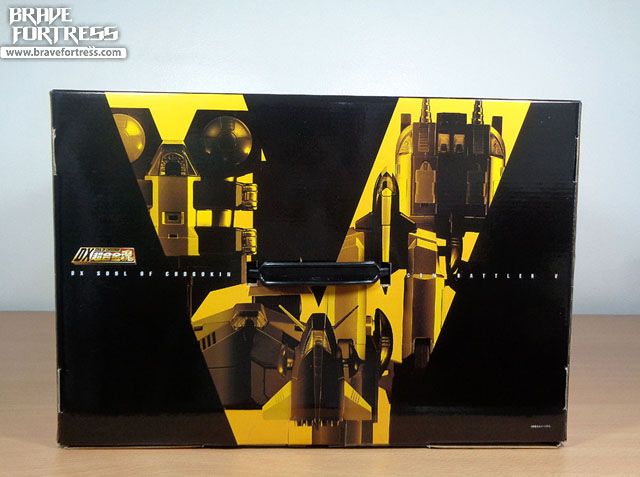
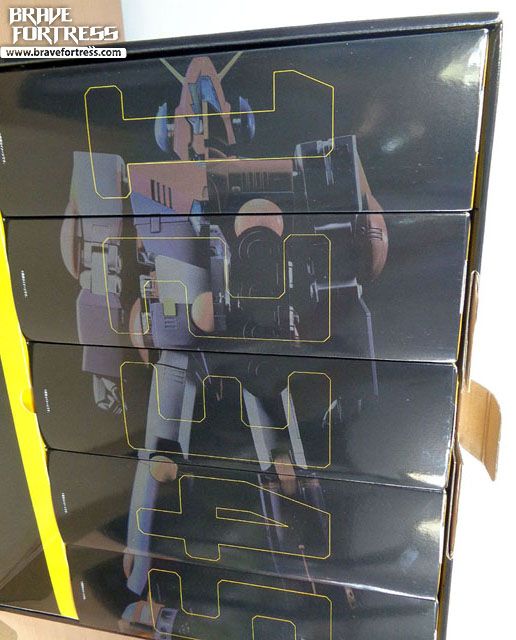
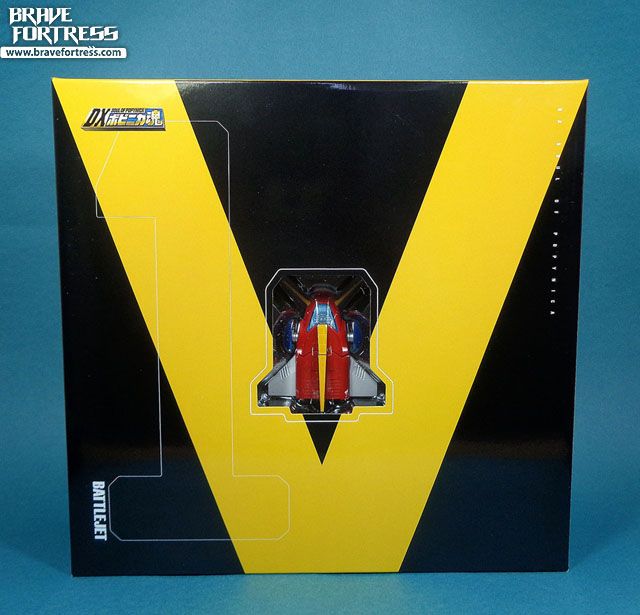
Unlike the usual, the box opens up from the front this time around.
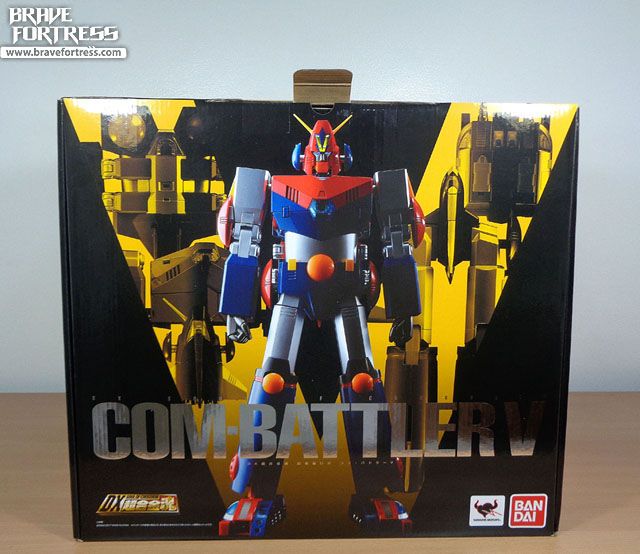
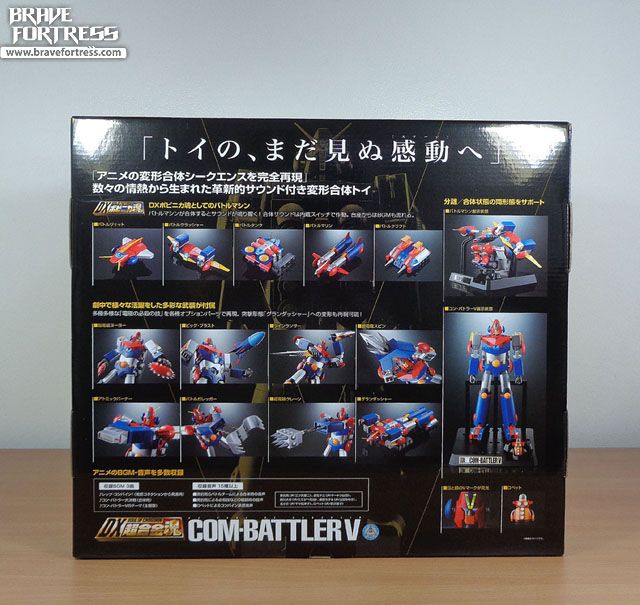
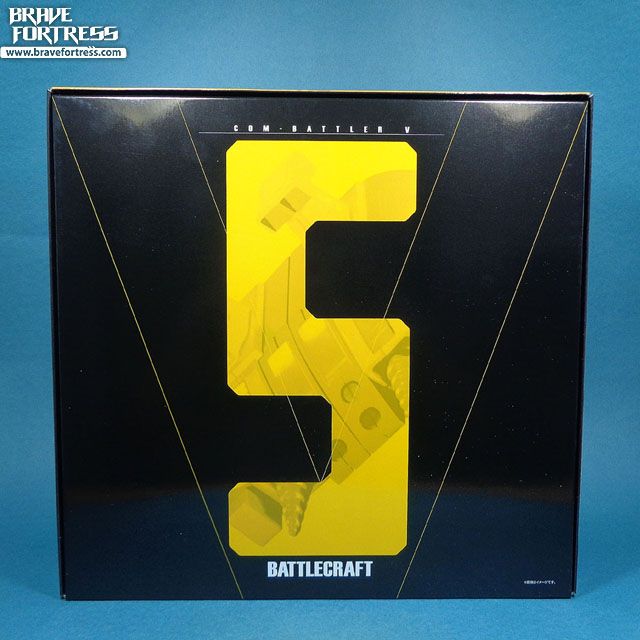
The graphic design for the boxes are impressive, to say the least. You can see both the back and the front of Combattler in this spread.
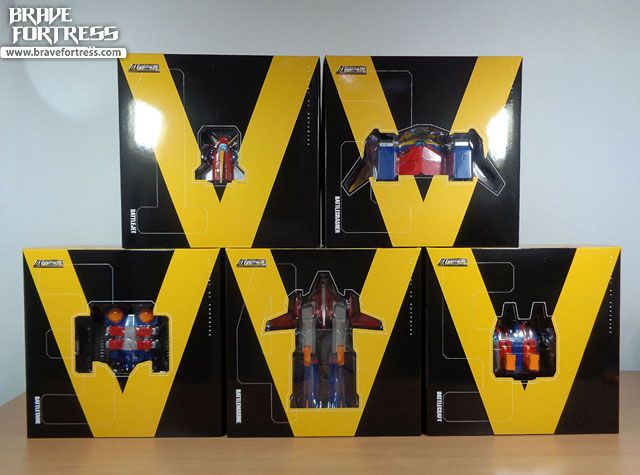
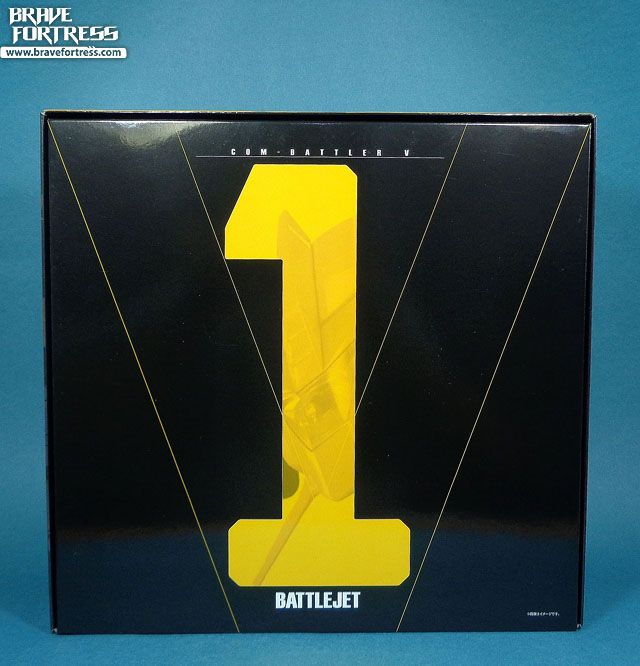
The Battle team
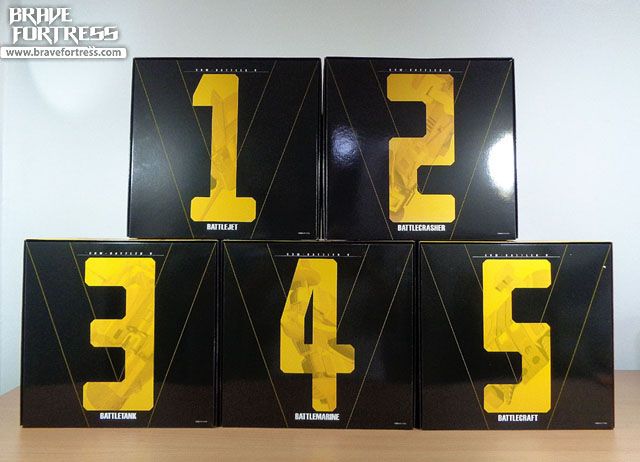
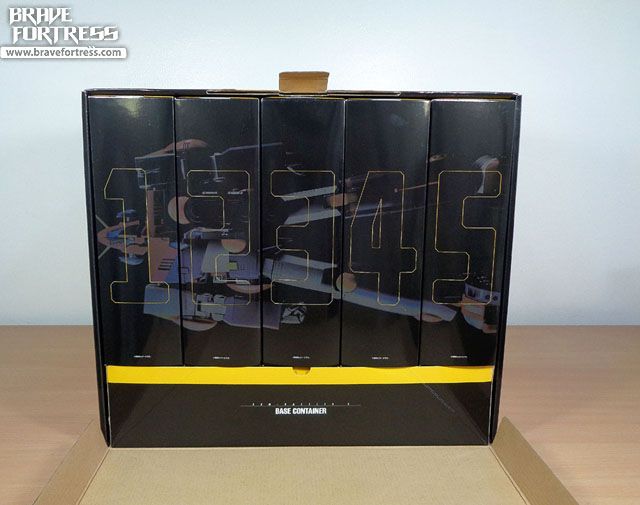
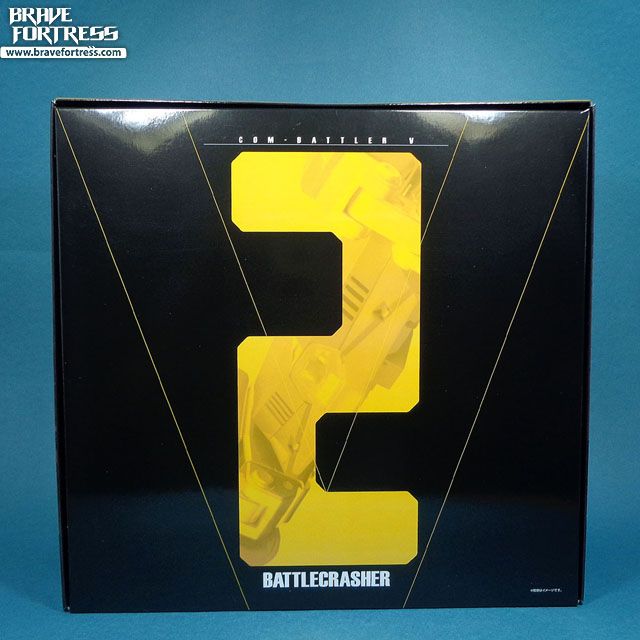
You can make out the machines on the numbers on the boxes.
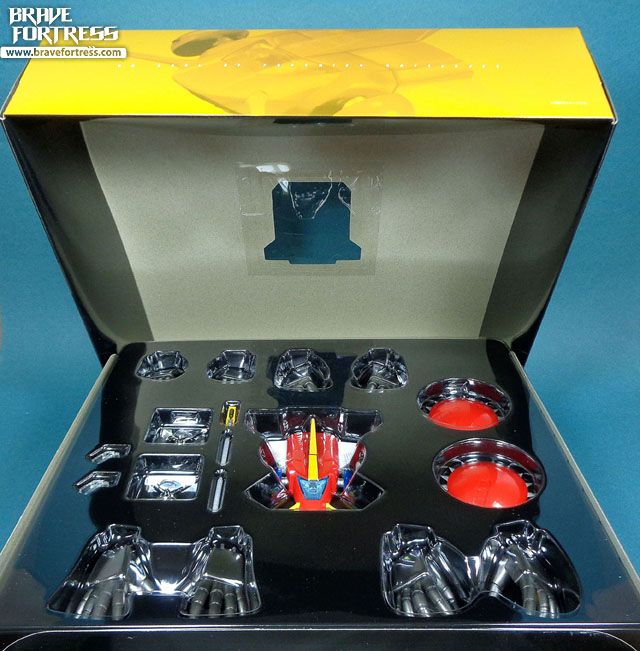
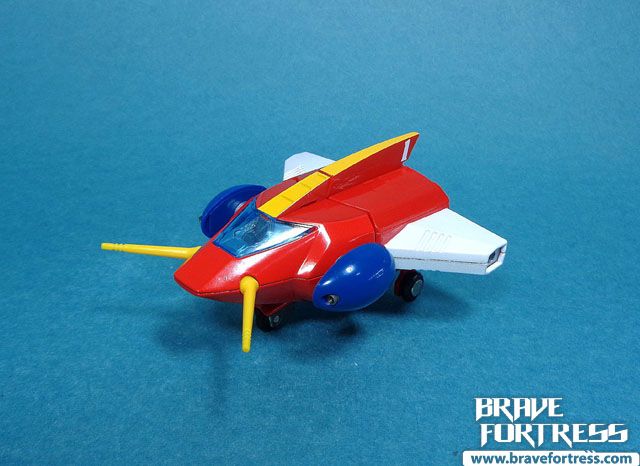
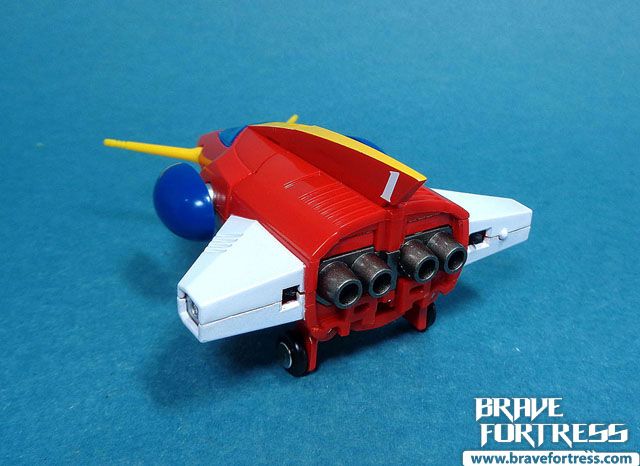
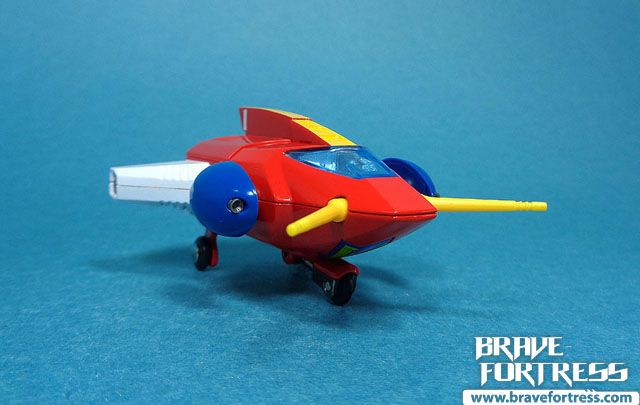
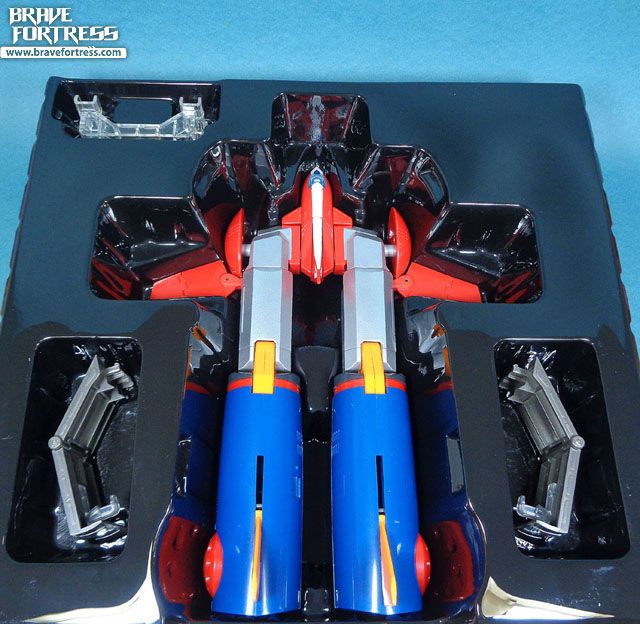
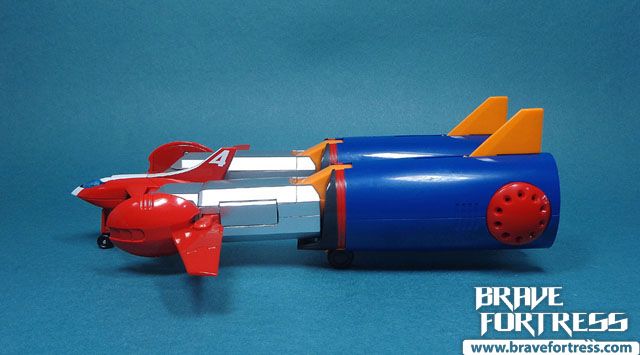
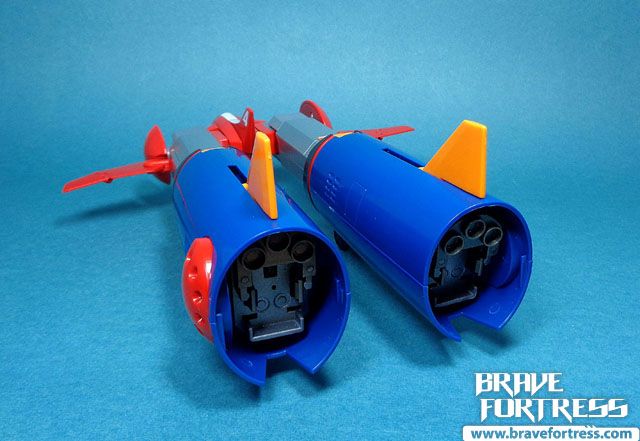
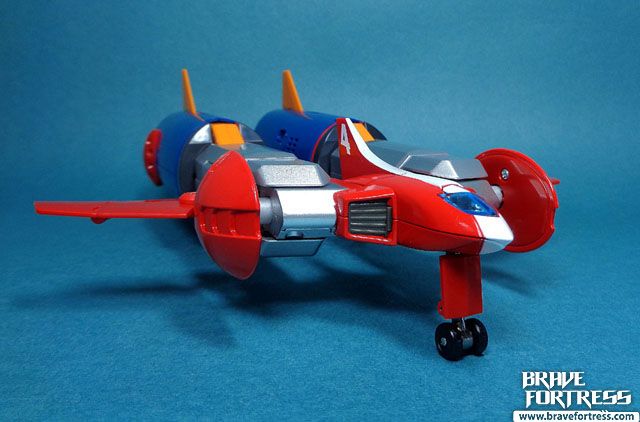
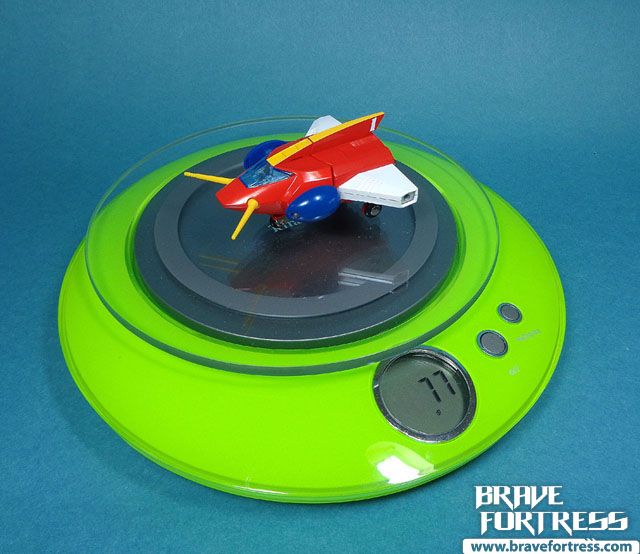
Battle Jet
Pilot: Hyouma Aoi
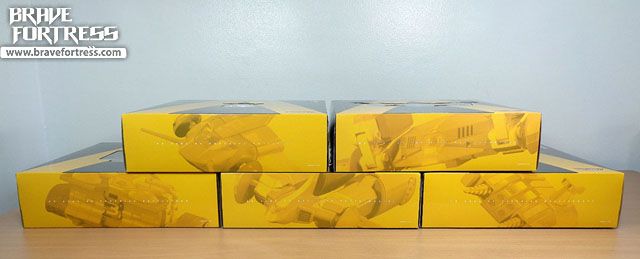
The boxes are similar to how a standard pizza box is opened. The top and bottom halves are part of one continuous cardboard piece.

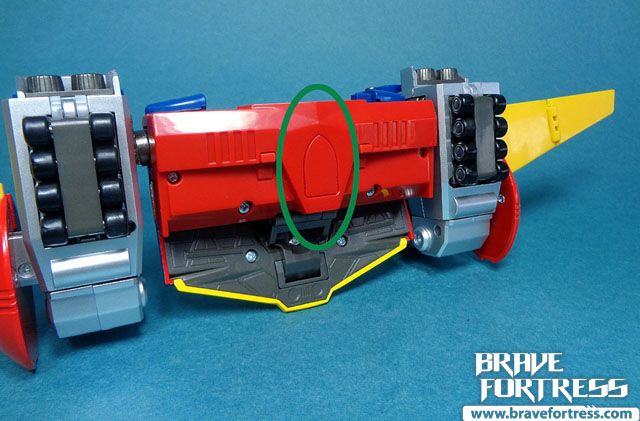
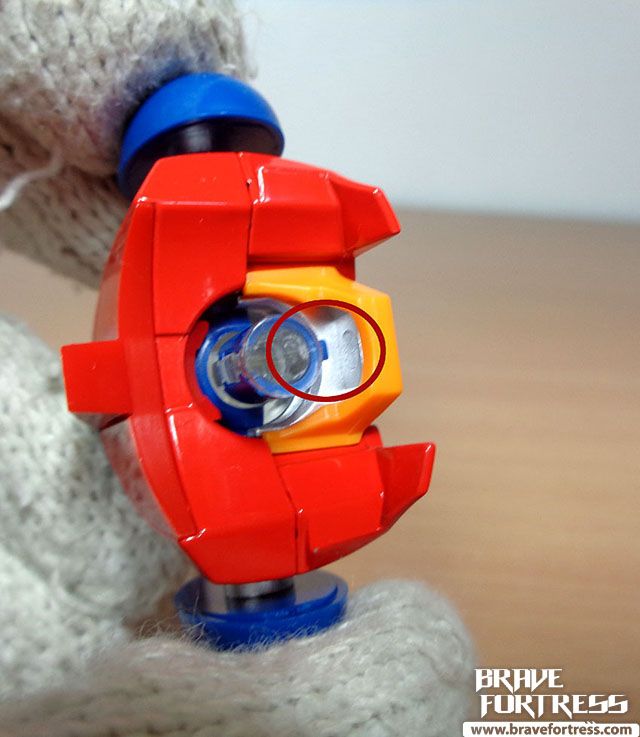
Magnet Laser
This requires you to remove the default plate first and swap in the plate with the Magnet Laser exposed. Do note that the cover falls of VERY EASILY. So be careful not to loose this piece.

Dospressure cutters
Note, the Dospressure cutters are supposed to face this way (they rotate clockwise).

Vulcan Missiles. The Vulcan Missile guns are a bit hard to pull out, you’ll have to use your fingernails to try to pluck out the barrels.
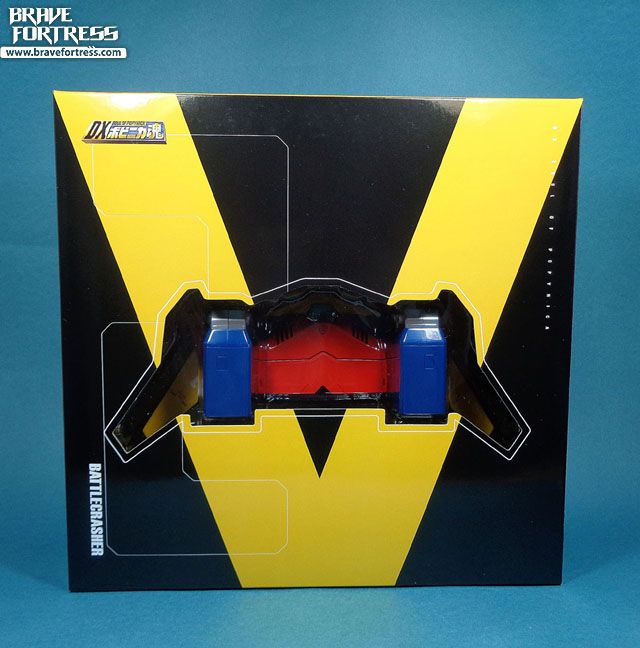
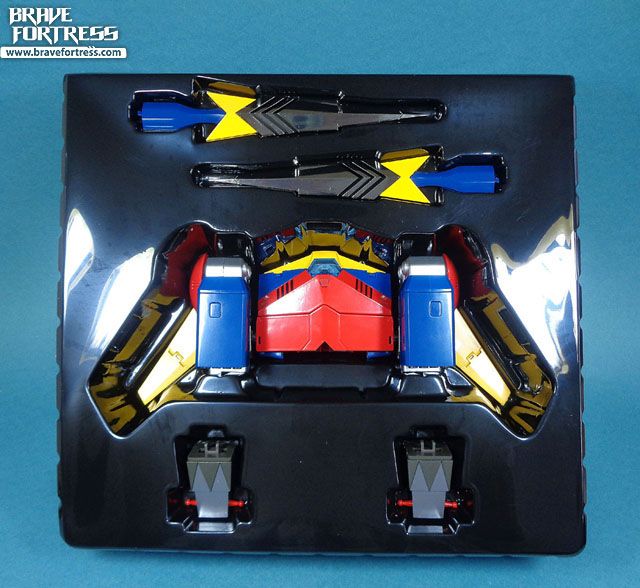
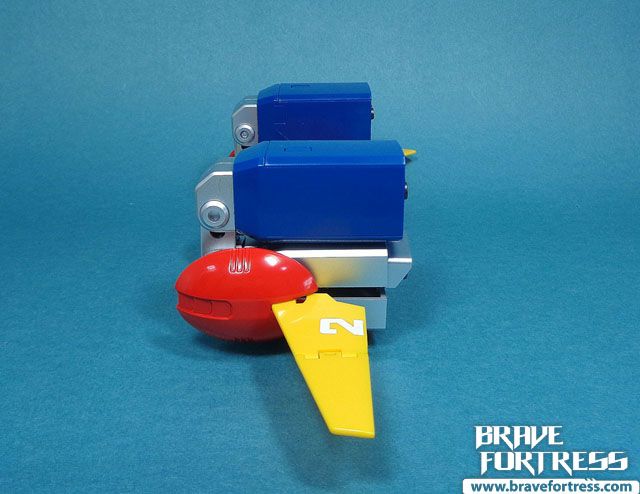
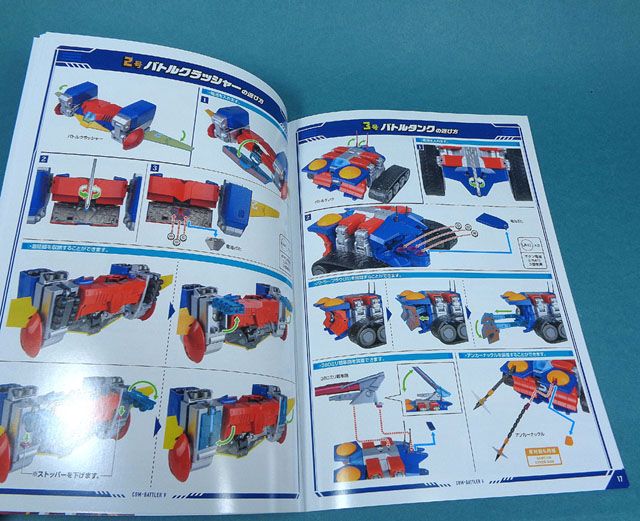
Battle Crasher
Pilot: Juuzo Naniwa

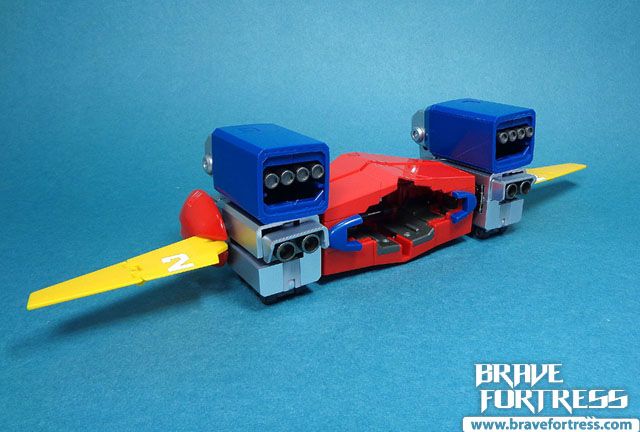
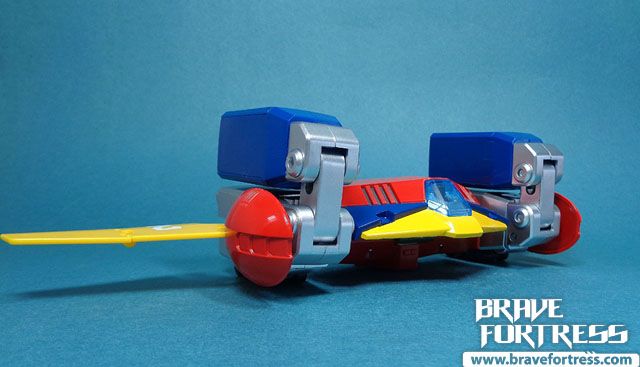
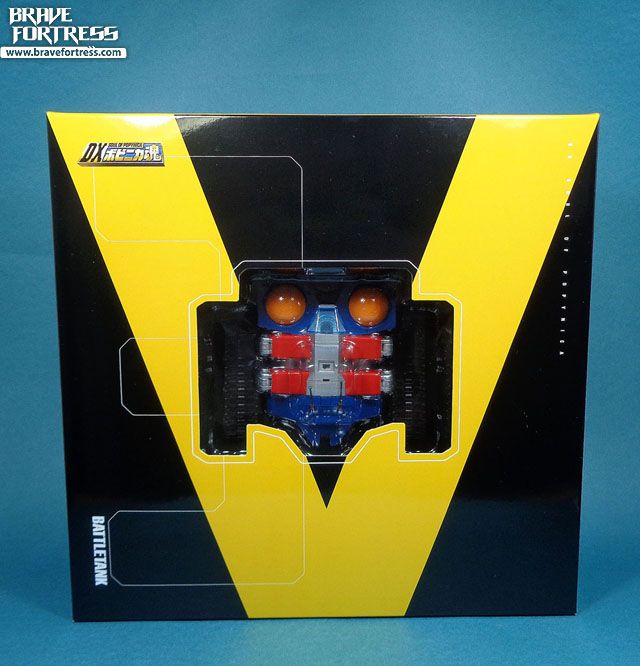
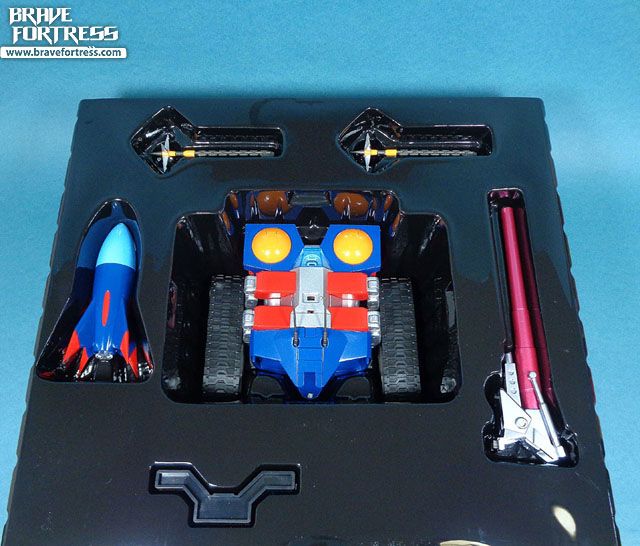
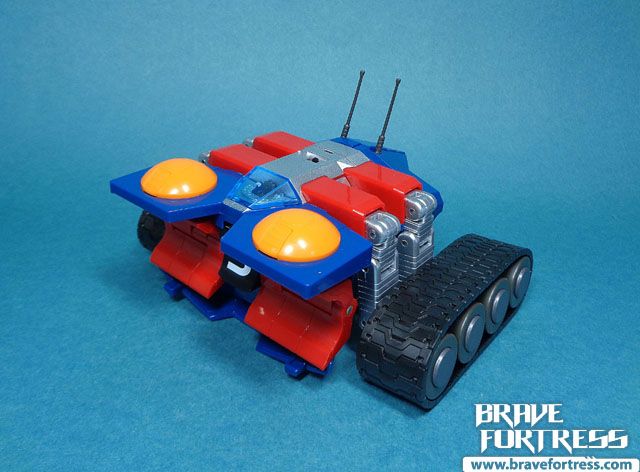
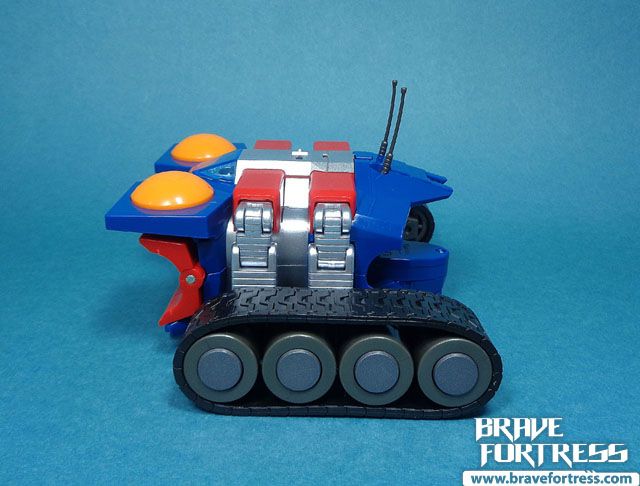
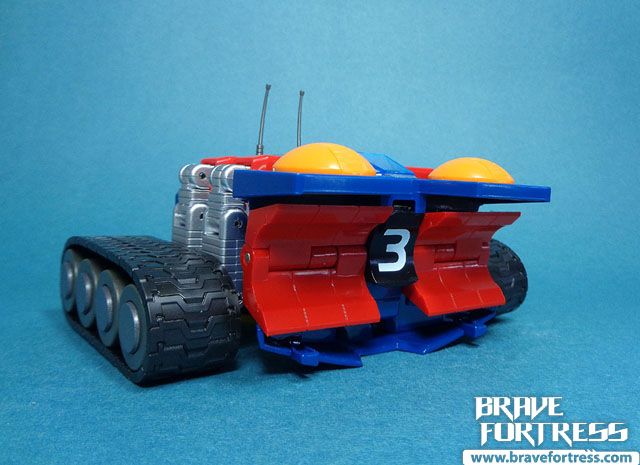
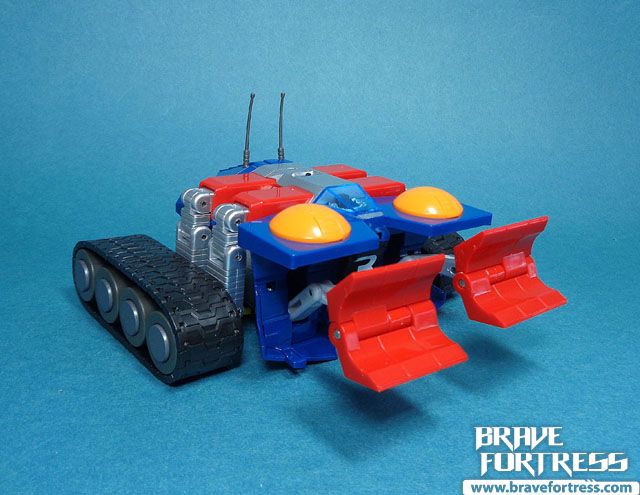
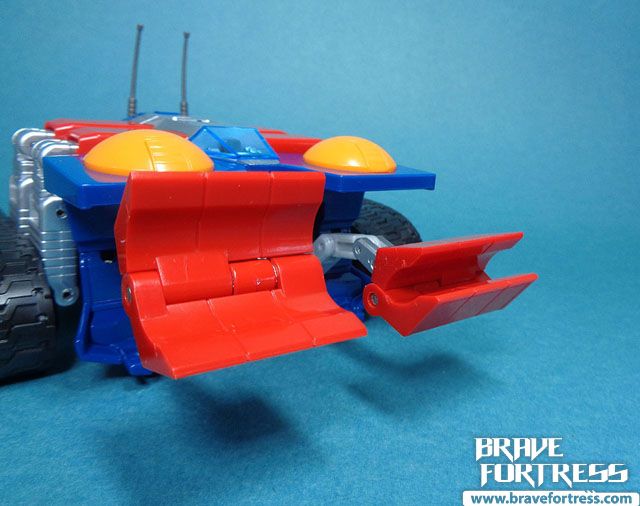
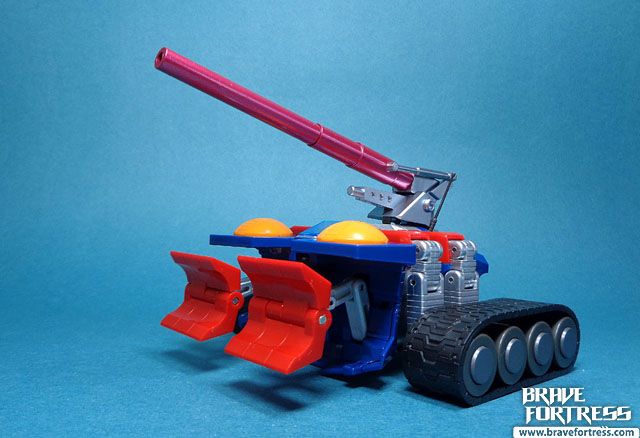
Battle Tank
Pilot: Daisaku Nishikawa

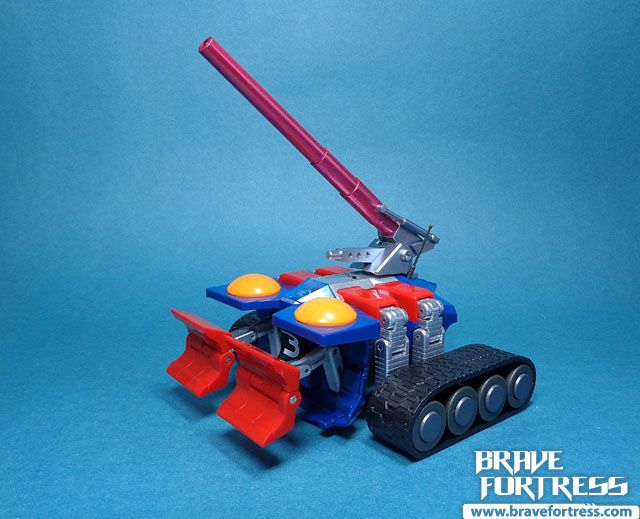
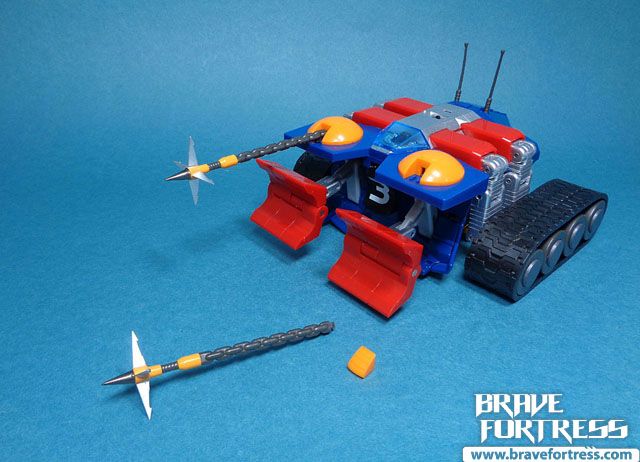
The claws can be expanded out for use.
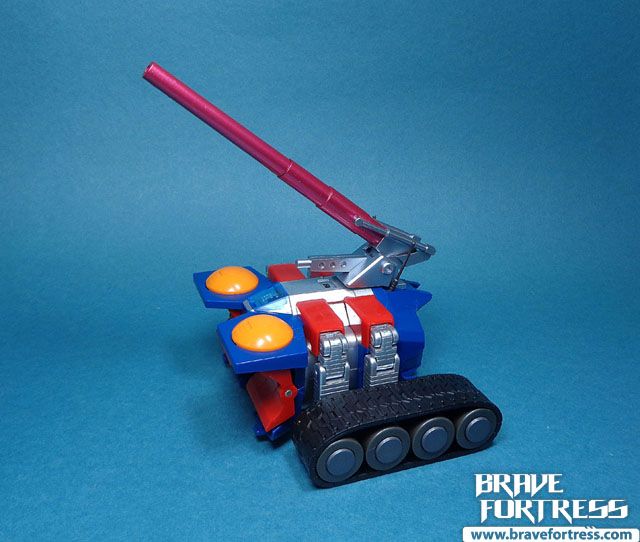
To attach the 380 MM tank cannon, you have to first remove this plate cover.


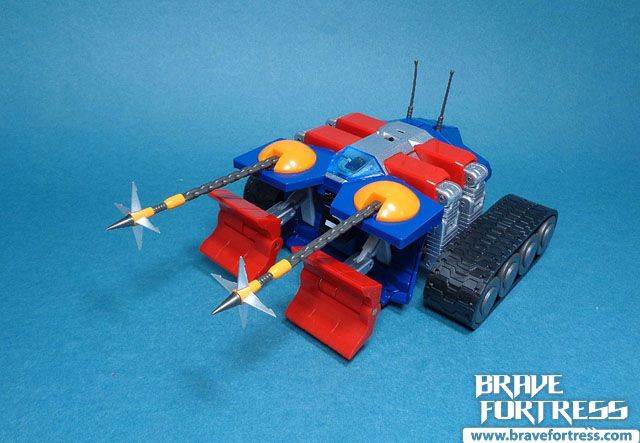
Anchor Knuckles
Again, requires removing some pieces first before attaching.
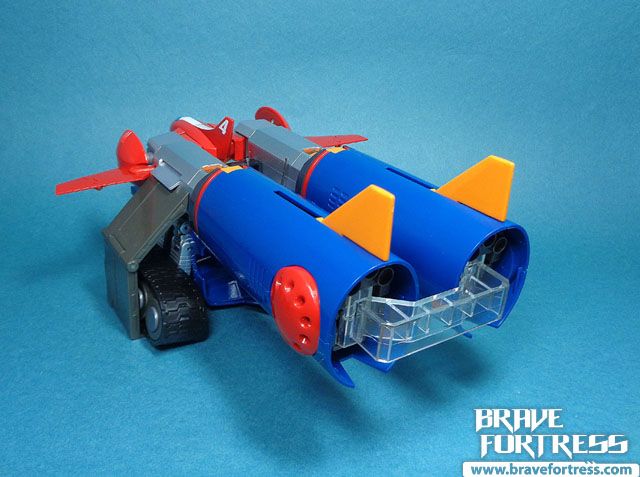
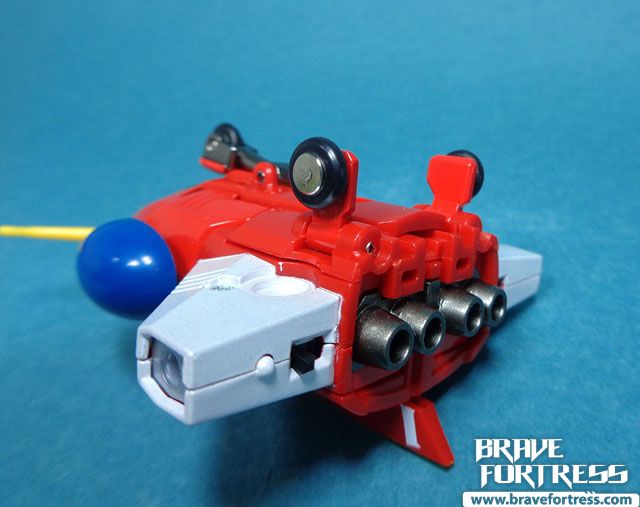
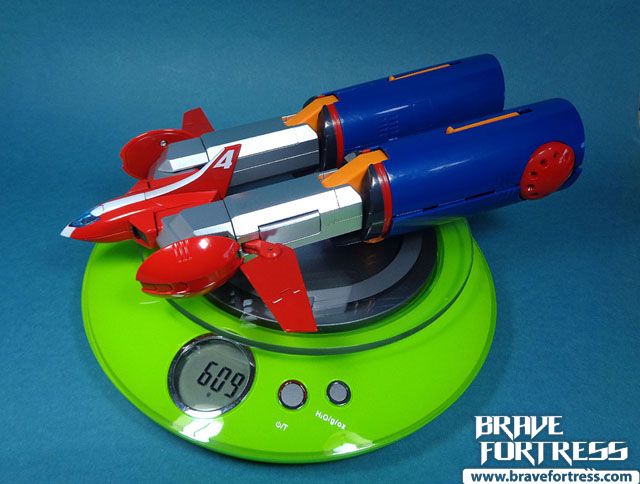
Battle Marine
Pilot: Chizuru Nambara


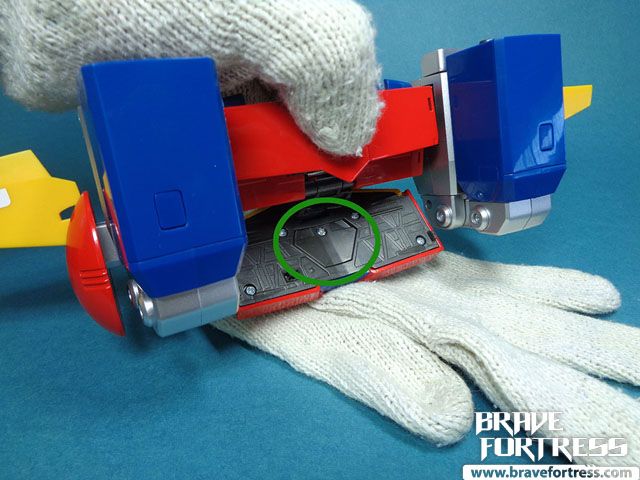
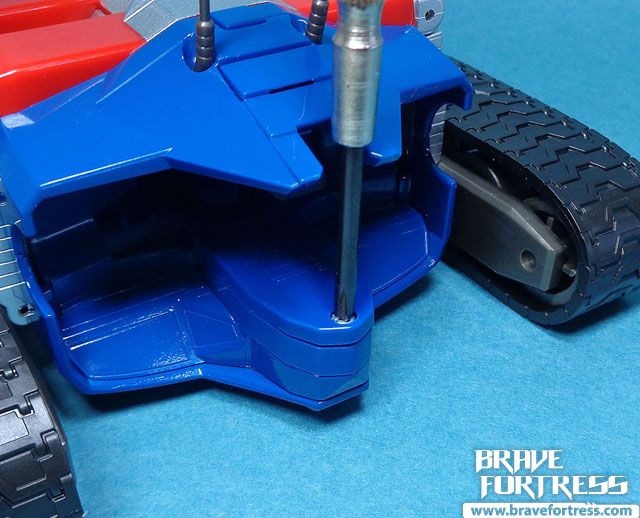
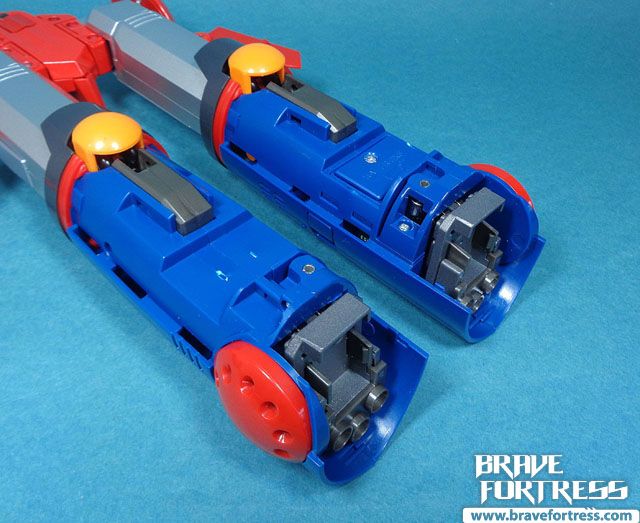
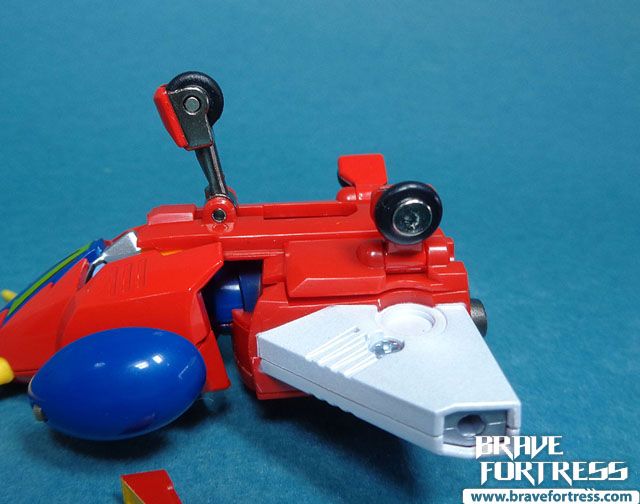
About that landing gear mechanism…
One of the more annoying aspects of this toy (if you don’t know how to read the manual) is returning the rear landing gears.
The orientation of this pic is Knee – lower leg – ankle. The landing gear is currently set out and fixed into slot B.
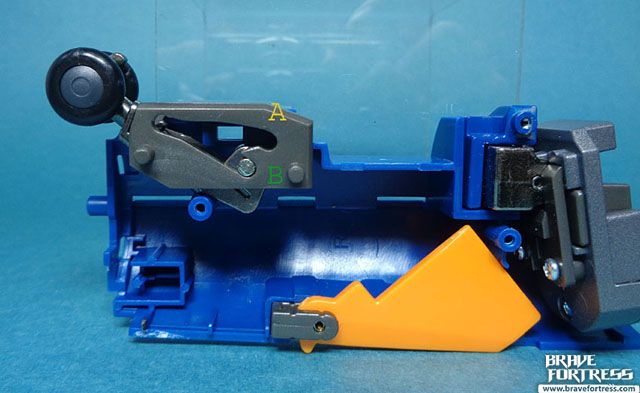
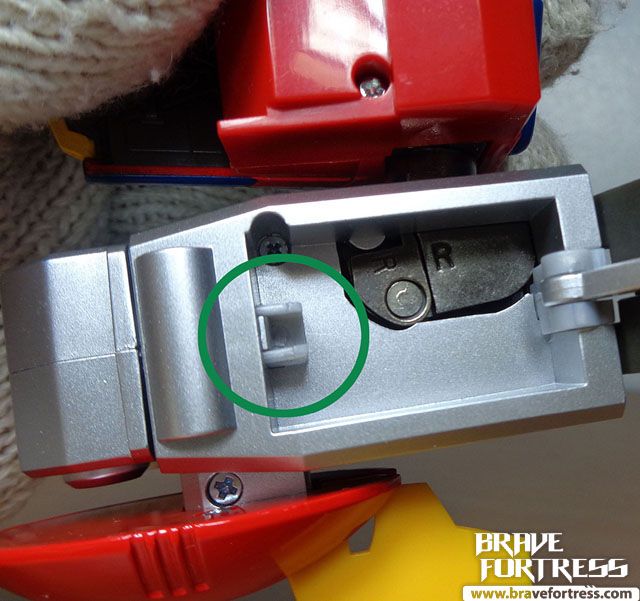
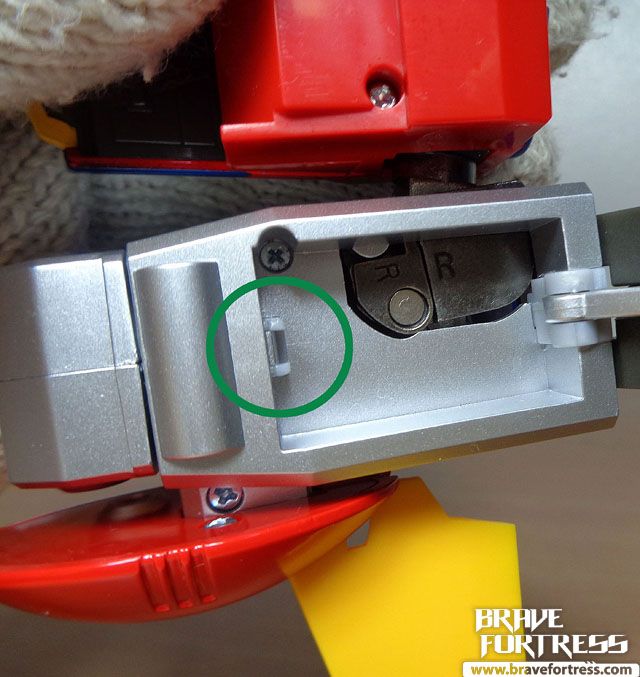
In order to return the landing gear to “retracted” position, you have to first pull it out all the way, then try to shoot it back into Slot A. It takes some getting used to and it is very tricky to do since you can’t really see much except through a small window slit there.
For me, it took 20 minutes of fiddling with it (I couldn’t make out the manual), before I finally gave up and took a screwdriver and disassembled the blasted thing to see what was going on in there. lol…. yeah, the Gx-50 did this so much better.

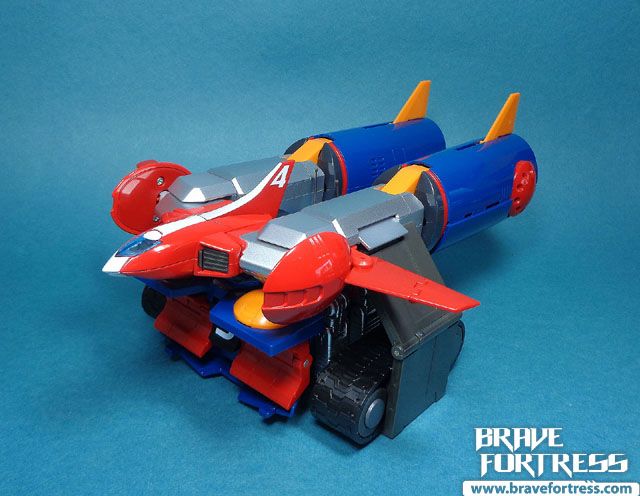
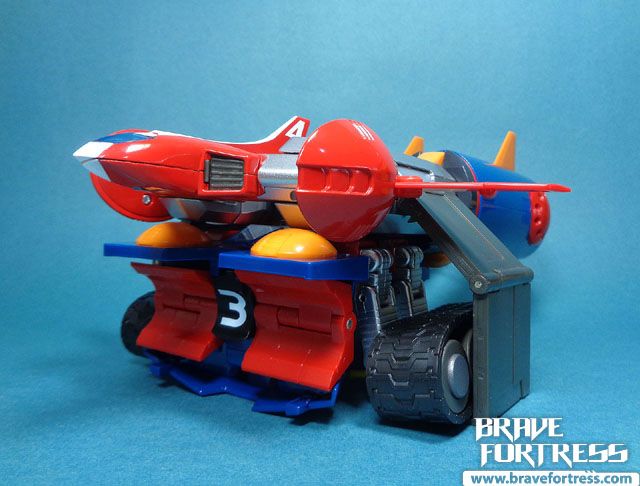
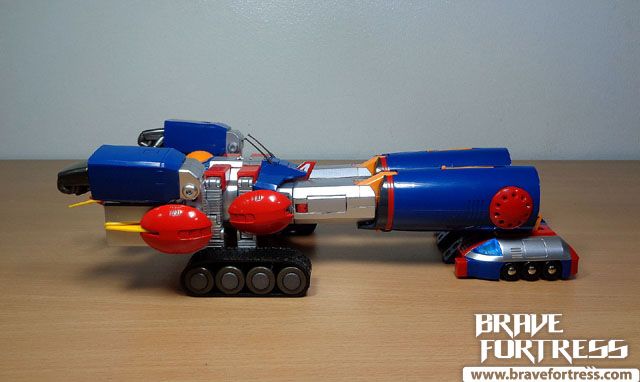
The Battle Marine comes with attachments for it to carry the Battle Tank (it’s the only vehicle that can’t fly) across various distances, sort of like a drop ship.
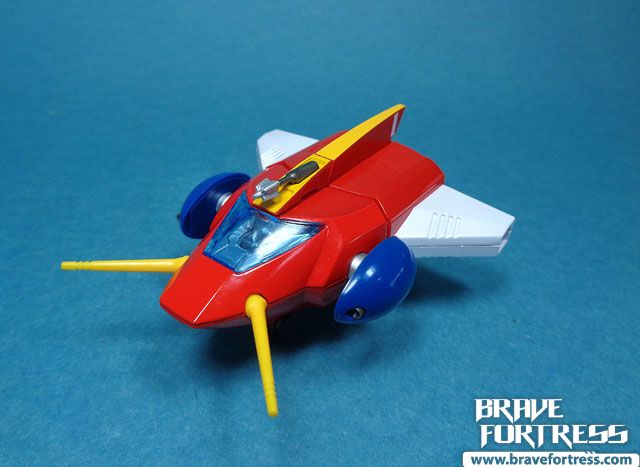
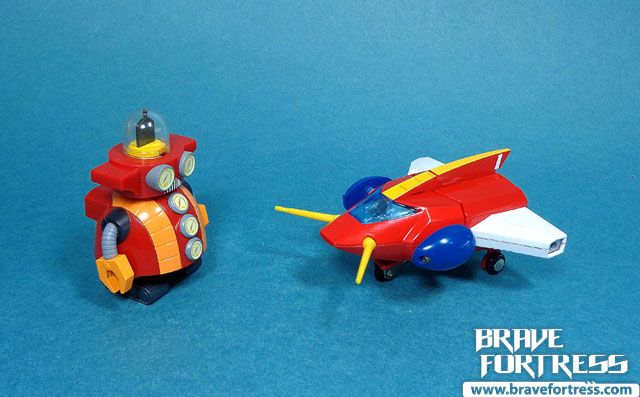
Battle Craft
Pilot: Kosuke Kita
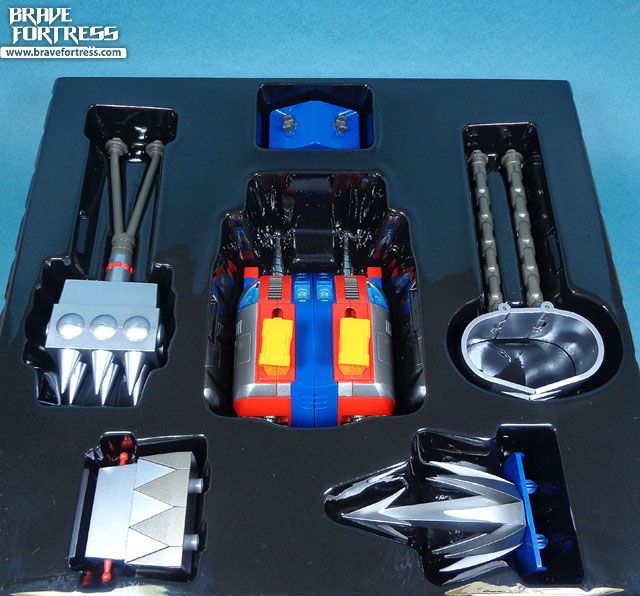
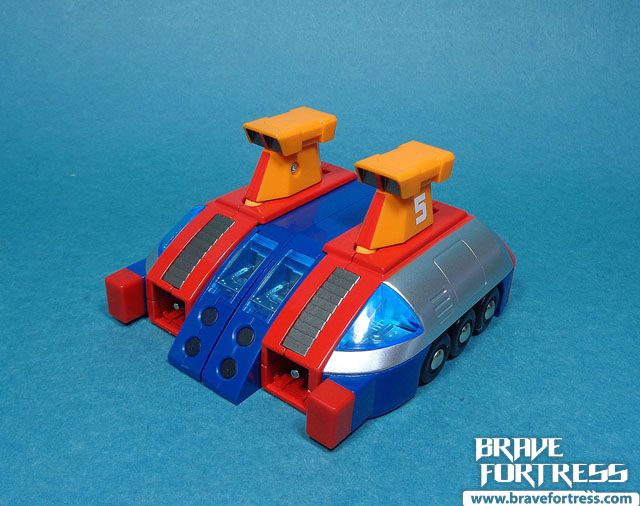

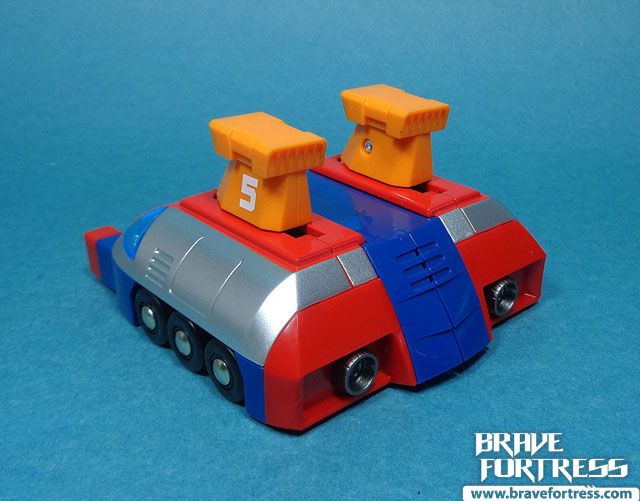
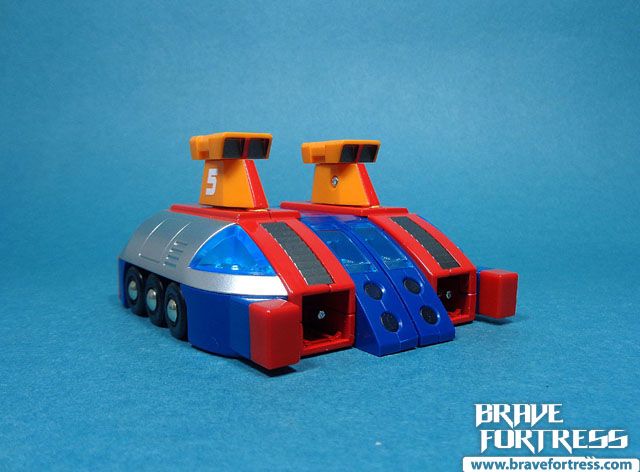
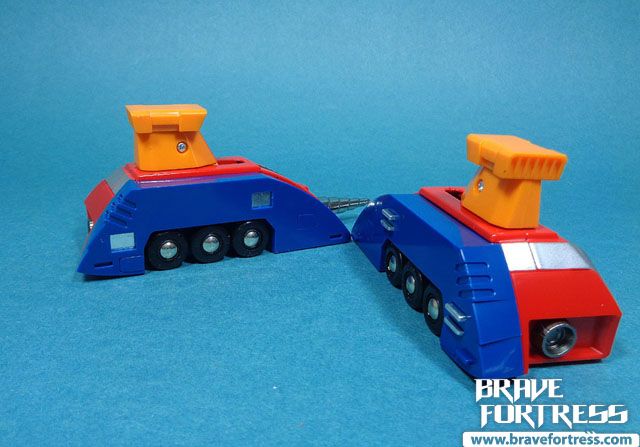
The Battle Craft’s halves are held together by magnets. The Magnets are OK, but don’t expect them to hold that well. You can lift the entire thing by just holding one “foot” but shaking or twisting the halves will easily cause the other side to disconnect. Best to hold onto to this unit with 2 hands at any given time.
The Battle Craft is the only vehicle that doesn’t have electronics. I find it ironic since the team’s child prodigy and tech wiz is the one who’s piloting this thing.

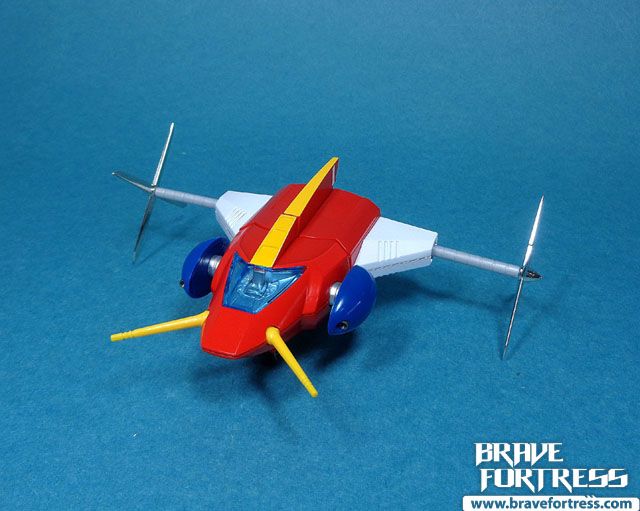
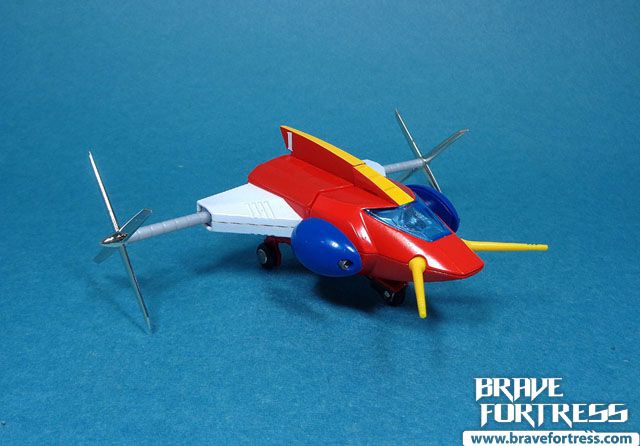
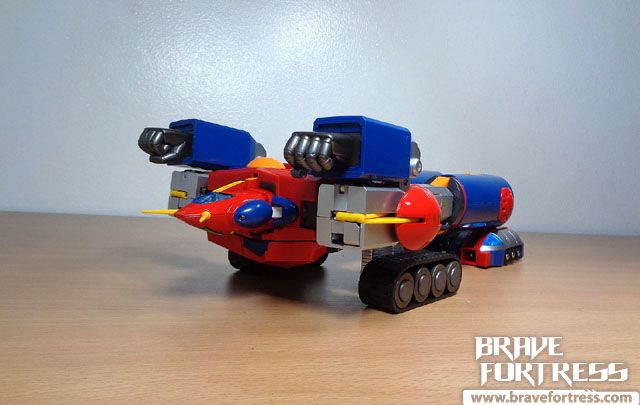
Drills
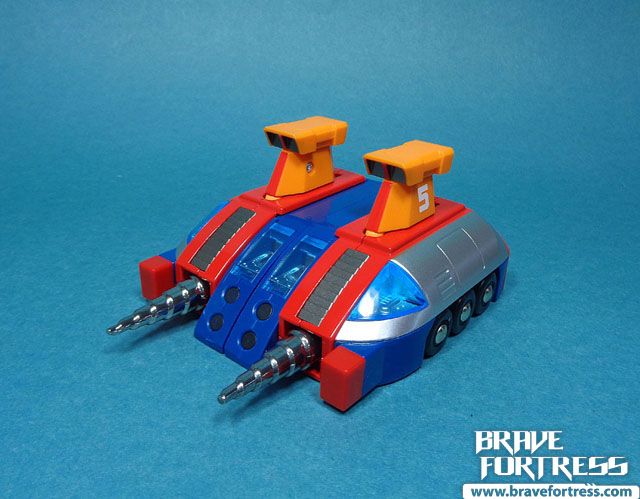
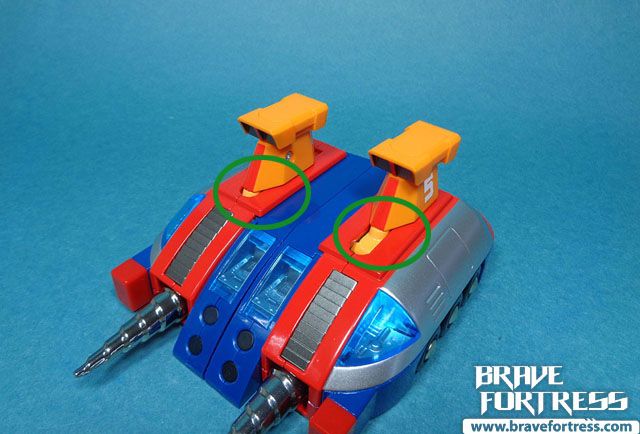
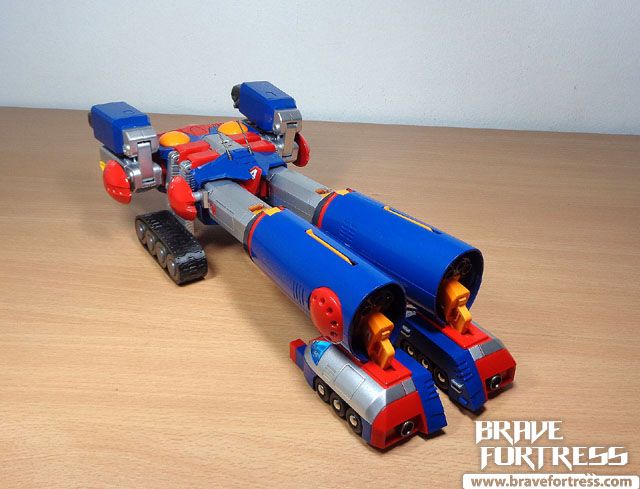
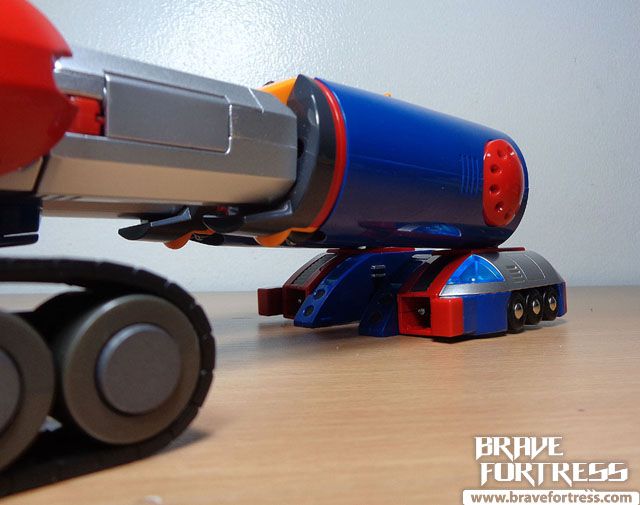
Warning! Make sure Battle Craft’s towers are slotted into the FORWARD position. This will make sure Combattler will not tip over to the front. The towers can slot to the rear since it’s a gimmick for allowing Combattler to transform into his Gran Dasher tank mode (the ankles bend forward). But this can cause issues with Combattler’s balance if not slotted into the proper forward position. To make matters worse, by default, the towers are slotted to the rear when you first remove it from the trays. Sigh…
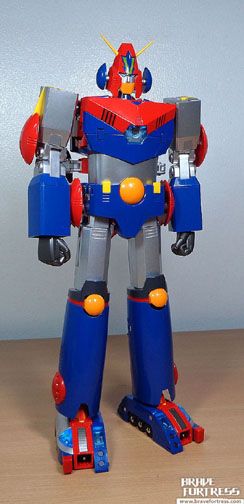
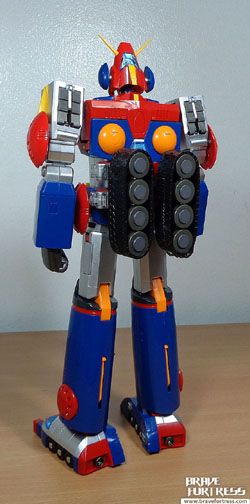
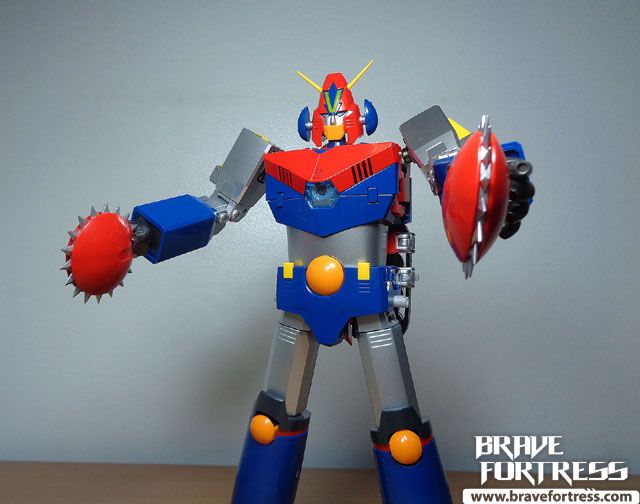
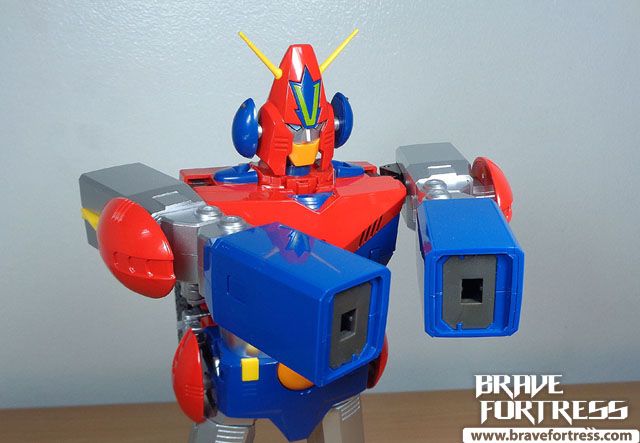
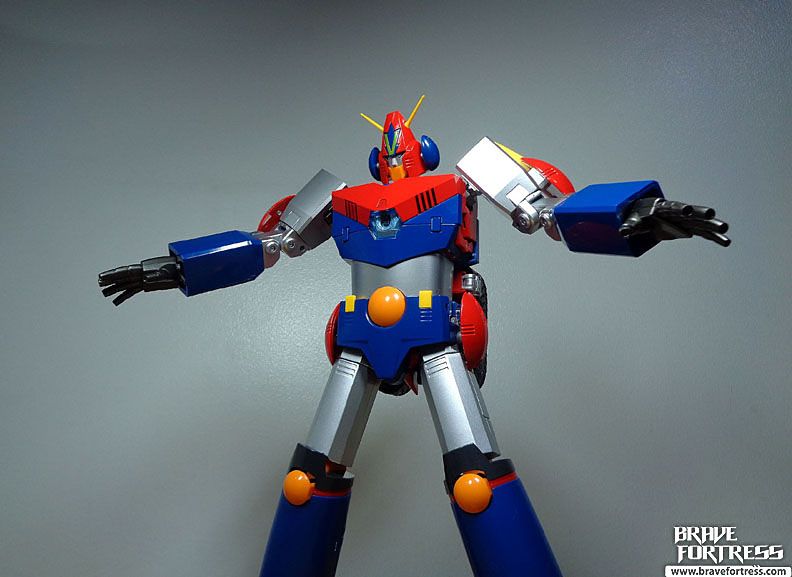
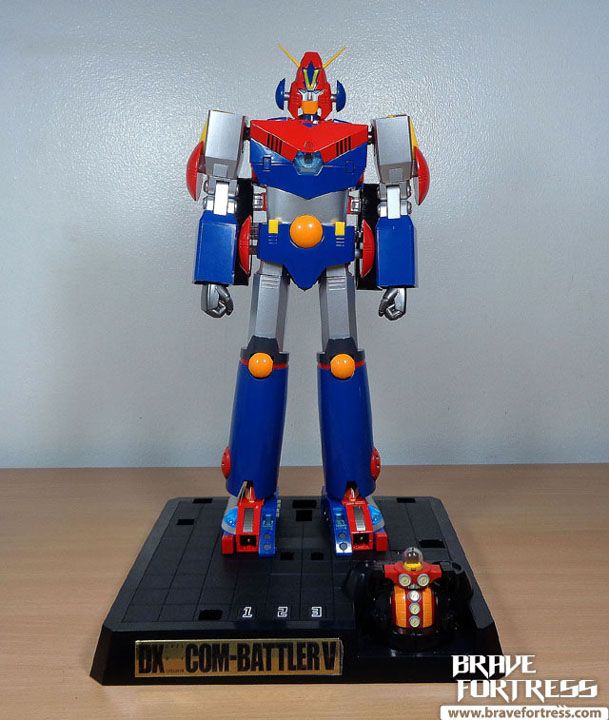
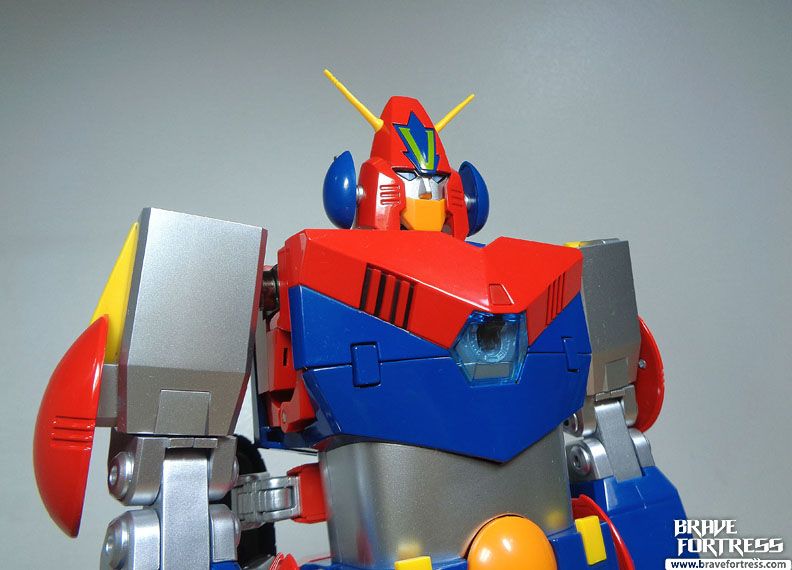
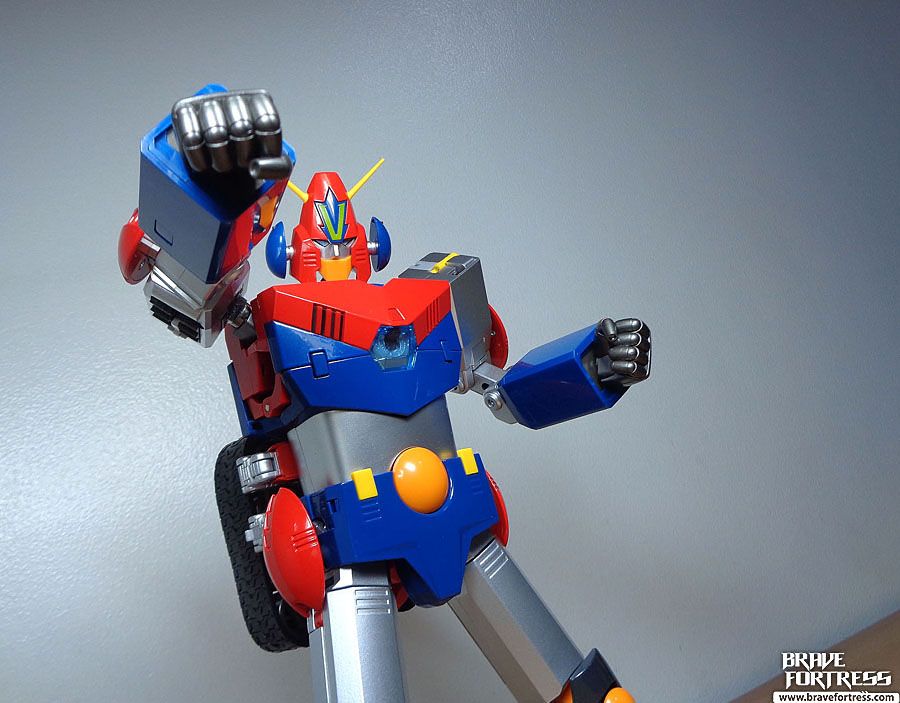
Combattler V
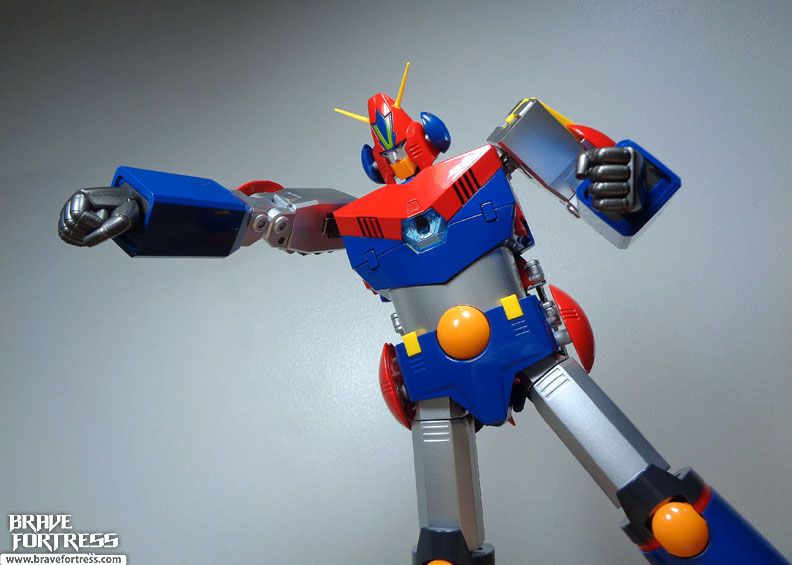 Comabattler V’s attacks
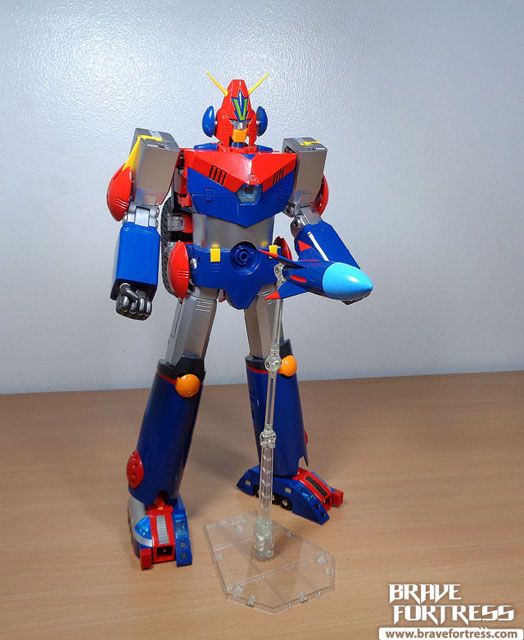
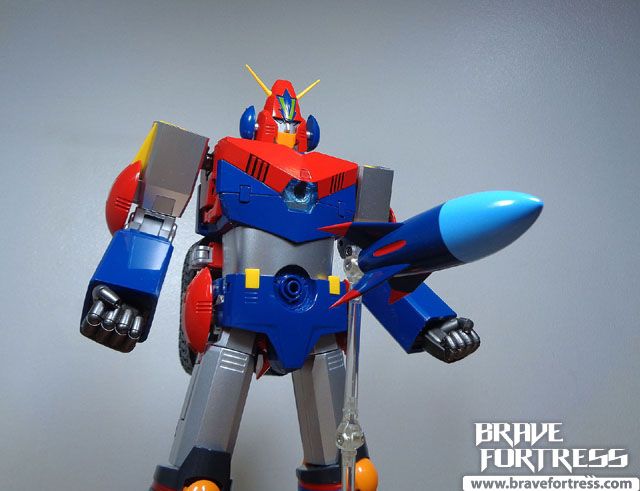
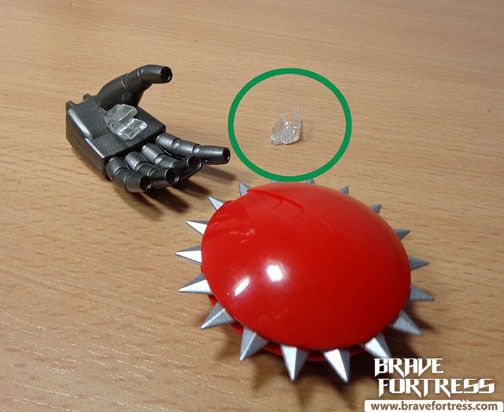
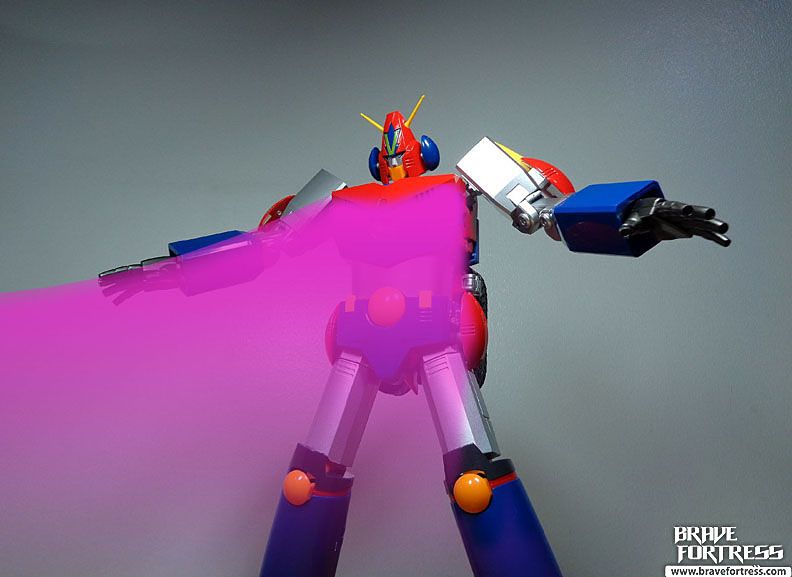
Big Blast!
Comabattler V’s attacks
Big Blast!
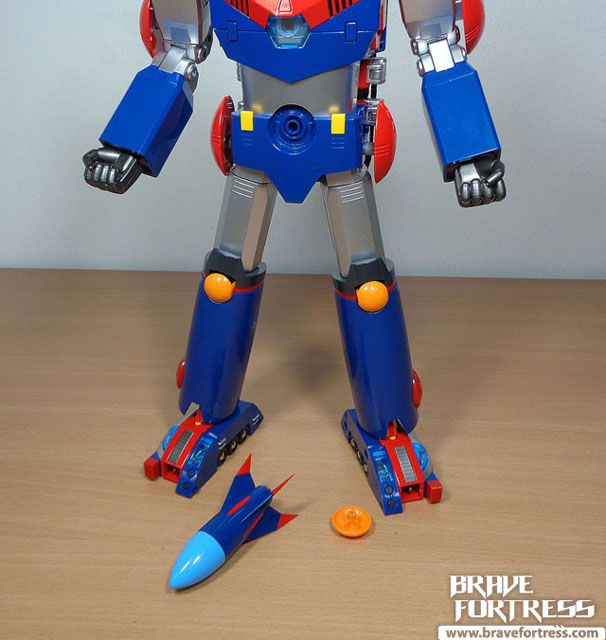
Hmm… evidently, Bandai didn’t include any way for Combattler to “launch” the Big Blast. The manual just says go get a Soul Stage. Fie……
Swapping the hands requires you to first make sure the wrists lock in nice and proper into the cuffs before attempting to “push” optional hands in. It takes some practice but when you hear a “click” that means the wrists are locked in.
To release the wrist locks, just press this button under the forearms and the wrists will slide into the cuffs again.

Choudenji Yo-Yo
To equip the yo-yos, you have to attach these clips first to the open palms.
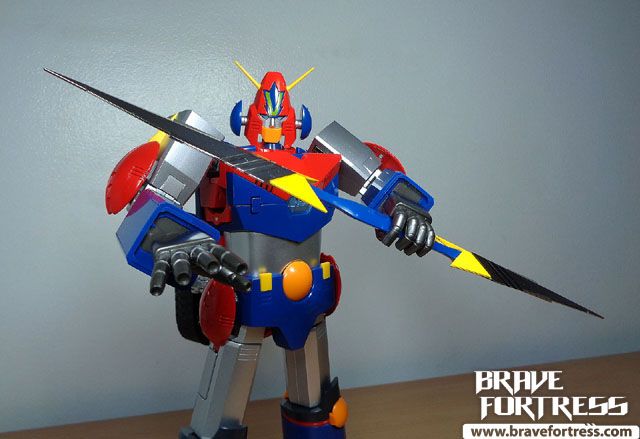
Twin Lancer
Each weapon has a corresponding hand for it.
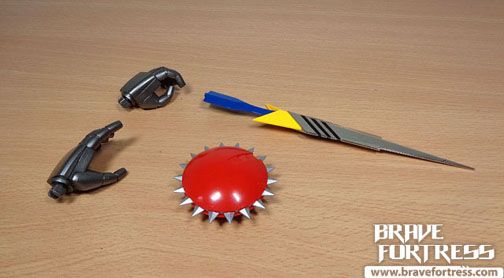
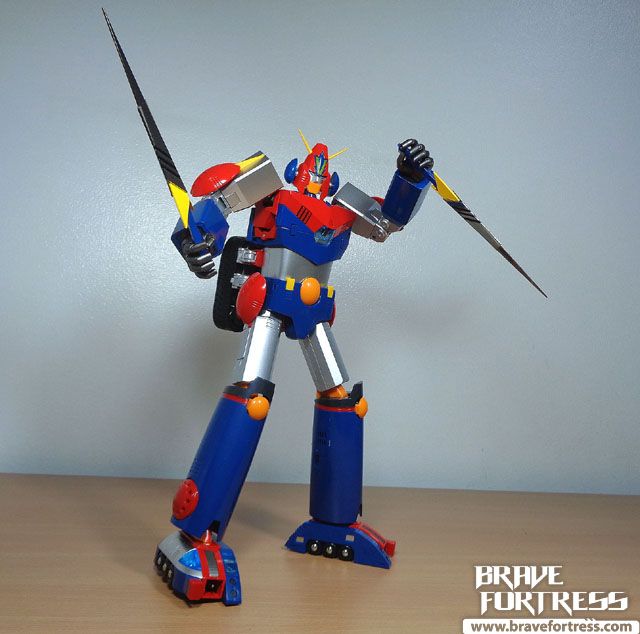
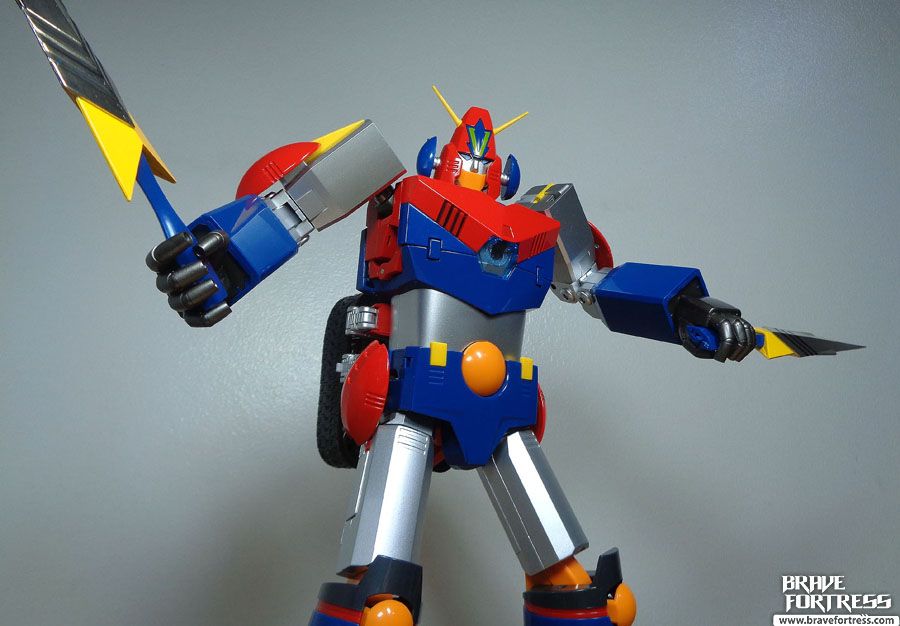
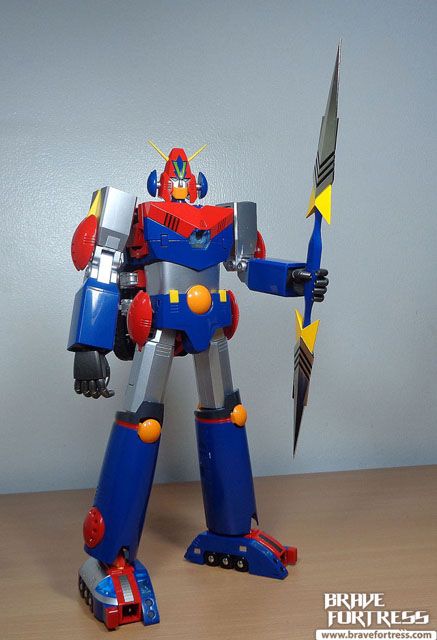
The Twin Lancers can combine.
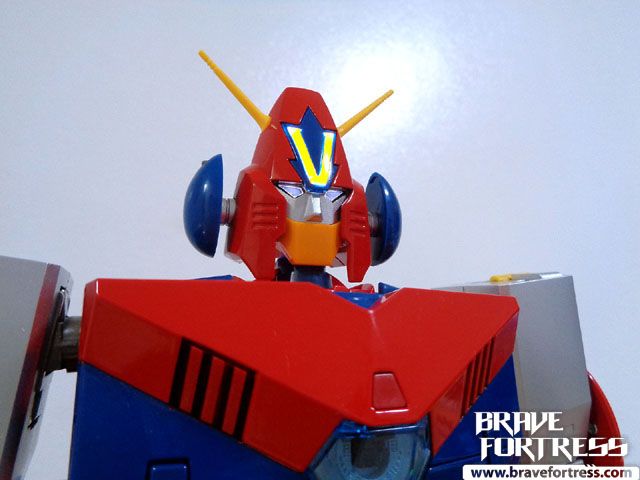
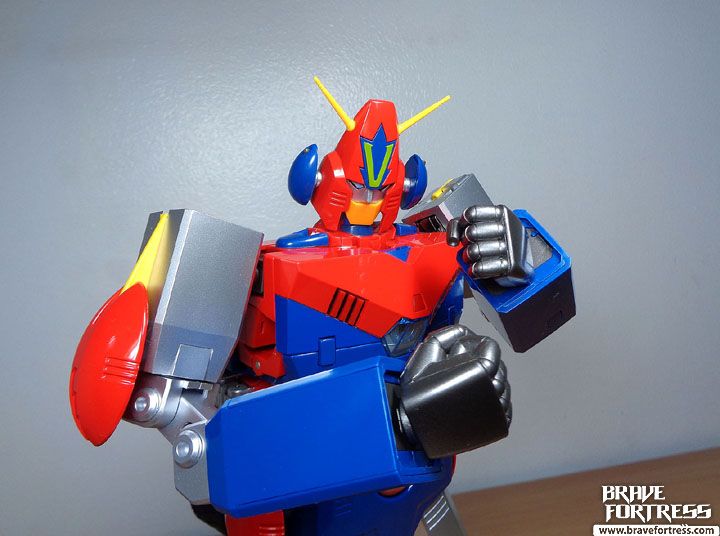
V Laser
To activate the V laser / light up eyes on Combattler, press this button on his back. This will in turn activate the button for the electronics on Battle Jet.
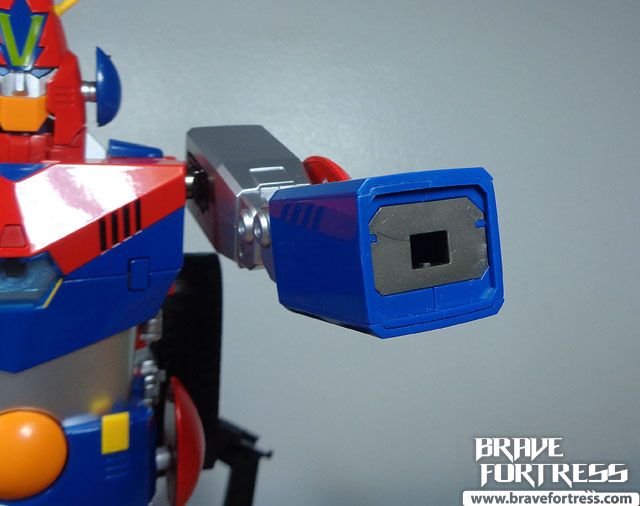
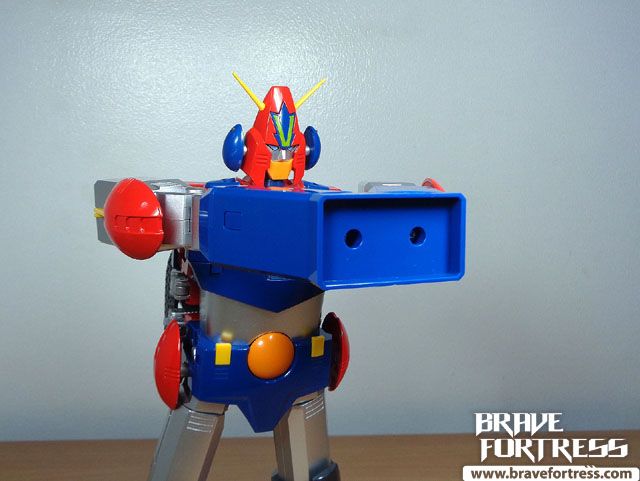
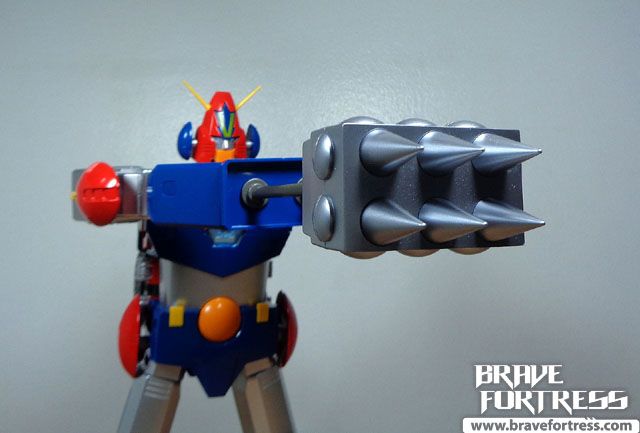
Atomic Burner
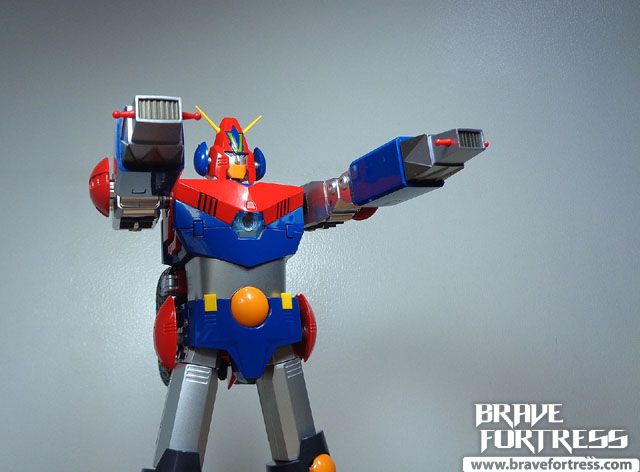
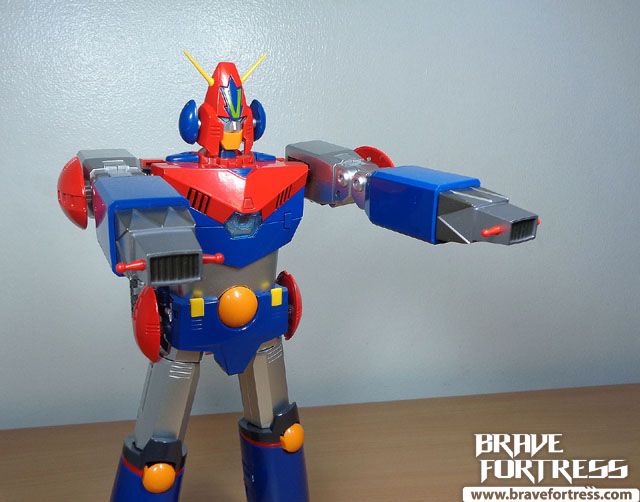
To form the following oversized weapons, Combattler needs to have a block adapter attached to his arms. The block requires rotating the forearms 90 degrees to fit into the slots.
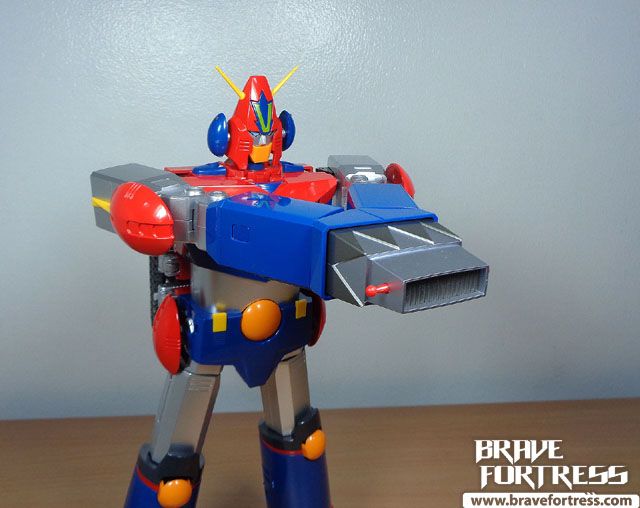
Powered-up Atomic Burner
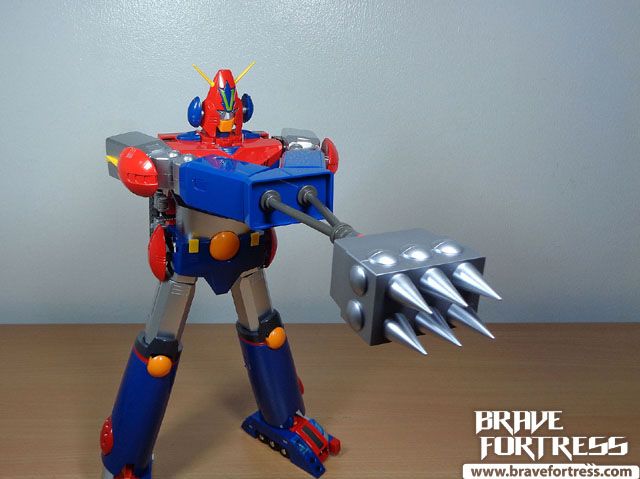
Battle Guleggar (yep, I still have no idea what a “guleggar” is).

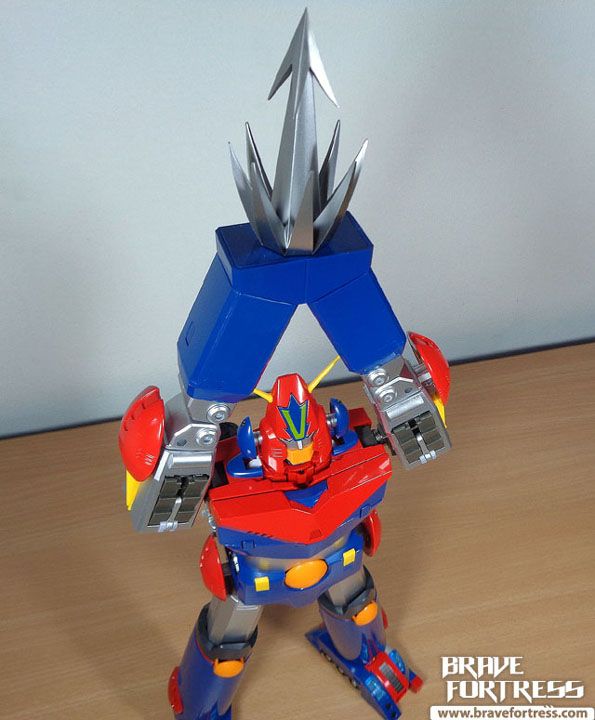
Chodenji Crane
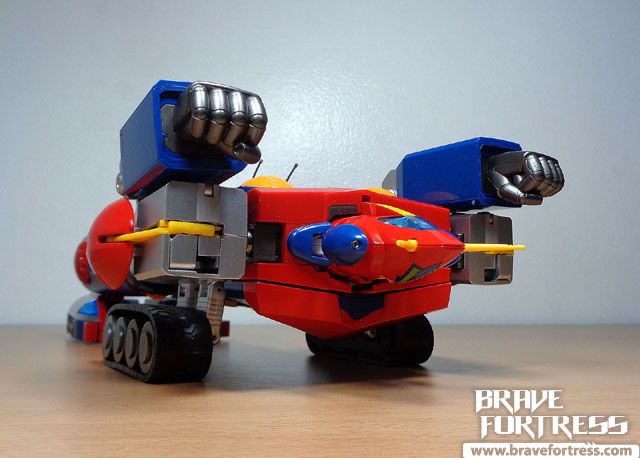
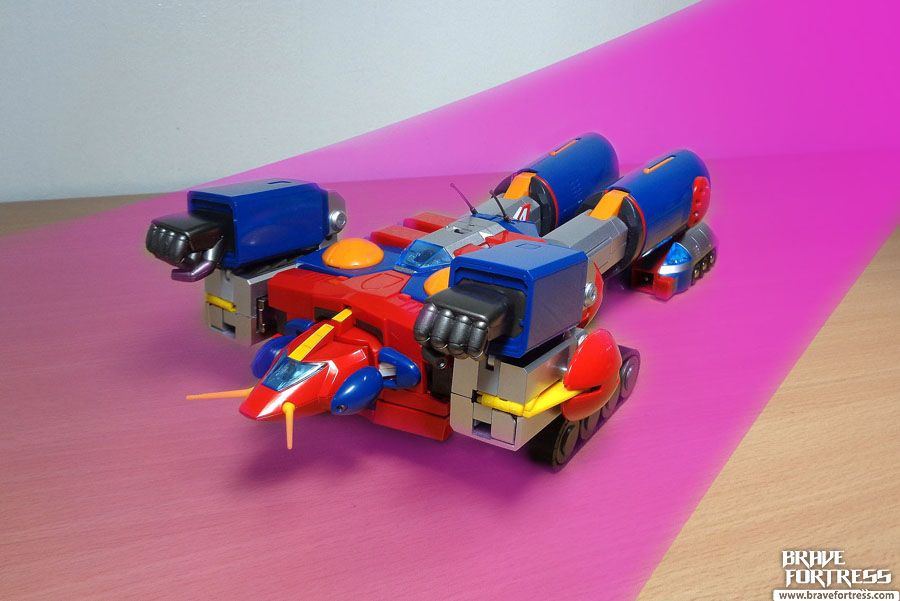
Grand Dasher
Grand Light Wave Rail!
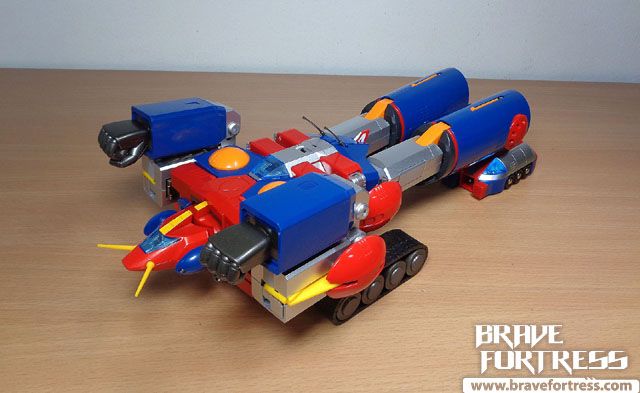
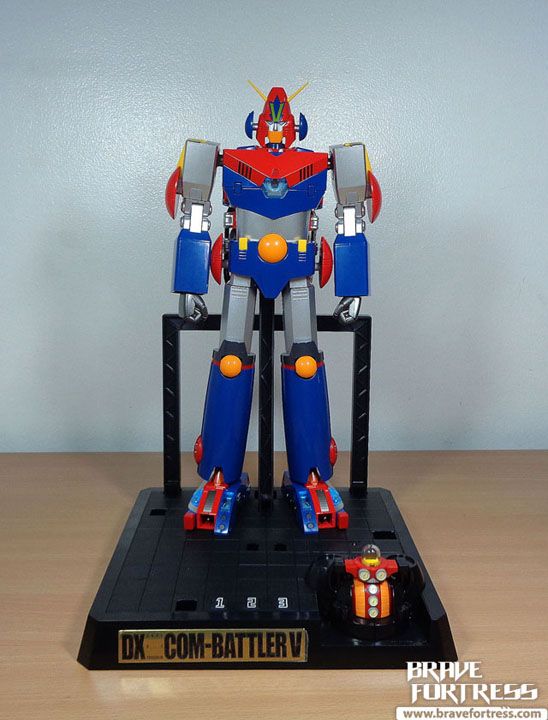
Even though the manual recommends it, you can choose not to deploy the (accursed) Battle Marine landing gear here, the legs hold up just fine without them.
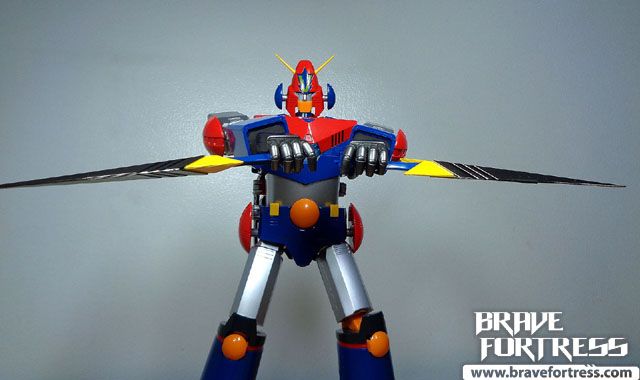
Chodenji Spin
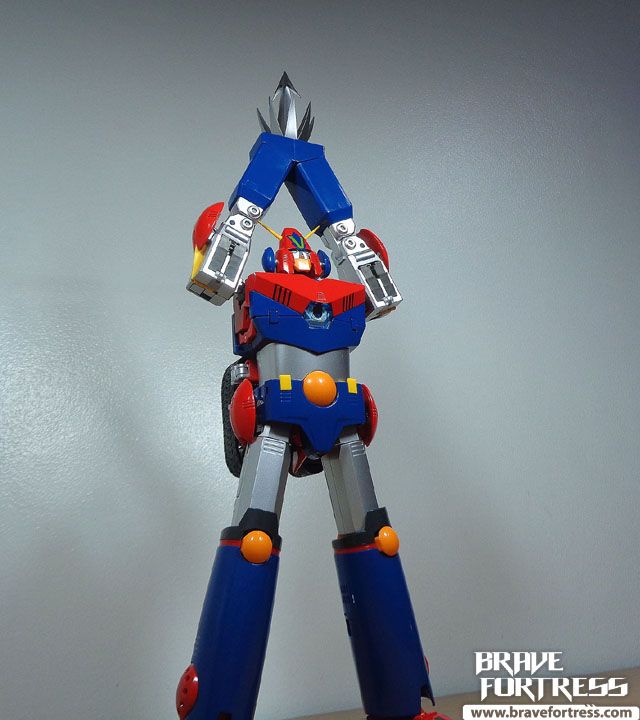
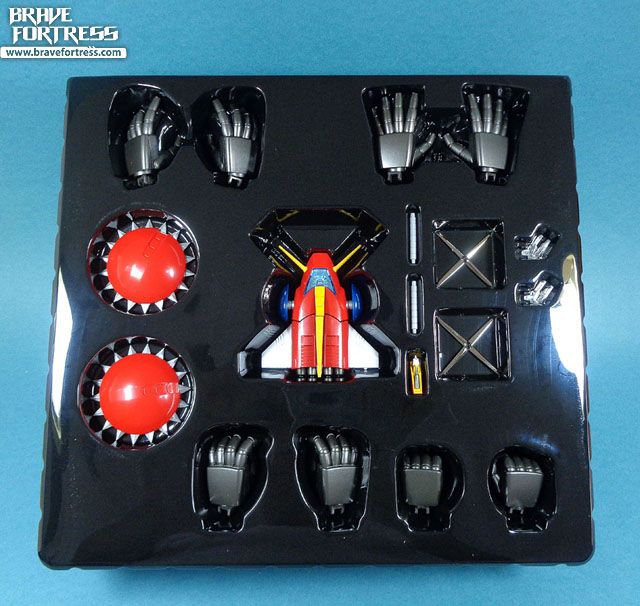
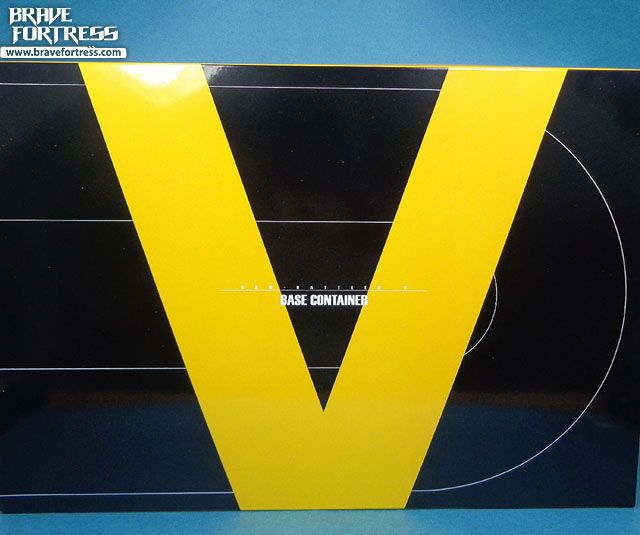
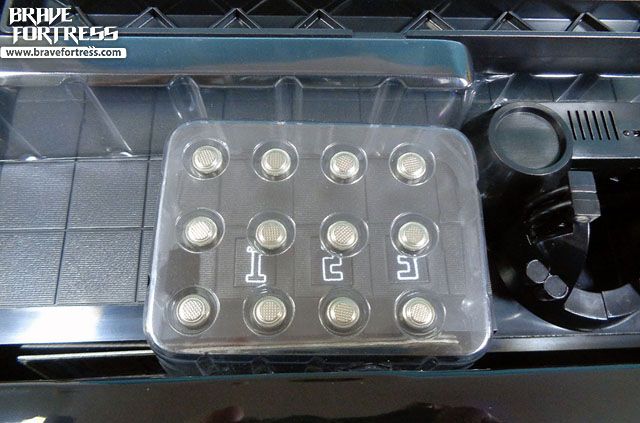
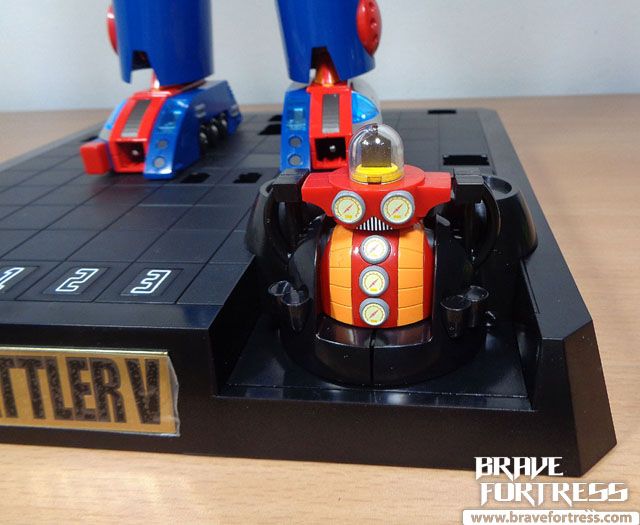
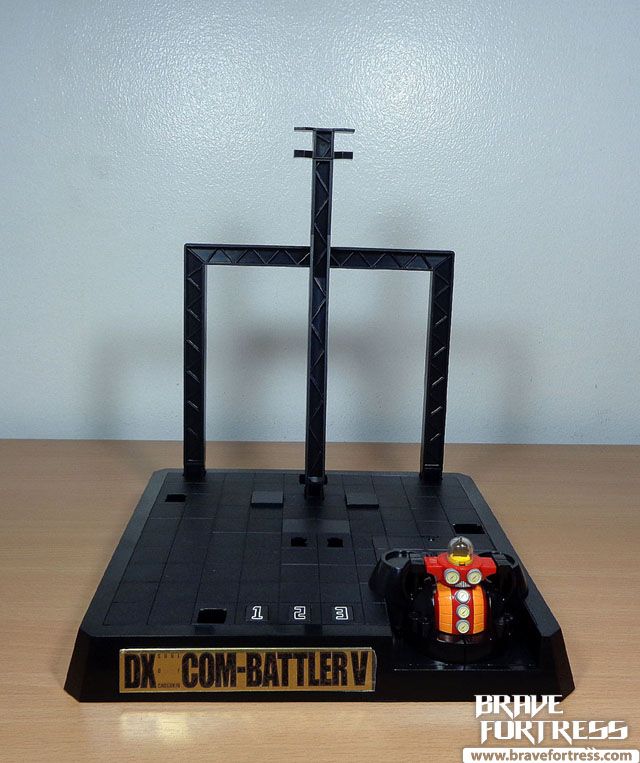
Base container
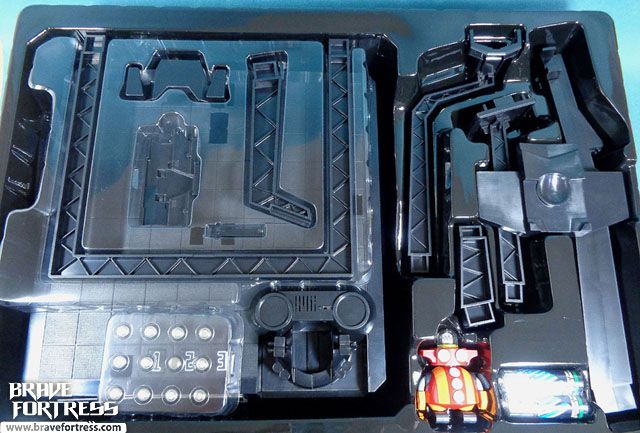

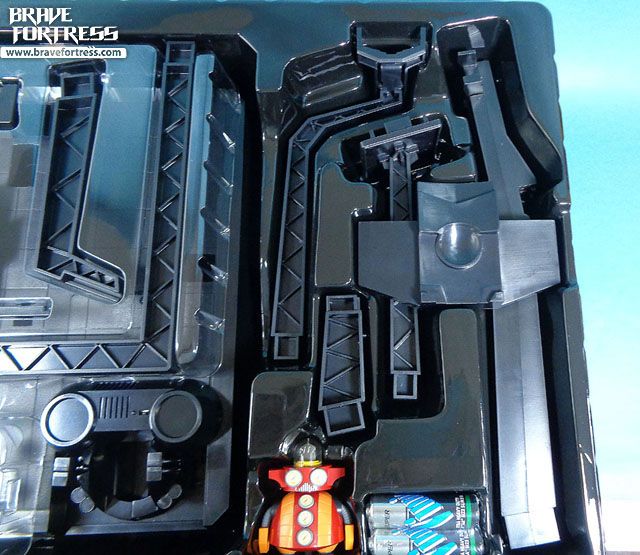
The set comes with 12 pieces of LR41 batteries. Each Battle Machine requires 3 batteries, with the exception of the Battle Craft (no electronics). Also included are 2 AA Batteries for the display base.

Ropet
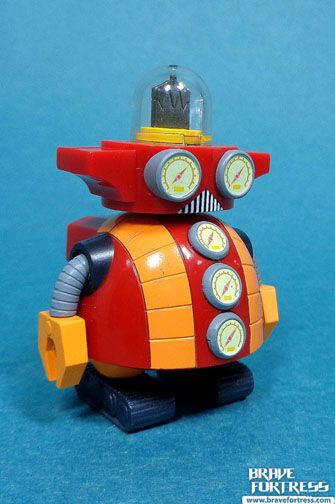

Ropet is 100% plastic and only has minimal moving parts. I wish it had some diecast on it for added heft.
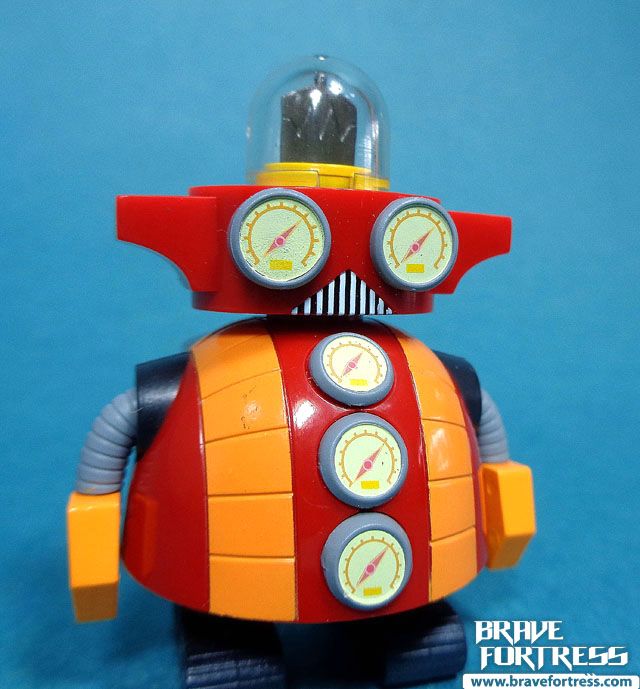
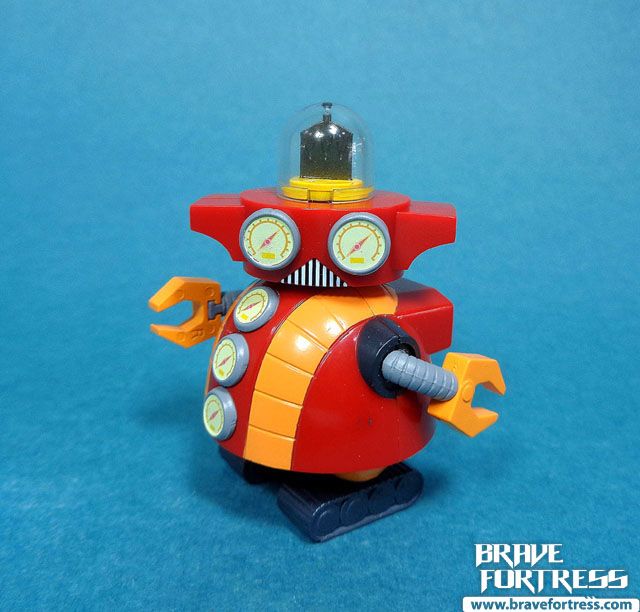
Hehe, Ropet is obviously not in scale with Combattler.
Lights and Sounds Department
The sound gimmick is one of the biggest draws when it comes to DX SOCs.
First, slap in Ropet into his slot in the base, it will trigger him to say “combine OK, combine OK”.
Pressing “2” on the display base will trigger the combination sequence music.
Then pressing the buttons on each of the Battle Machines will trigger the combining sound effect. The sound will run for one minute, or until you combine the unit with the next unit. There are notches and nubs that will push on the trigger again to make the “combination successful” *clang* sound effect. It’s pretty cool.
Finally, when you’re all done, you can “land” Combattler on the platform, which will again trigger another switch on the platform and make the base shout “Combattler V”.
To light up Combattler’s eyes and the “V” on his forehead, you just press down on this button on his back. It will remain on for 1 minute before auto-offing.
To get Combattler to shout out his various attacks requires you to first push the right vent on his chest followed by the center button.
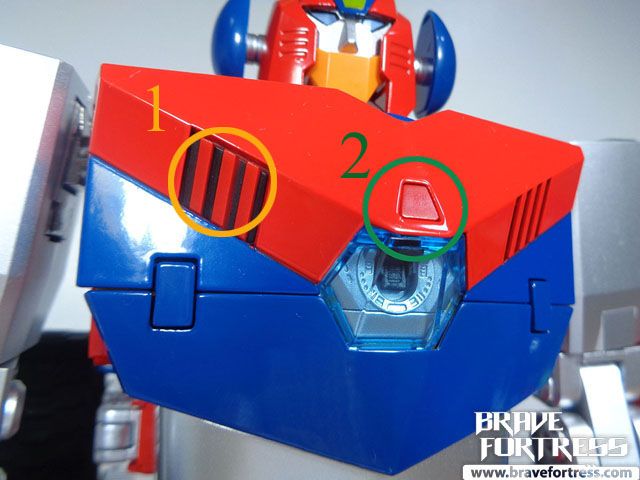
The number of times you press on the vent (will give a loud “clang” sound) will toggle which shout he will do. If you push on the center button right away without the toggle, then he will shout Chodenji Spin (without Chodenji Tatsumaki) by default.
The sequence list:
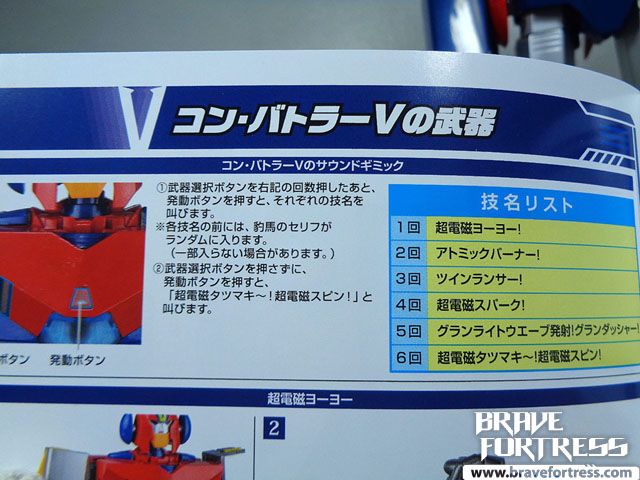
Push the right vent button the corresponding number of times, followed by the center button and you get
-Once: Chodenji Yoyo!
-Twice: Atomic Burner!
-Thrice: Twin Lancer!
-Four times: Chodenji Spark!
-Five times: Grand Light Wave Rail, then Gran Dasher!
-Six times: Chodenji Tatsumaki, followed by Chodenji Spin!
There are 3 buttons on the display base. Each button plays a different song.
1. Combat BGM (Back Ground Music)
2. “Let’s Combine!” BGM (combination sequence theme)
3. Opening credits music
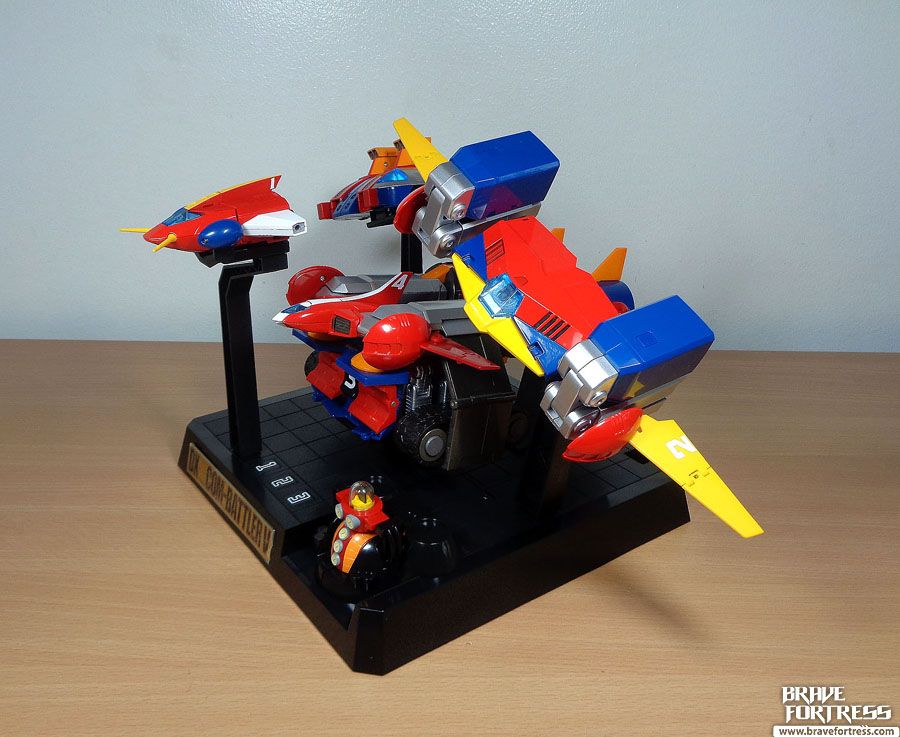
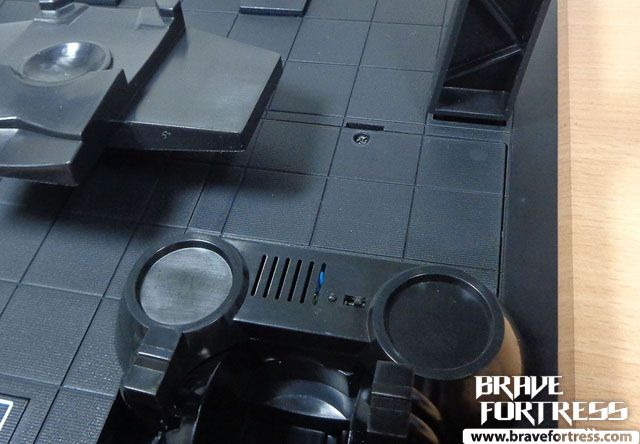
 Display Base
You can display Combattler in both his combined and uncombined modes. There are optional support arms for the Battle Machines to rest on.
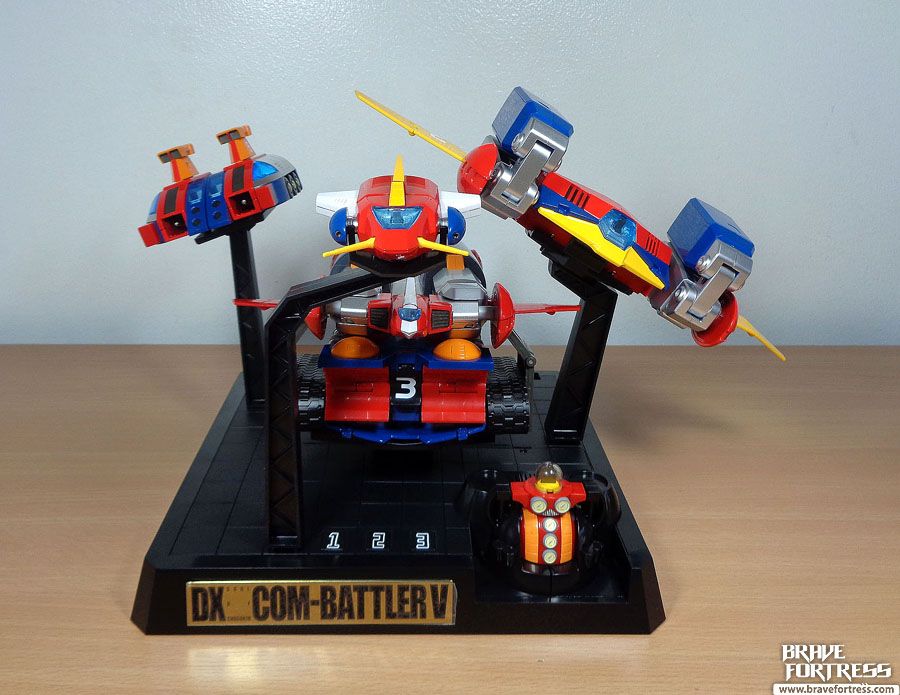
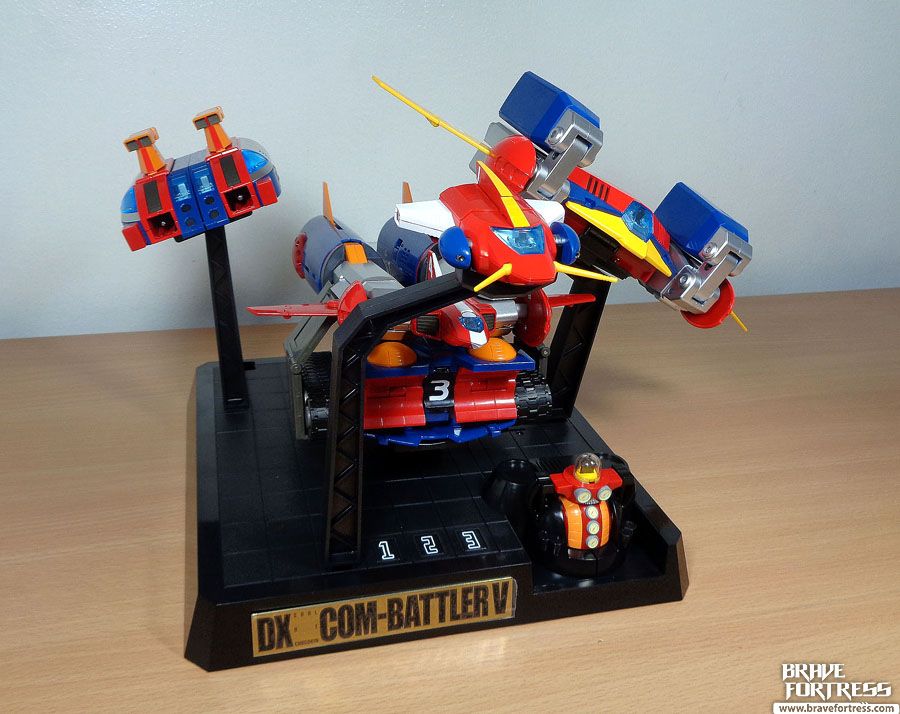
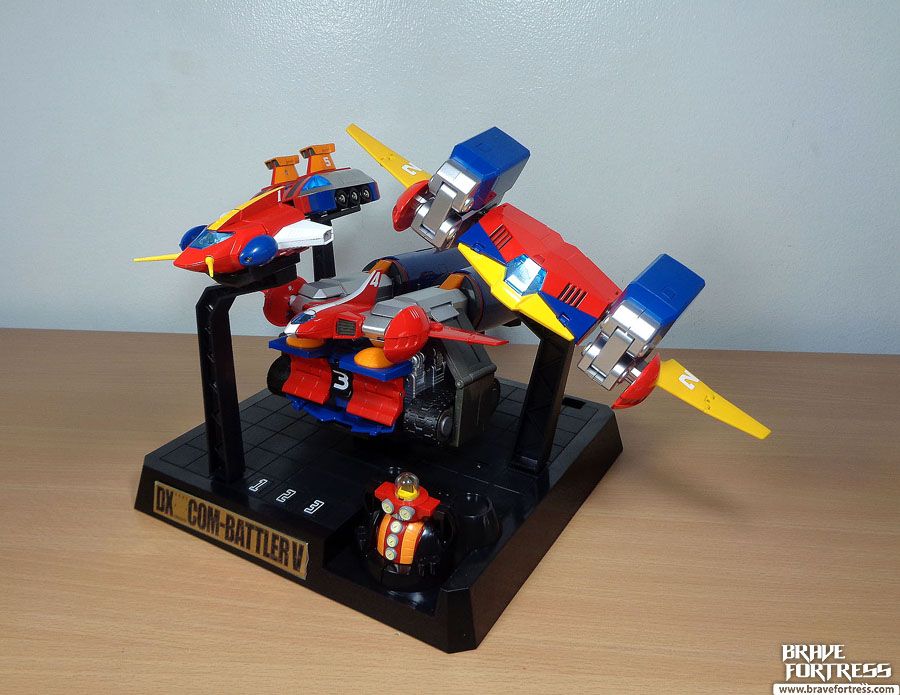
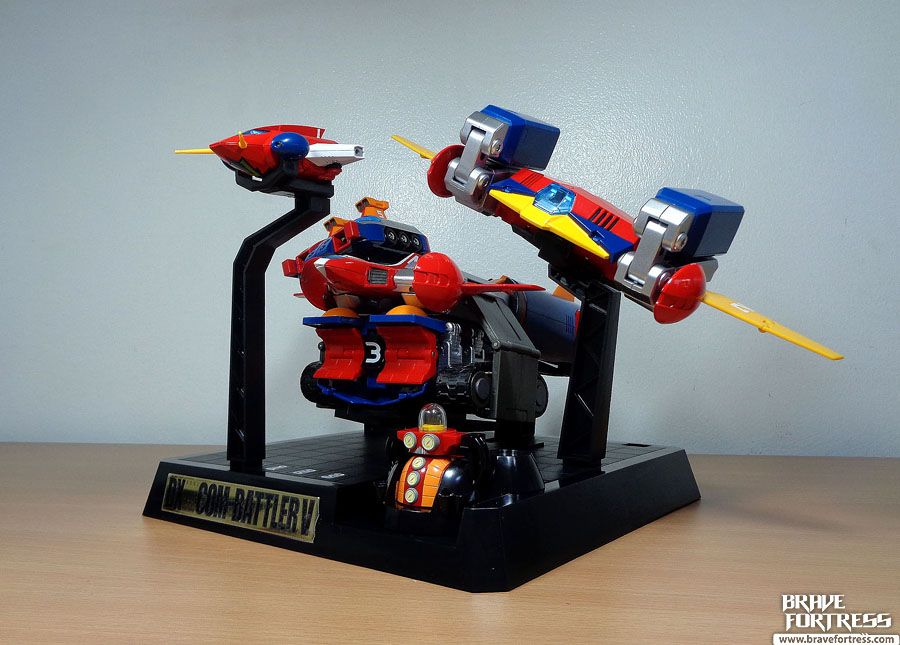
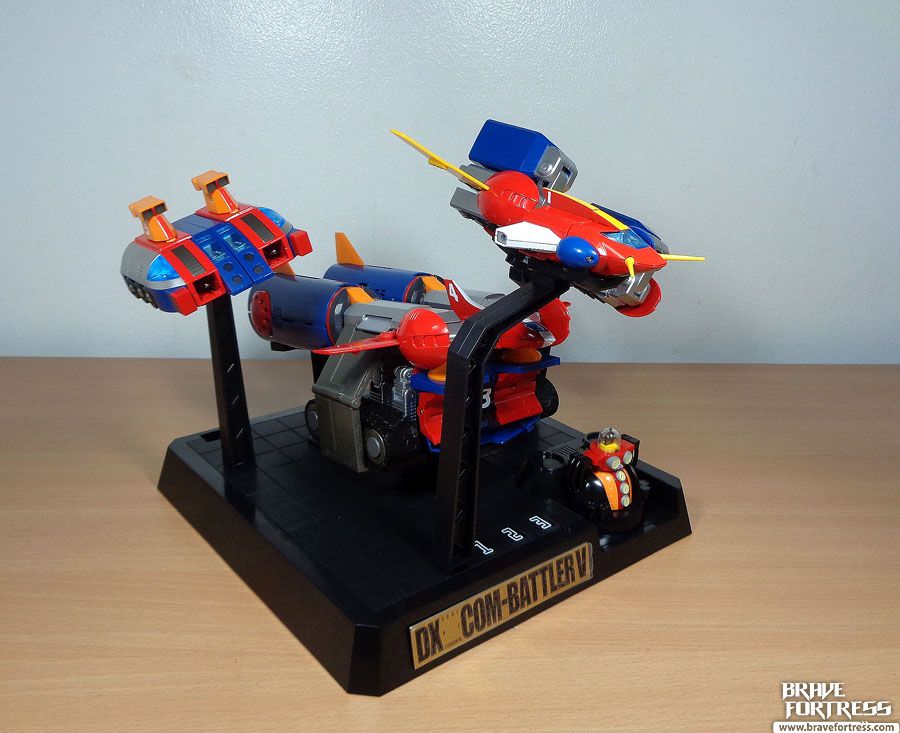
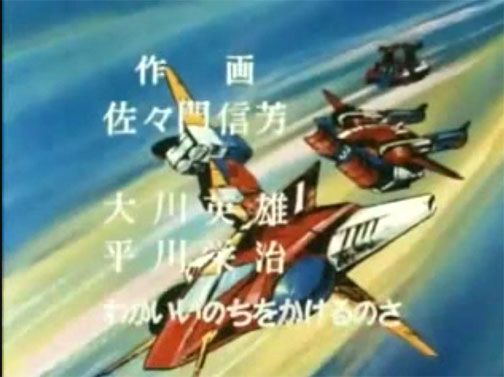
The crazy layout for the Battle Machines is actually a throwback to one of the scenes in the series’ closing credits.
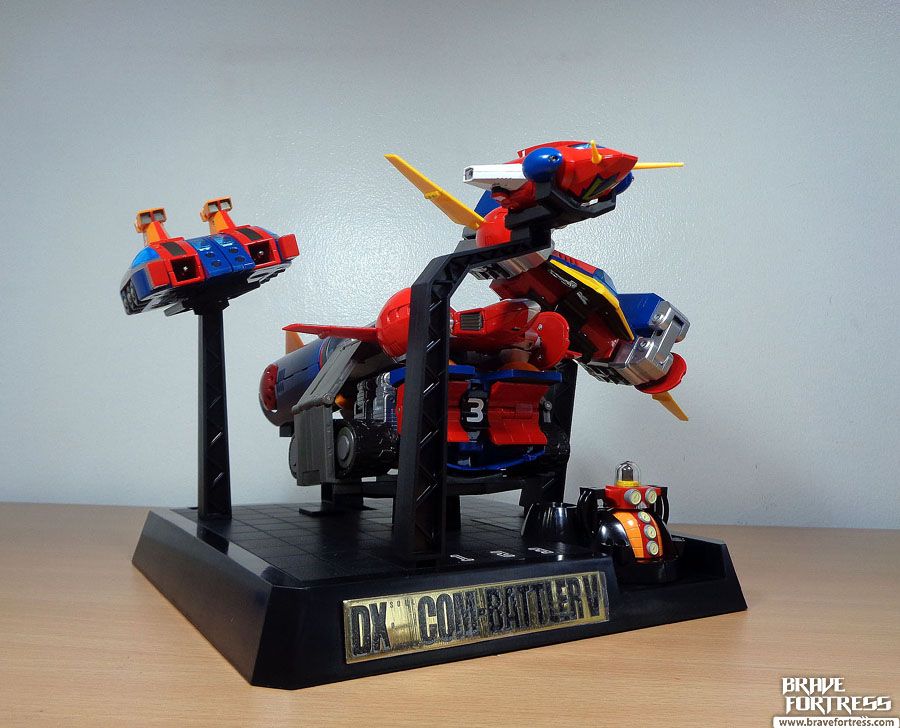
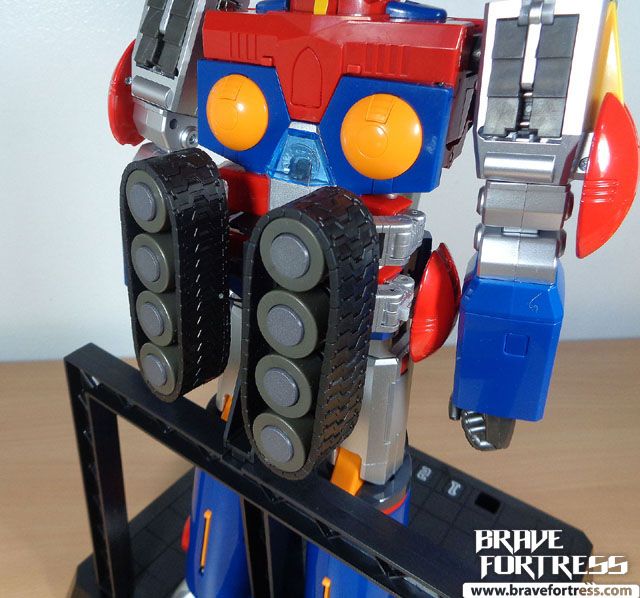
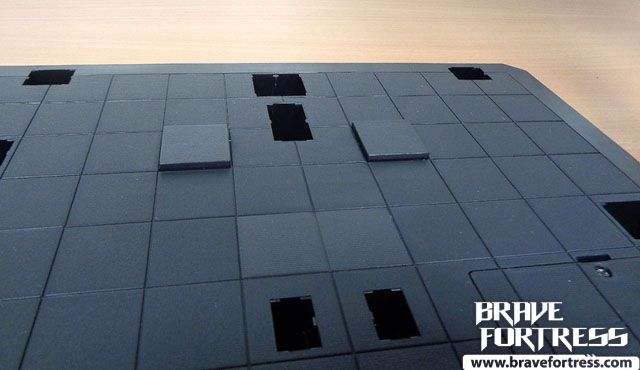
Second configuration for the display base, for Combattler V.
Folding the tank treads properly will help secure him to the docking arm.
Notes, transformation details, stuff to look out for, and “things your probably might’ve missed” Department
-If you’re feeling lazy, the Combattler on the front of the box is more or less 1:1 scale to the actual toy.
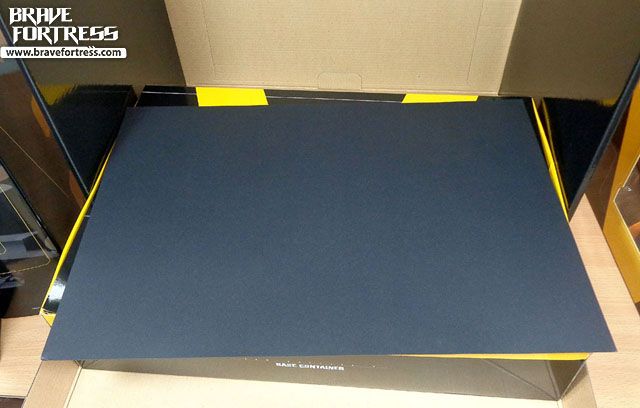
-There’s a black sheet of paper on top of the “Base Container” box included, this is to prevent scratches on the box surfaces.
-For MISB collectors, the tray of each individual Battle Machine comes taped to the “Combine OK” post on the box.

-The manual is very thick and comes in 100% full color!
-Despite being called DX SOC, the inner boxes are labeled “DX Soul of Popynica”.
–WARNING!!!! This set comes with batteries included. Fortunately they’re packed separately from the toys. Still, should these leak it will be a mess (Ropet might get oozed). I decided to remove the batteries completely from the packaging. The batteries are all “Vinnie’s” brand (LR41 x12 pcs and AA x2 pcs).
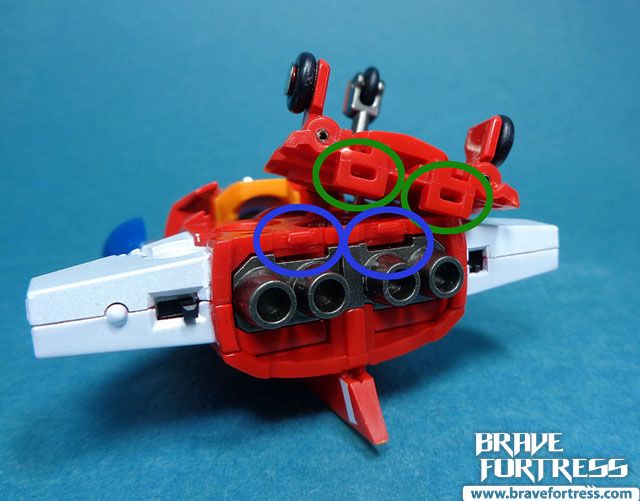
-Batteries and on switch locations. Each unit (except Battle Craft) has a primary “on” switch, and a secondary “trigger” button switch for activating the combination sound effects.
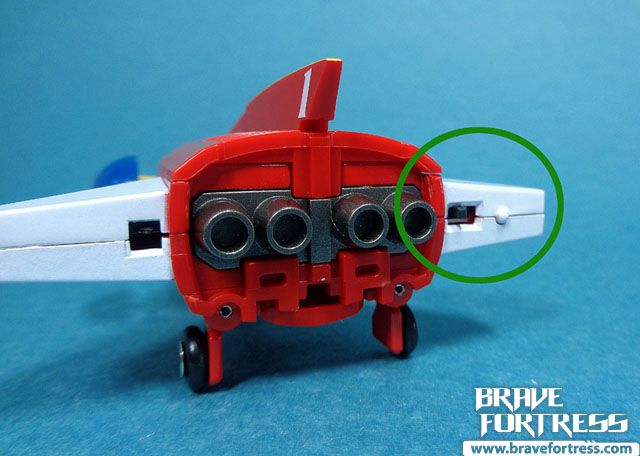
-Installing the batteries on the Battle Jet can be a pain and could result in damage to the unit, particularly when returning the cover. The best advice I can give is to just go slow. Line up the tabs and the slots, then feel around for the “click” to know you’ve locked it in right. Don’t apply force unless you’re sure the tabs are all down in place.
-The Battle Crasher’s wheels require some fancy work. They can be a bit tricky to rotate but if they do fall out it’s ok, they’re just clipped on (lol, I thought I broke mine for a second there).

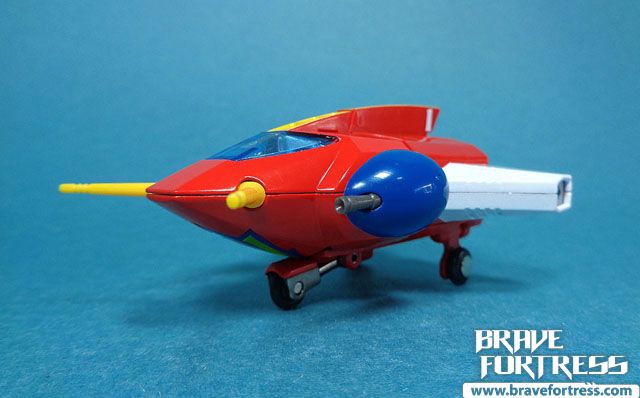
-Remember to expand or collapse this piece here when you transform Battle Craft’s wheels, depending on which side the wheels will be facing. To expand this piece, you have to again either rely on your fingernails, or get a pair of tweezers.
-Tab pieces into this slot carefully, they might cause paint chipping otherwise.
\
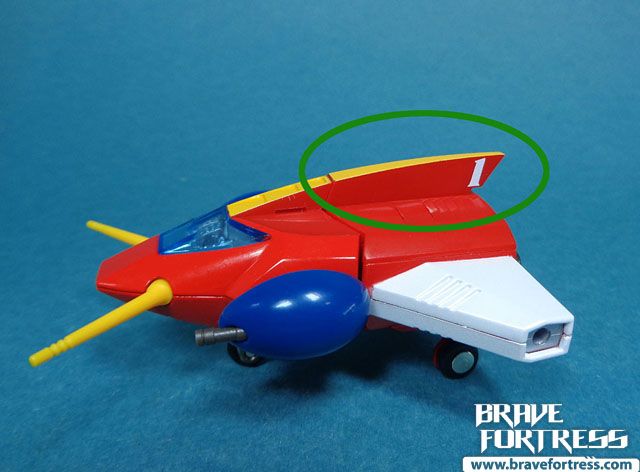
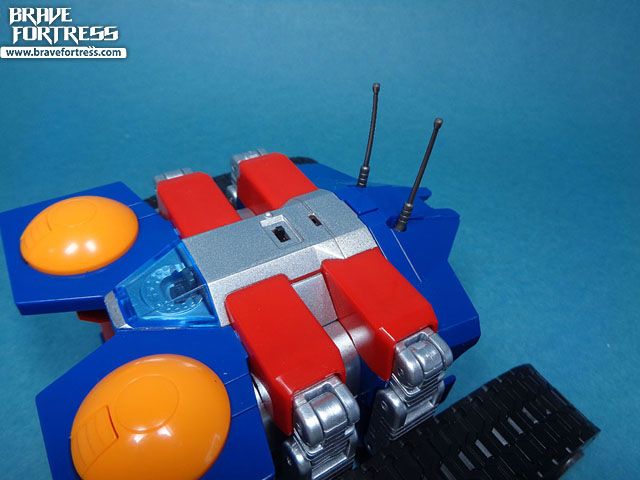
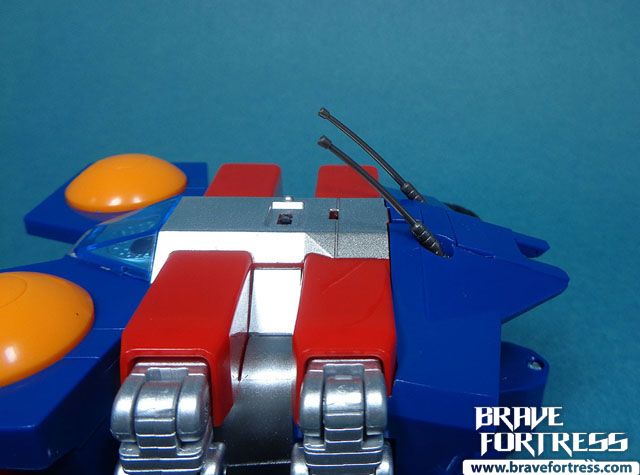
-Note that Battle Tank’s Antennae do not land flush (it can land flat on the Gx-50’s back). So best not to place the tank on it’s back, you could damage the antenna.
–Warning! Make sure Battle Craft’s towers are slotted into the forward position. This will make sure Combattler will not tip over. The towers can slot to the rear since it’s a gimmick for allowing Combattler to transform into his Gran Dasher tank mode. (I know I already mentioned this above but it’s super important).
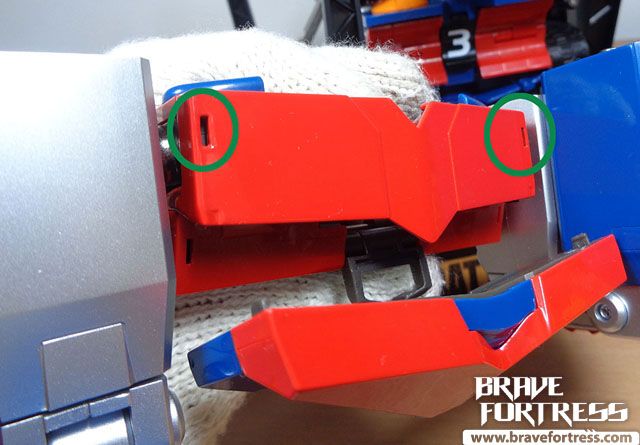
-Slotting the shoulder tabs into Battle Jet can be a bit hard to do, but here’s what it should look like if done right.
-When doing Chodenji Yo-yo, remove the red parts on his shoulders and hips for show accuracy (that’s where the yo-yo plates come from).
-To properly dismantle the Battle Crasher from the Battle Tank, press down on these tabs here. :

To disconnect the Battle Tank from the Battle Marine, and the Marine from the Battle Craft, there’s no release button, you just have to tug and pull the units free.
-Behold! The almighty pick! This pick is included with the accessories and will be your best friend in this adventure. It will be used to flick out hard to reach nook and crannies on the toy, like the folded wings and flipping the primary switches for the Battle Machines.
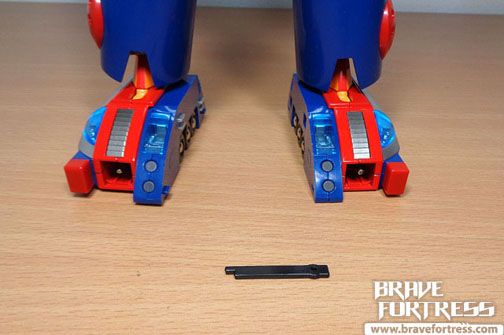
….. me, I just used a good pair of tweezers.
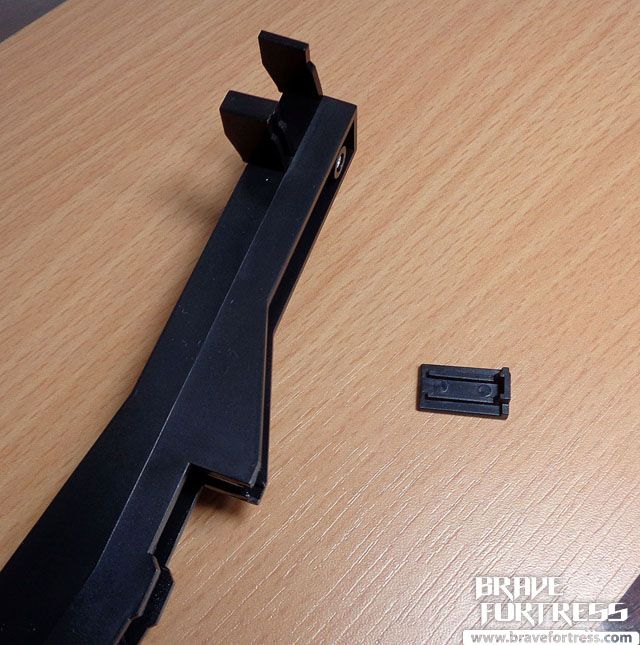
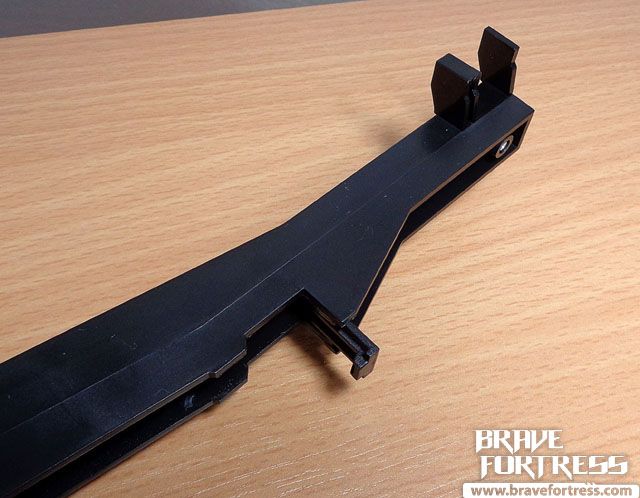
-Watch out for this one, there’s a piece that can fall off when you remove the display base support arm from it’s horizontal beam. Be careful.
-Here’s another piece that falls off too easily, the cover for the Magnet Laser. Be careful.
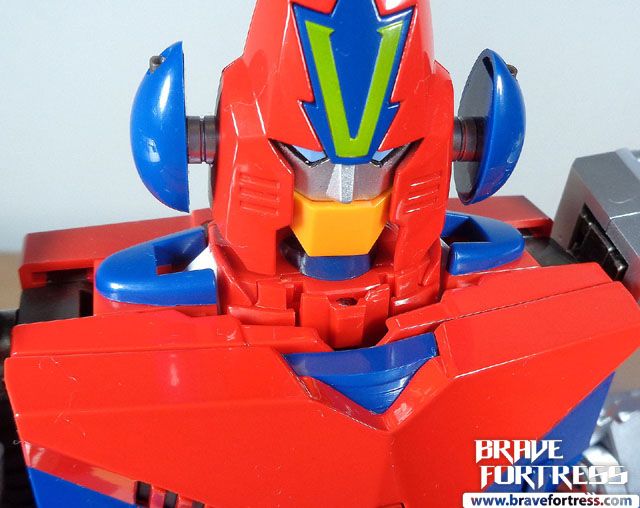
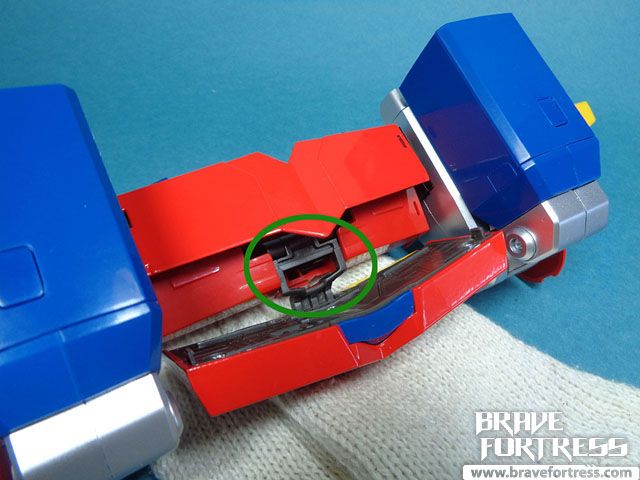
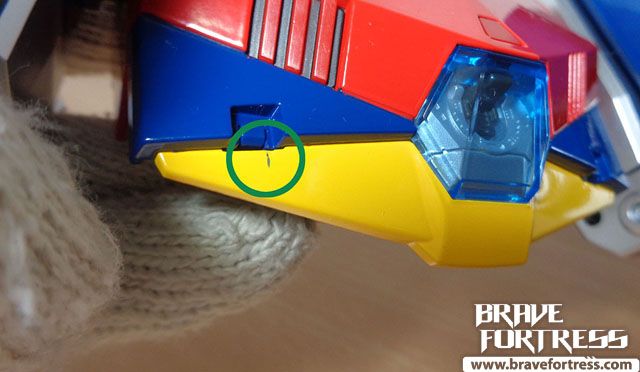
-Combattler’s neck can become disconnected if you’re not careful, this happened to me while I was trying to make him look downwards. I pushed the neck too far down and the whole thing popped free. When it happens just slide the neck shaft back in.

Just be mindful not to break this little notch here, this is what holds the head in place and prevents it from sliding down the Battle Jet again .
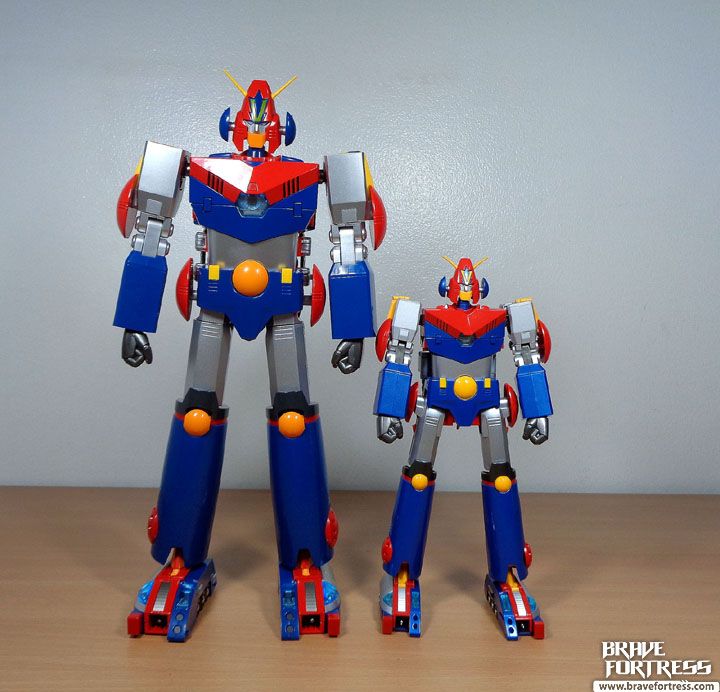
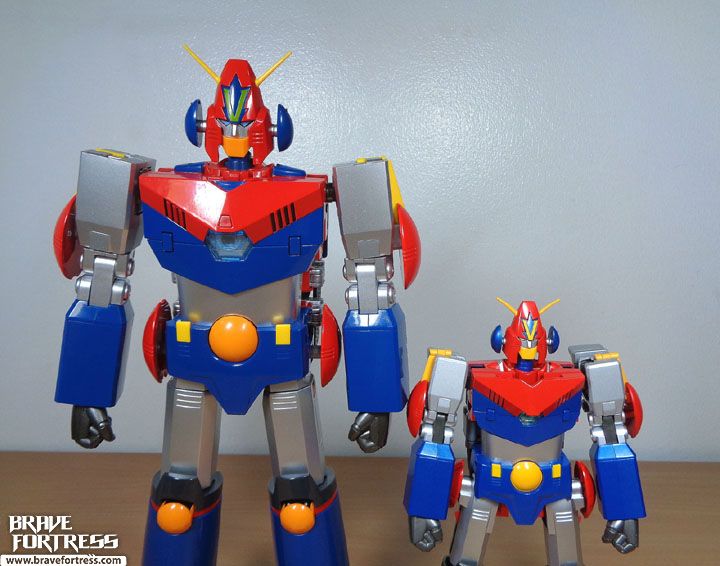
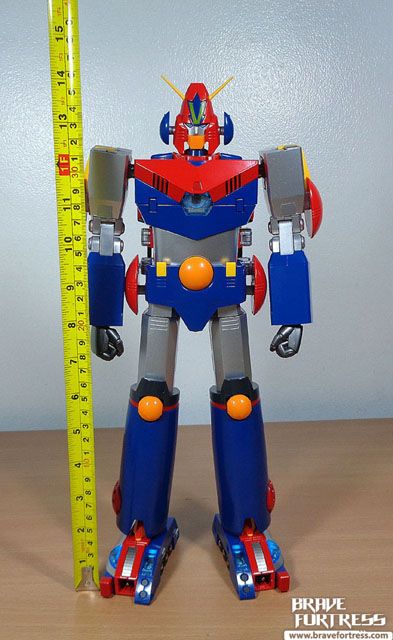
Comparison with the Gx-50 Combattler V.
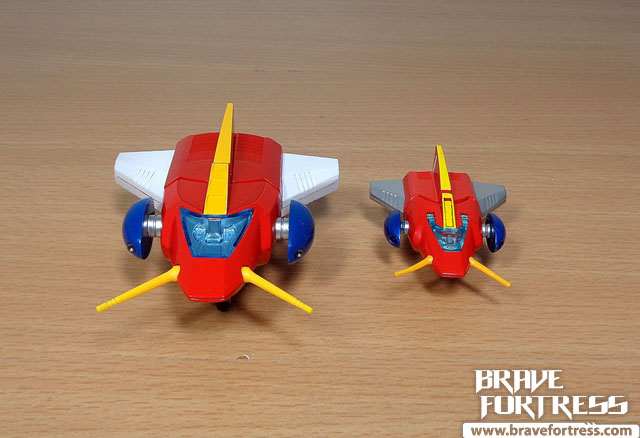

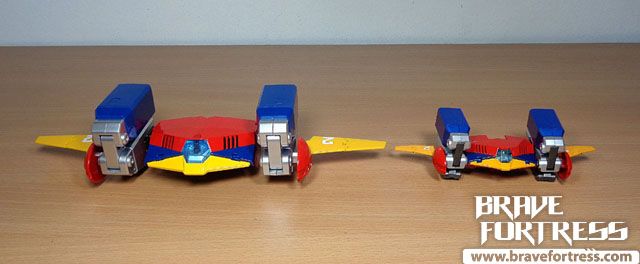

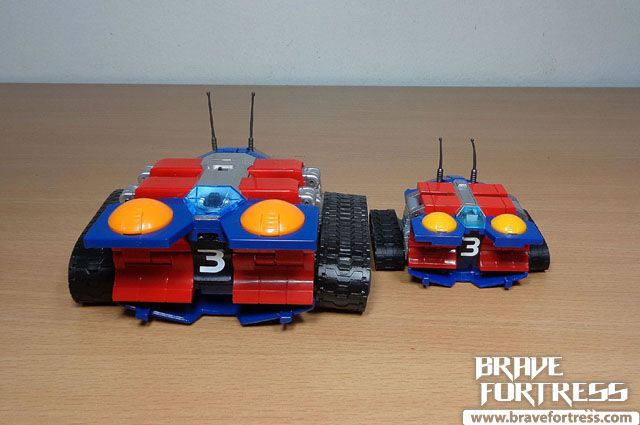
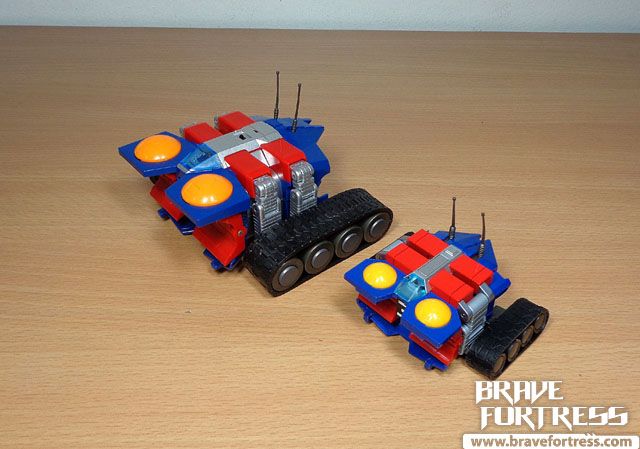
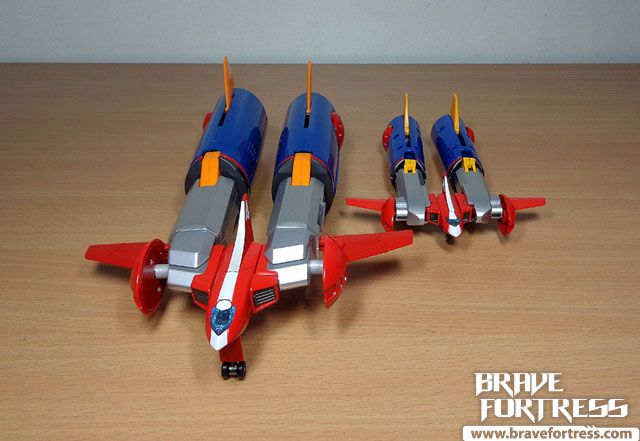
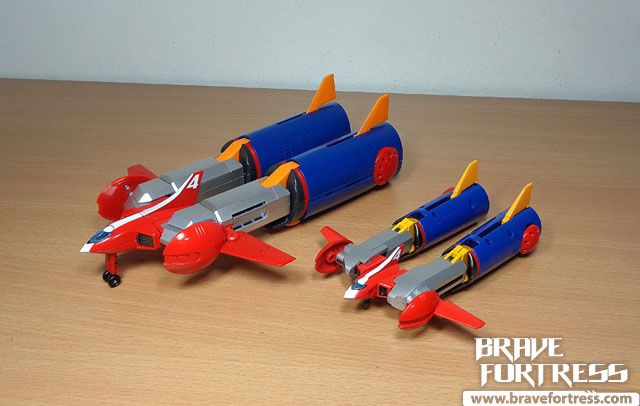
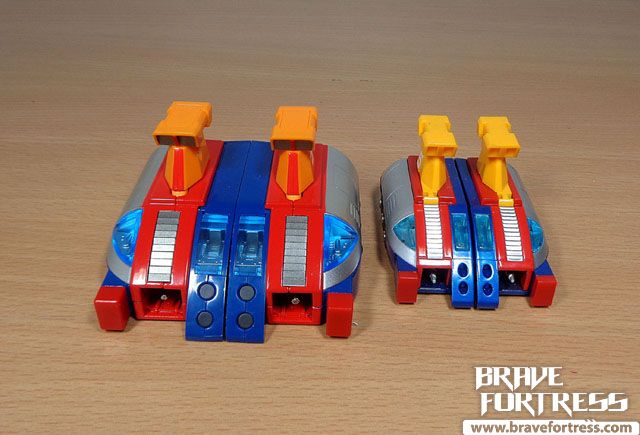
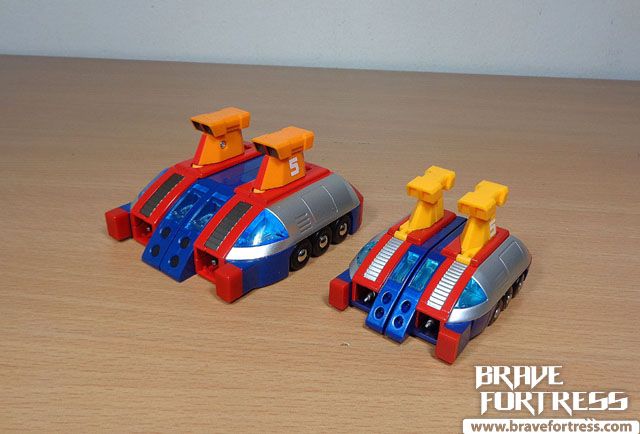
14 inches versus 9.
The Good
-The weigh in:
–Battle Jet – 77 Grams
–Battle Crasher – 312 Grams
–Battle Tank – 317 Grams
–Battle Marine – 609 Grams
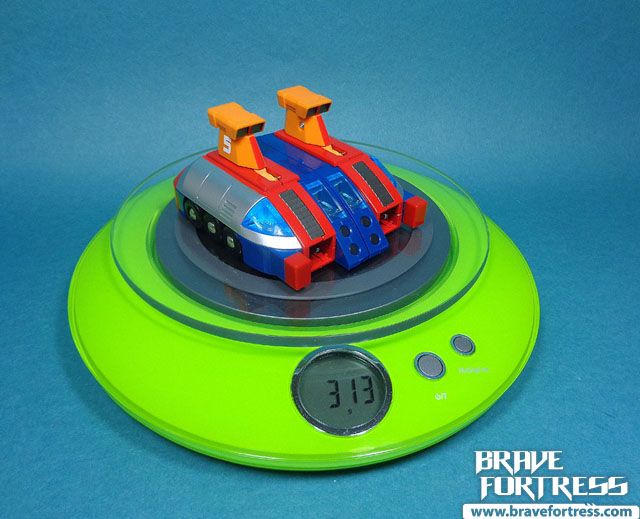
–Battle Craft – 313 Grams
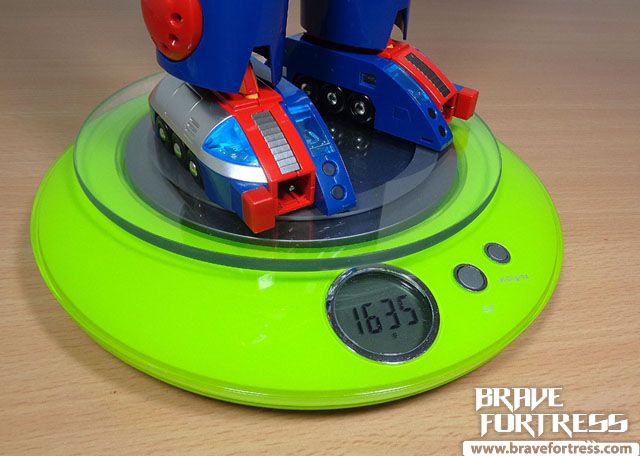
–Combattler V – 1635 Grams
–Ropet – 23 Grams


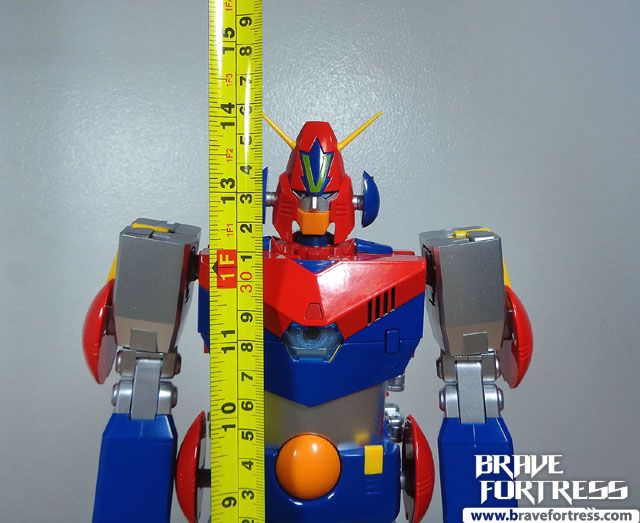
-Combattler stands roughly 14 inches tall ( a little over if you factor in the antennae).
-Beautiful sculpting on the control panels inside each of the Battle Machine c0ckpits.
-Lots of diecast parts spread around all over each Battle Machine.
-The combination sound effects were a nice touch.
-The toggle button concept for the weapon shouts was brilliant!
-No more remote control issues, coz no more remote control! Finally!
The Bad
-Even though there’s lots of diecast, it’s very annoying to see and feel Combattler’s lower legs made up of hollow plastic. Not really liking this part of the design. The Marine is still the heaviest unit though.
-This all important hinge on Battle Crasher is plastic. Be careful.
-Sigh… Battle Tank’s still running on rubber treads. I really wish they used the same gimmick from Tryder’s tank treads (plastic “links”) instead. C’mon, it’s a DX! I dunno, maybe it’s meant to be a throwback to the vintage Popy Combattler? Not really happy with it.
-Transforming the Battle Marine is … a chore, really. It’s a bit hard to collapse the hips into combination mode.
-Missing weapons? No Cutter Kick? No Chodenji Yo-yo Double Cutter? Awww.. Bandai already gave us those for the Gx-50, can’t they just upsize them?
-Battle Jet canopy does not open (it opened on the Gx-50).
-No connection piece for the Big Blast? What do you mean we have to provide our own Soul Stage for it? C’mon, Bandai.
-Big Blast doesn’t become Big Blast Divider too?? What??? But.. but… it was possible on the Gx-50…
-I was really hoping to avoid this when I disconnected the Battle Crasher but I guess my skills weren’t good enough. I wound up scratching the paint on Battle Crasher on the volt-out. Sigh… Good luck to everyone with this one. It’s tricky to do.
The Ugly
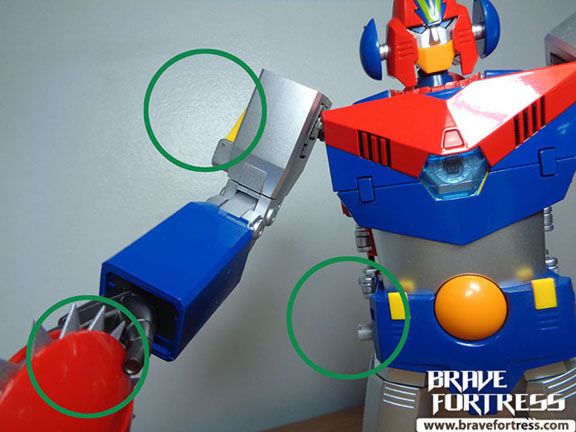
The shoulder joints. All this awesomeness and they didn’t make the shoulders ratcheted? The elbows have some ratchets, but they totally forgot about the shoulders. It’s not super bad, but expect the shoulders to droop a little when you pose him holding his weapons in a straight arm position, it’s particularly bad when the Twin Lancers are combined and equipped on one arm. Luckily the individual Lancers are a bit light, so he can hold some decent poses with them.
Alternately, the huge gaps in the kneecaps for the landing gears are such an eyesore. Why Bandai, why??
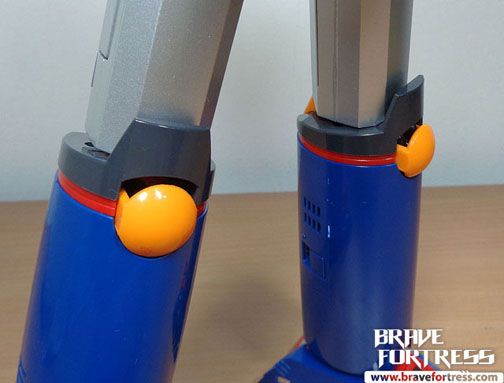

Alternately number 2, the plastic lower legs are a huge turnoff too (for me anyways). It’s fine if you look at it, but it feels .. wrong whenever you pick him up holding him by his legs.
Overall, it’s decent. Not great, not wow. But good enough. Basically, it is what everyone’s initial impression of it is – an upsized Gx-50 with electronics (and Ropet). The electronics are a nice addition, as it should be since the light and sound gimmicks on the DX Mazingers were really cool.
The diecast is spread around the various machines, I was half expecting only the leg units to have the bulk of the metal, and the overall heft is impressive, but there are a lot things that seem like a step back from the Gx-50’s design (opening Battle Jet’s c0ckpit for starters, better hidden kneecap landing gears for the Battle Marine, etc.).
If you can get one at a decent price (SRP) then go for it, but if it’s at crazy inflated secondary market prices, I don’t think it’s worth it.
I hope they do better when it comes time to make a DX Voltes V (Bandai, you better not screw that one up! Or else I’m comin’ for ya!) .
Funfact 1: A funny thing about Combattler’s combination in the show, since it’s generated from each pilot’s willpower and consolidated with Ropet the robot’s help (it’s all about the feels, folks), so many things can go wrong with it. For example, if the team’s morale is low or they can’t concentrate (i.e, wounded or unconscious), the combination fails (Combattler can literally fall apart). If Ropet isn’t at the Nambara Connection at the time of the Combination, the Combination isn’t going to happen. So many, many things to trip up something so important (saving the world here). Why not just flip a switch?

Gold