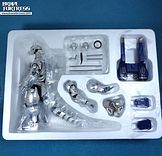
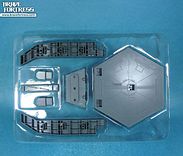
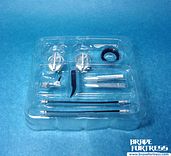
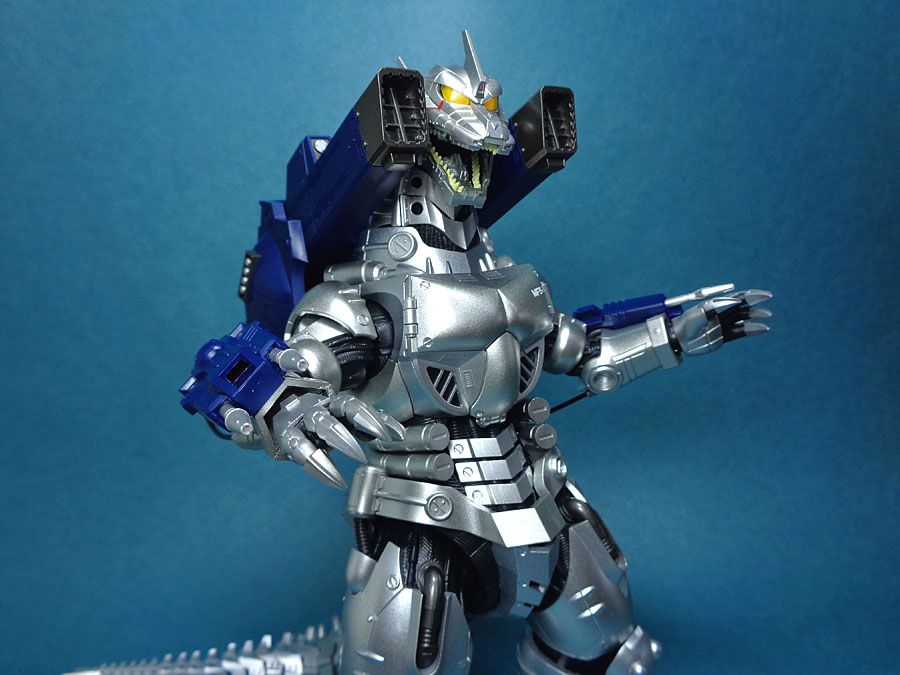
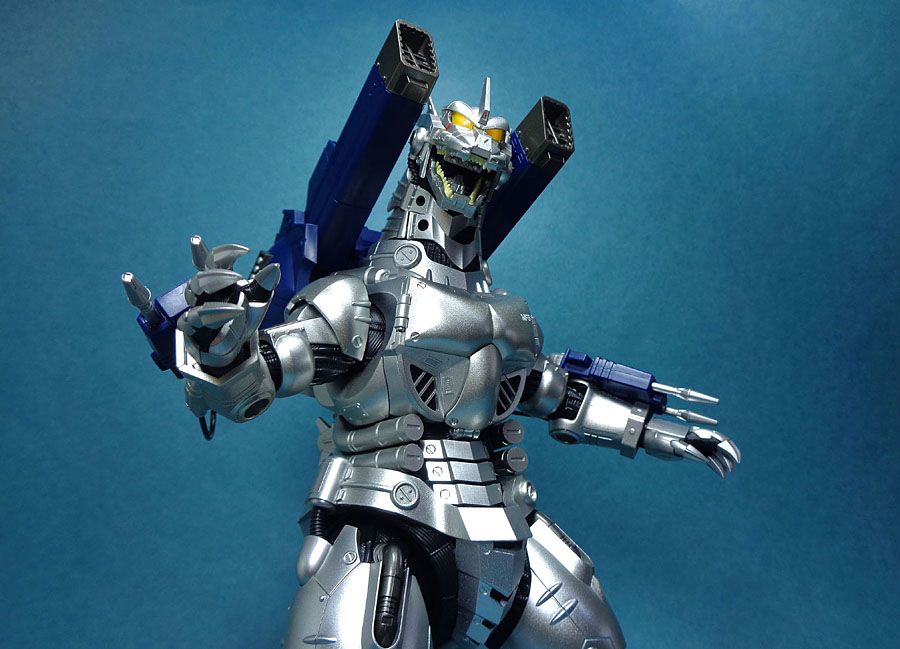
Soul of Chogokin Gx-103 MFS-3 TYPE3 Kiryu (Mechagodzilla)

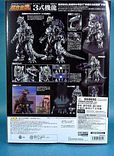
Kiryu requires some assembly when first removed from the box. You will have to plug in the black rubber sleeve into the shoulder first. The sleeve should have the thinner side facing outward.
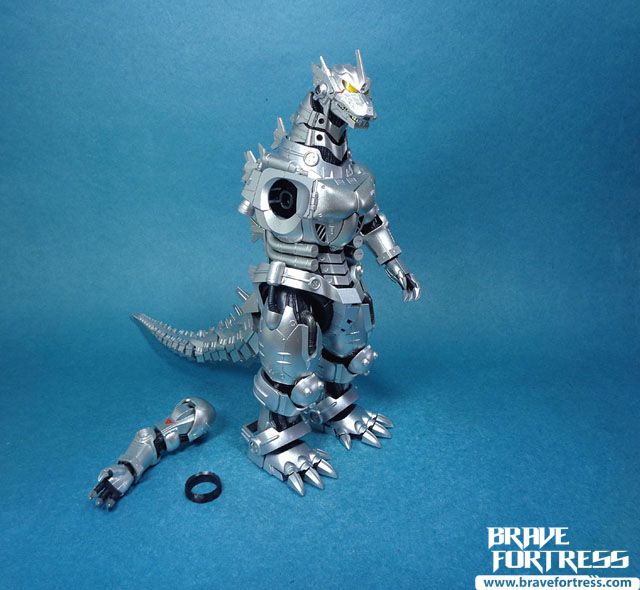
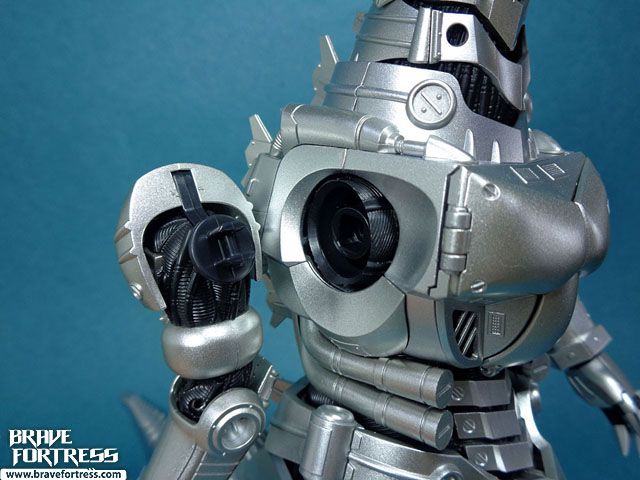
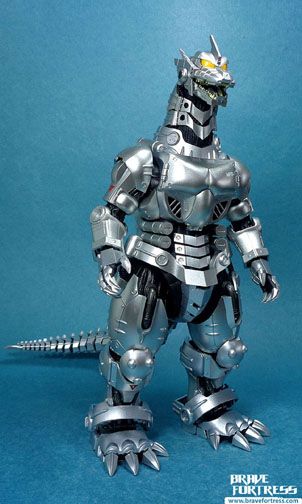
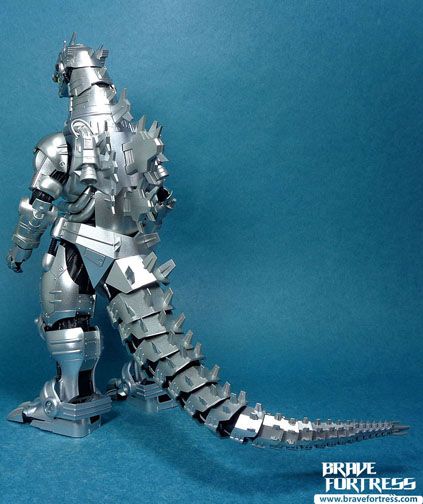
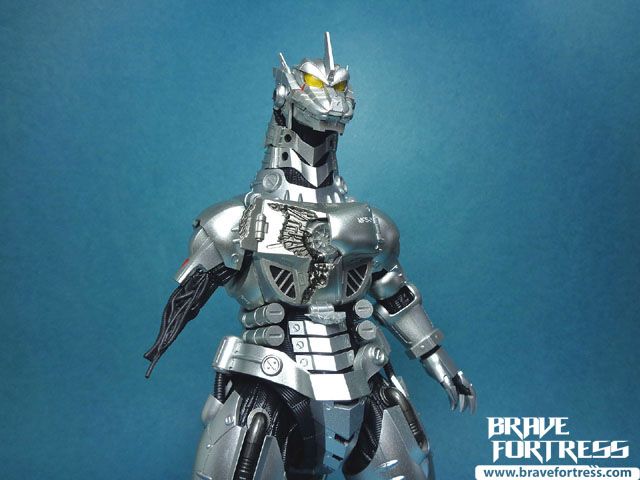
Officially called the “Multi-Purpose Fighting System-3 TYPE3 Kiryu”, this version of Mechagodzilla first appeared in the 2002 movie “Godzilla Against Mechagodzilla”. Built from the leftover skeletal remains of the original 1950’s Godzilla (who had been killed by the “Oxygen Destroyer”, a chemical weapon of mass destruction, way back in 1954), Mechagodzilla is outfitted with advanced weaponry. Renamed “Kiryu”, it is deployed into combat when a new Godzilla appears. Its name literally means “Machine Dragon” in Japanese.
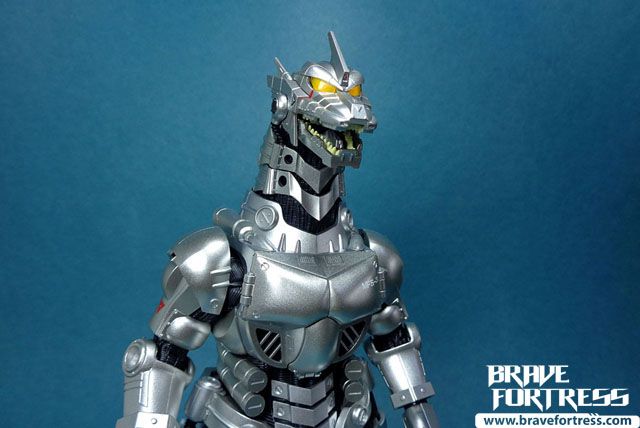
Unfortunately for the Anti-Megalosaurus Force (AMF) branch of the JSDF , “new” Godzilla’s roar awakens the spirit of the original Godzilla and it takes over the Kiryu as a “ghost in the machine”. The mechanized giant then goes on a rampage in the city until its fuel runs out.
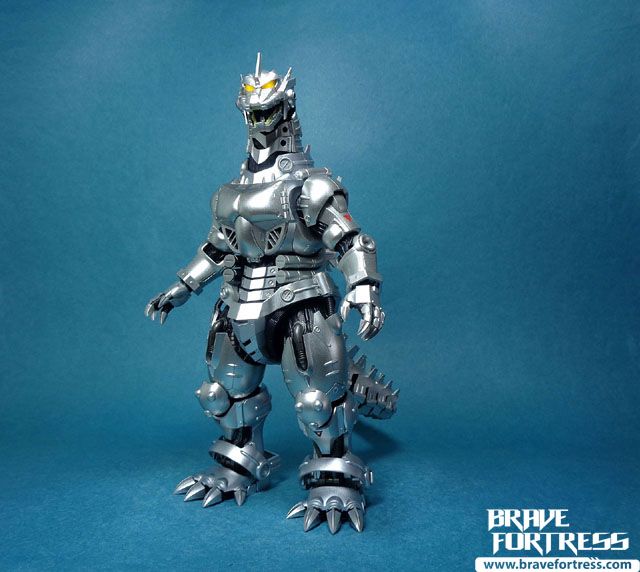
While impressively armed with powerful, highly-destructive weaponry, the Kiryu has several weaknesses. It is piloted via remote control, if anything should happen to its transmitter apparatus, the unit becomes offline (requiring a pilot to then enter the unit and manually take control). The Kiryu also operates on a limited internal power supply, allowing for only two hours of maximum operational time, that time grows less if the Absolute Zero Cannon is used in combat.
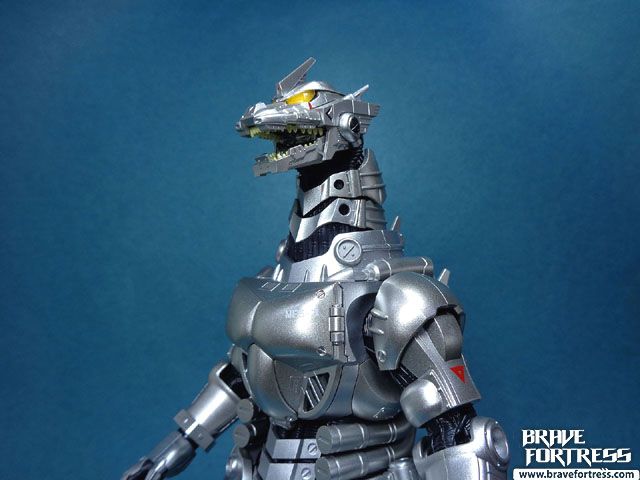
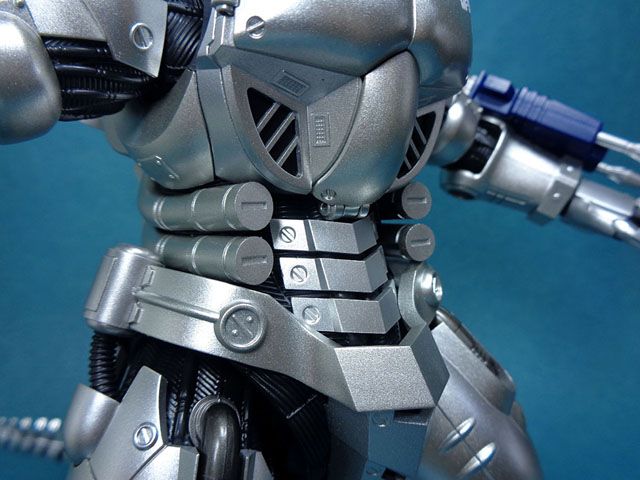
SOC Kiryu features a hidden ab crunch joint.
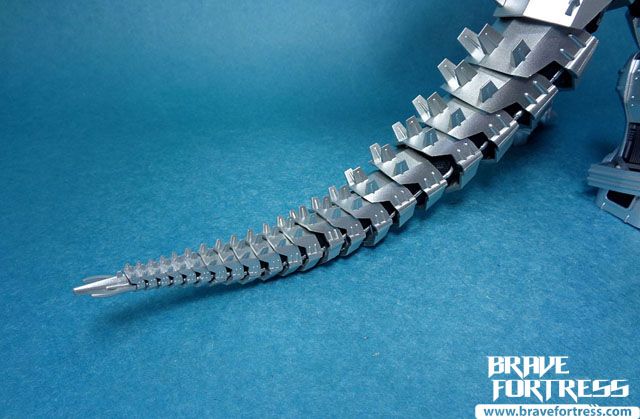
The tail features lots of segmenting, making it versatile to pose.
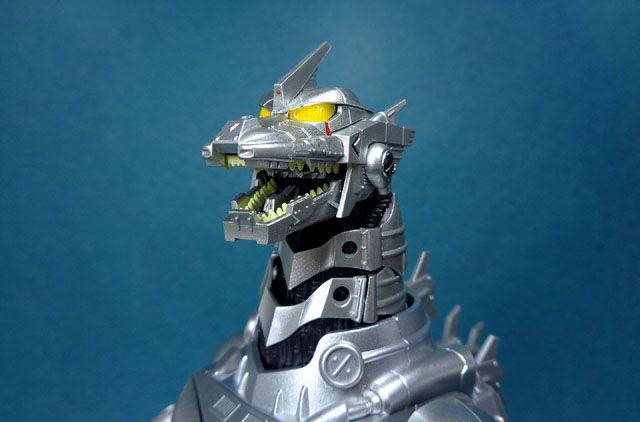
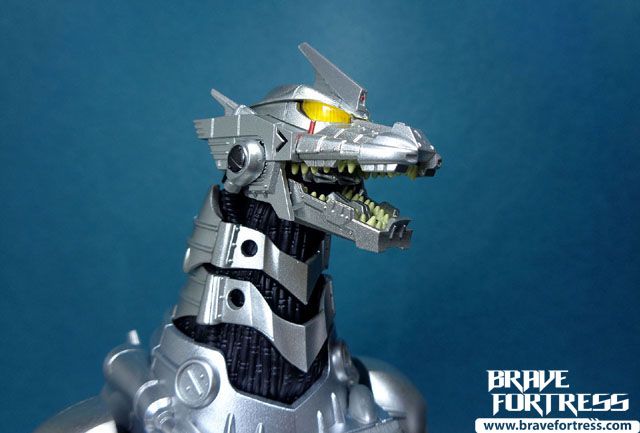
The figure features LED light up eyes. The head LEDs run on 2x LR41 batteries. You’ll have to take the entire head off first and remove the battery seal which prevents battery drain while in package.
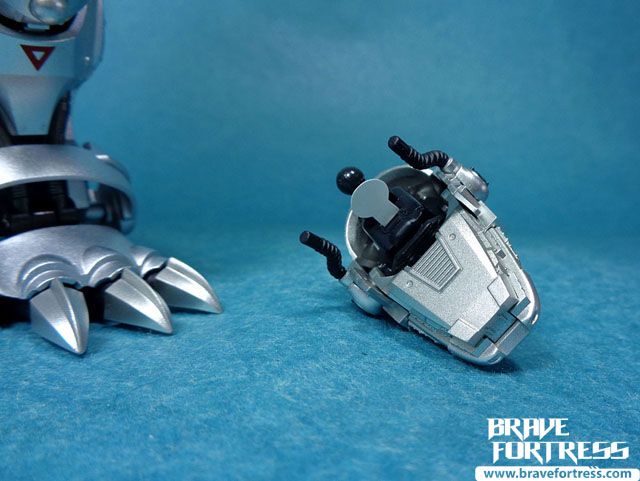
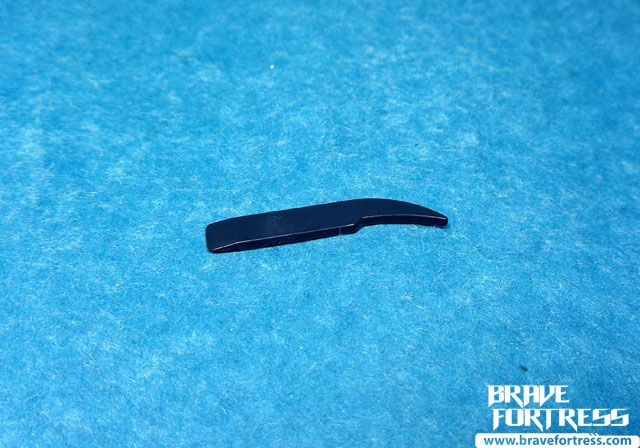
Here, you’re supposed to use the special tool (sometimes known as a spudger) to pick the batteries out, but the pick is a bit too thick IMHO, I just used a fine screwdriver from my kit to make life easier.
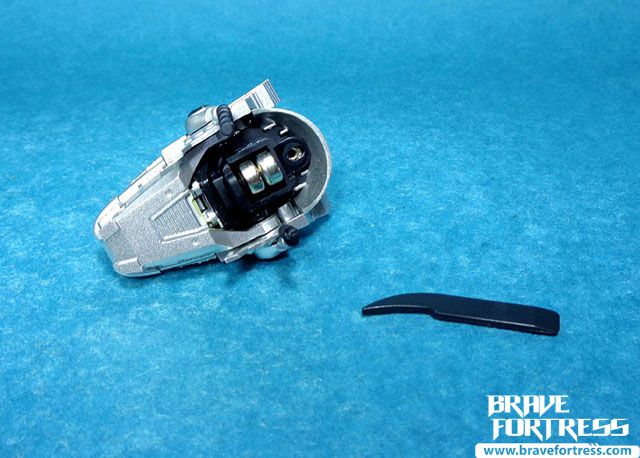
To activate, you’ll have to remove the top of its head and flip the switch on.
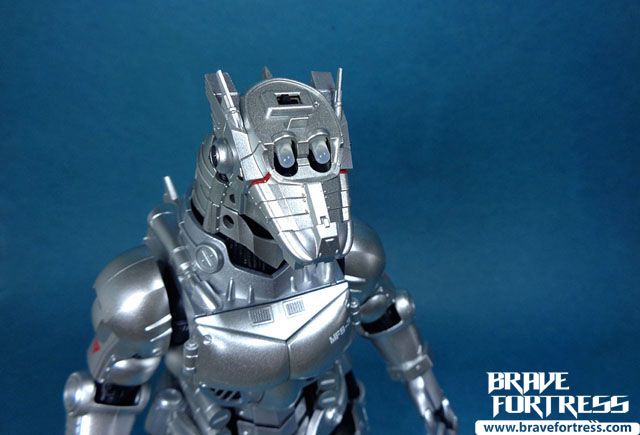
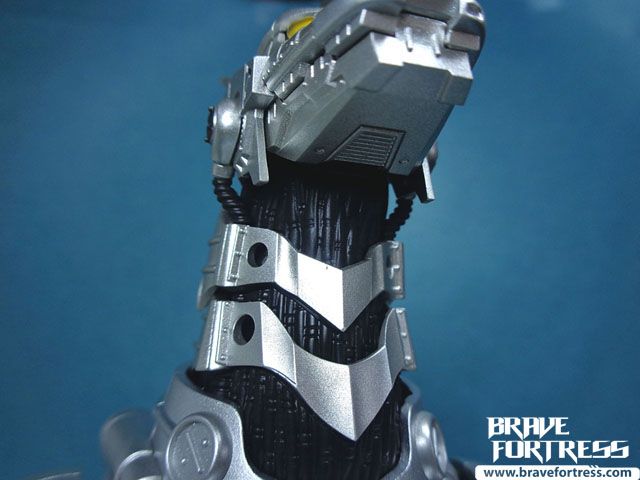
To return the head, make sure the neck ball joint is angled to the back like so.
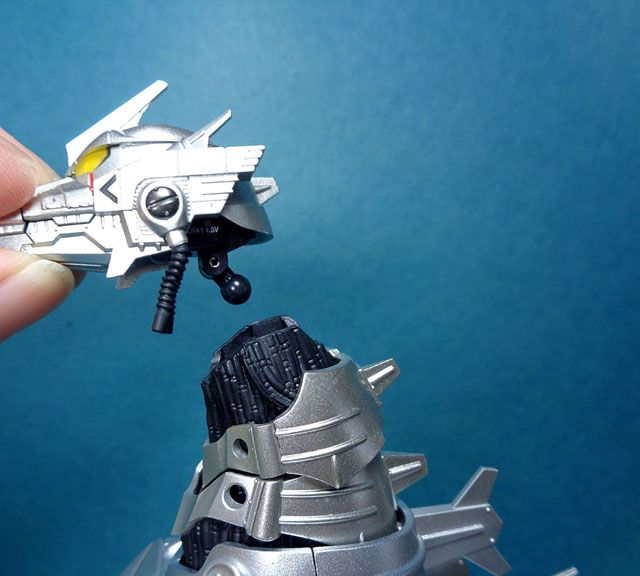
Likewise, make sure that the cables on the sides of the jaw slot into the canals properly before pushing the ball joint all the way back in.
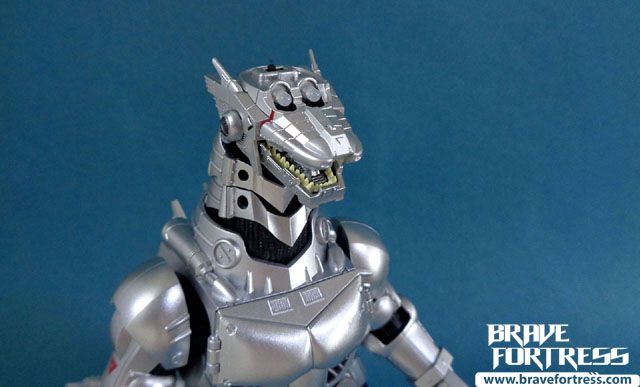
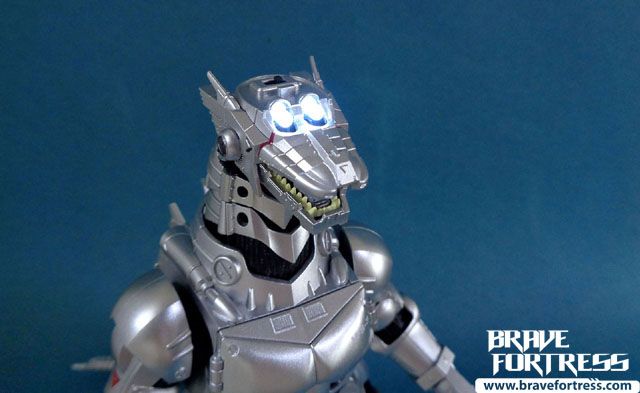
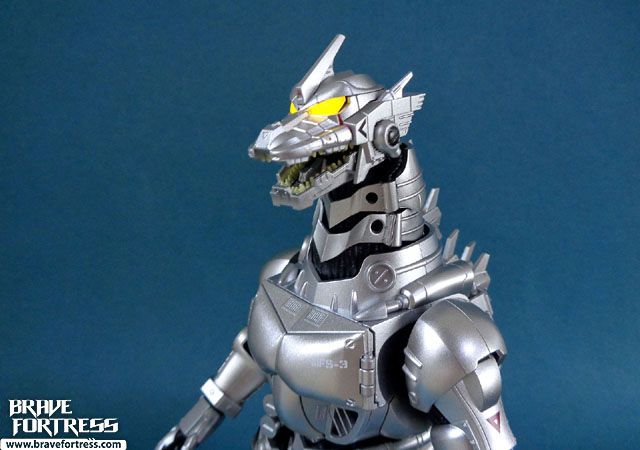
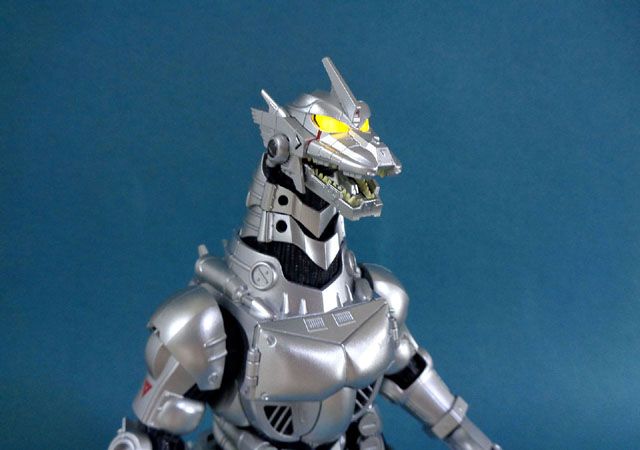
When Kiryu is “possessed” by the first Godzilla’s spirit, his eyes turn red, indicating it is going into berserker mode.
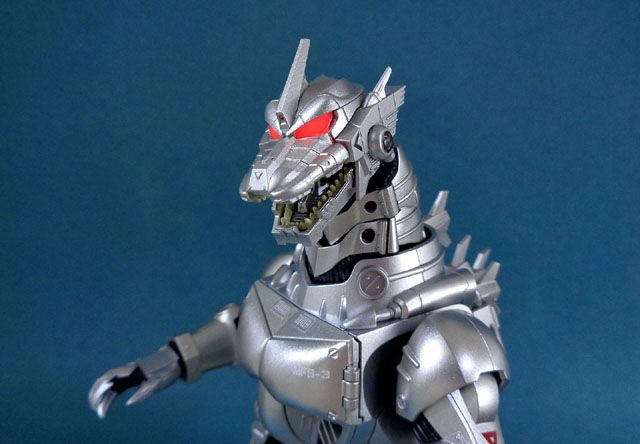
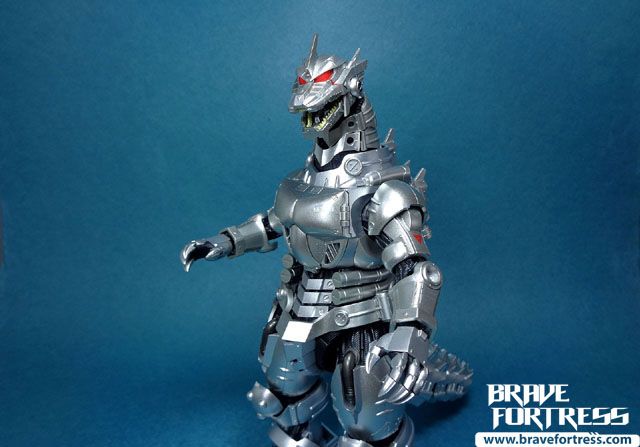
The third set of eyes in the set is for when the Kiryu is being piloted manually and not via remote control. There’re some fine line detailing in the eyes of this set and the glow of the LEDs are diffused/ lessened because of this.
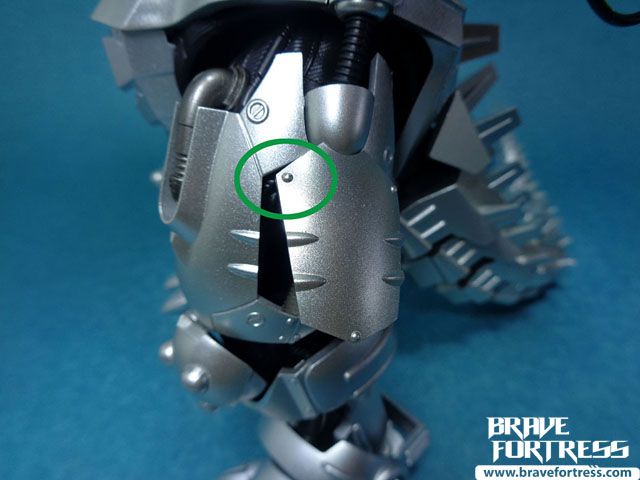
You’re also supposed to use the spudger to help pop open the panels on the figure’s thighs to expose its thruster units, for when Mechagodzilla is being air-dropped from transports and descending.
Personally, I found it easier to just use my fingernail instead and pick at the “bolts” on the plate’s surface to get the panel to dislodge and pop open (the pick took forever).
Adjustable nozzle direction. Nice…
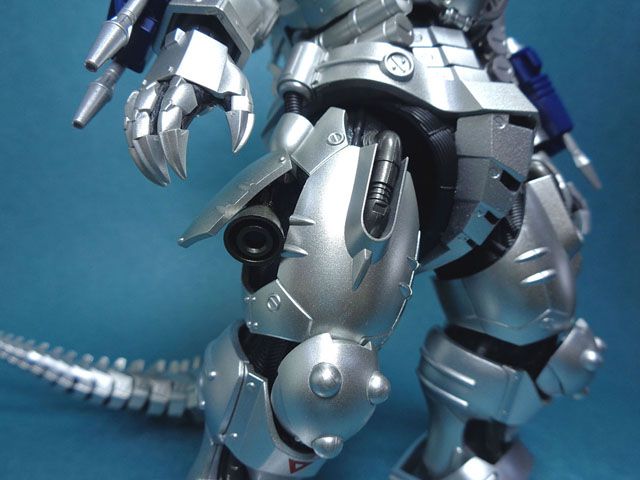
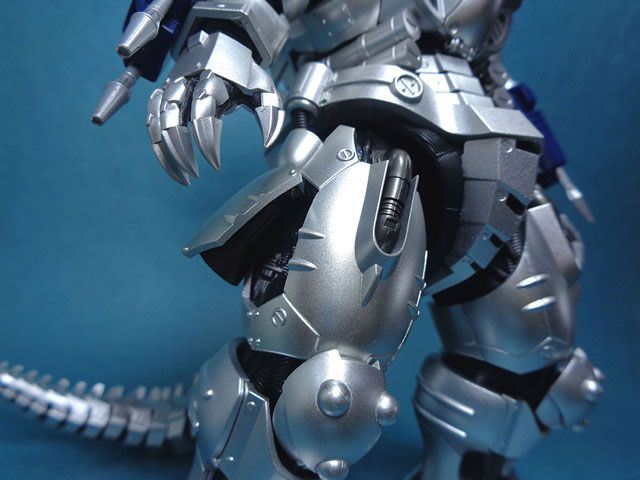
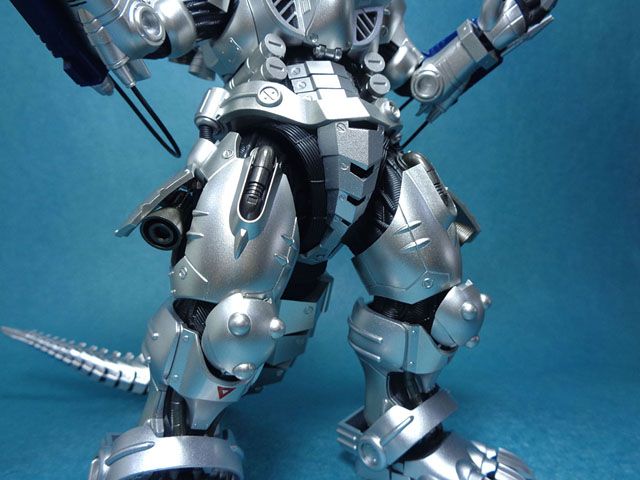
An Akane Yashiro mini-figure is included (sort of). You will have to replace Kiryu’s right clavicle piece to get her into place.
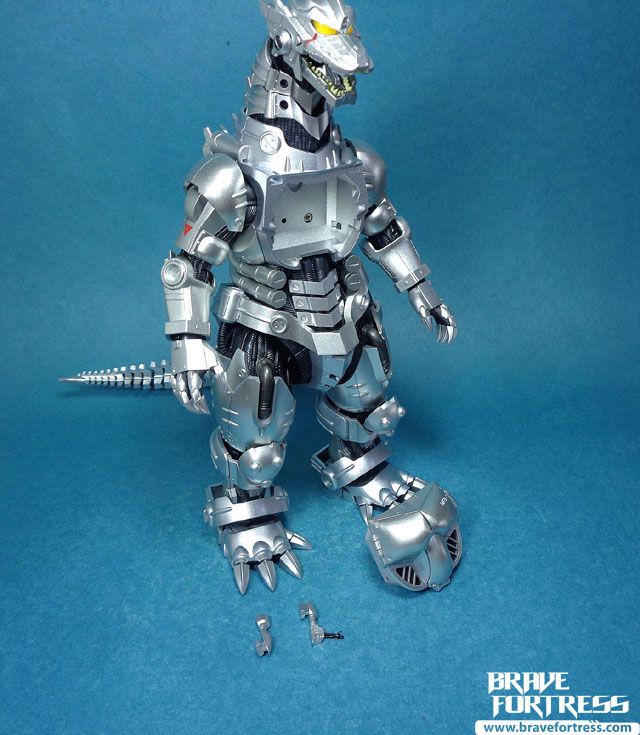
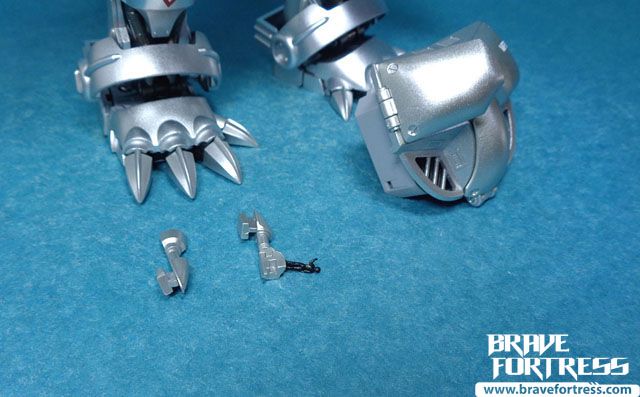
Too bad the mini-figure isn’t painted though. You can hardly notice she’s there.
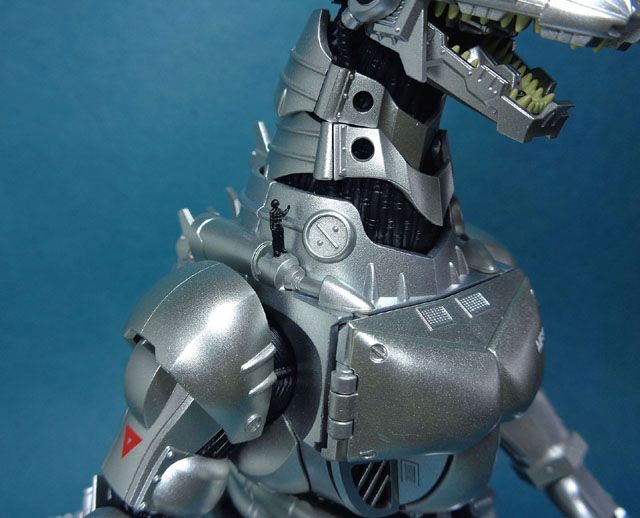
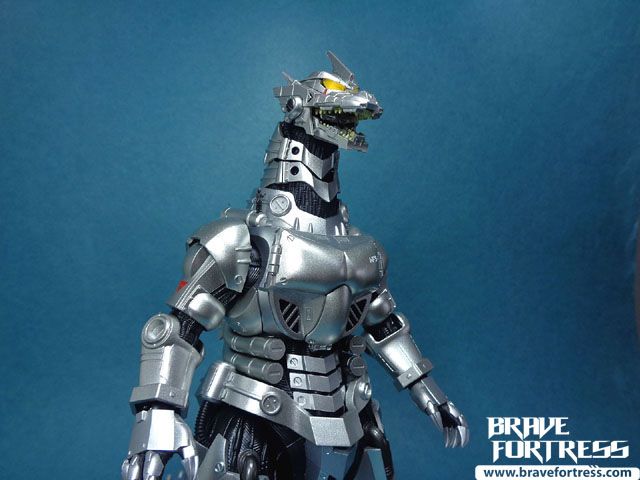
Her placement gives one a rough idea of how huge Mechagodzilla (and for that matter, Godzilla himself) is next to puny humans.
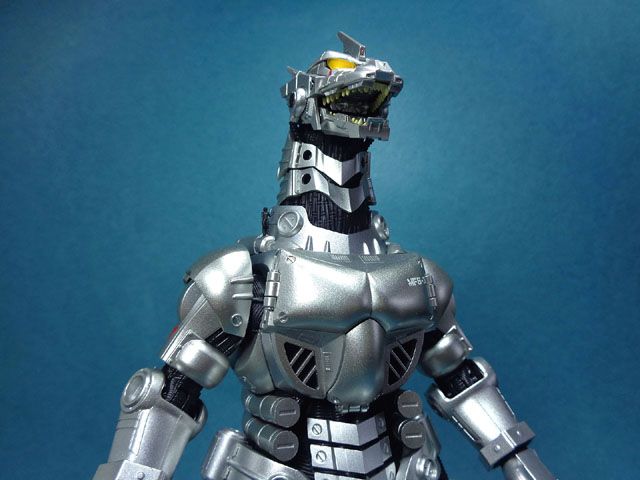
WEAPONRY
Type-99 Double Maser Cannon/ Twin Maser Cannon – cannons mounted inside Kiryu’s mouth.

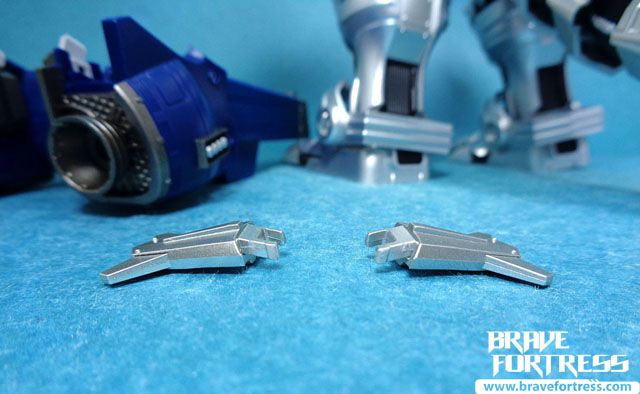
Dual wrist-mounted high-speed Type-0 Railguns – in the sequel movie “Godzilla: Tokyo SOS”, these are replaced with improved Type-4 Railguns.
You’ll have to pull out the elbow pins first before you can connect the bendy cables onto Kiryu. Make sure not to lose the default pins.
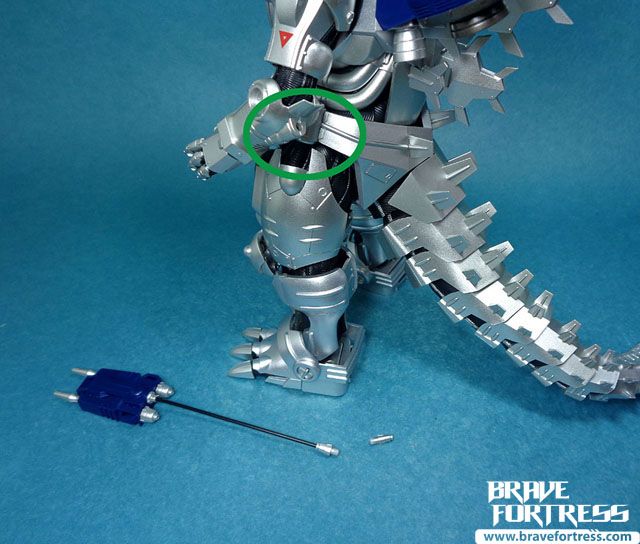
The Railguns are retracted in the package, remember to extend the Railguns when you equip them onto Kiryu.
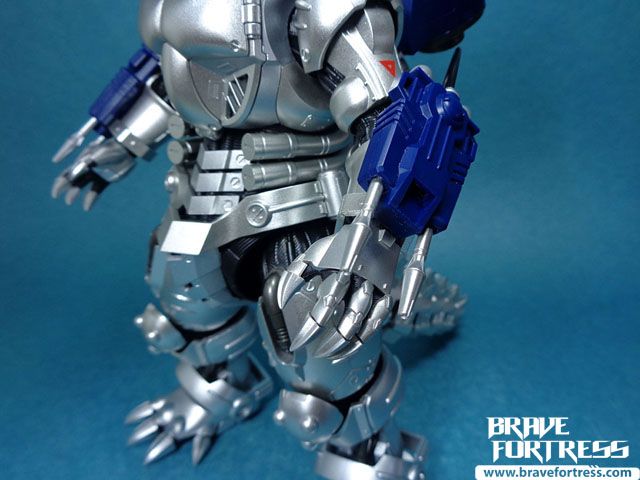
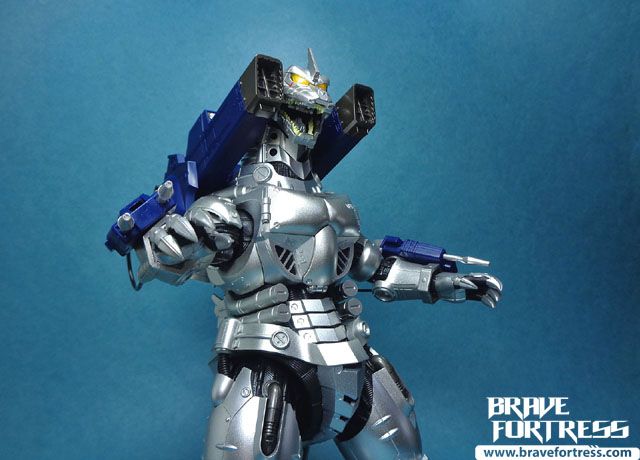
Maser Blades – stored inside each of Kiryu’s Type-0 Railgun gauntlets. Kiryu uses these blades to stab Godzilla and deliver a strong electrical surge directly into his body. The blade accessories are just simply plugged into the figure’s Railguns.
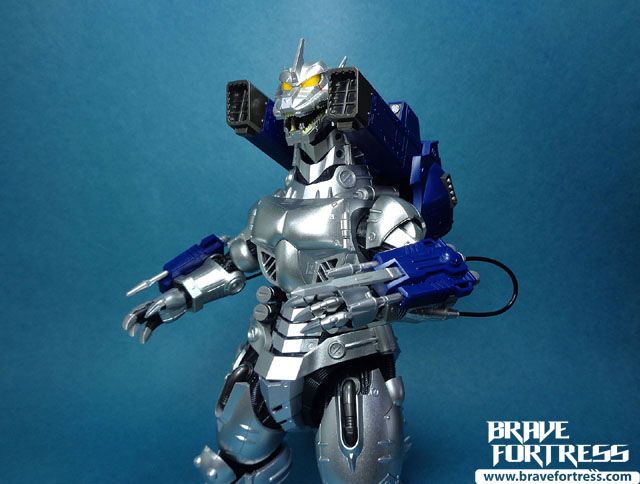
In the upgraded Kiryu unit for the sequel movie, the Maser Blades would be dropped from the newer Type-4 Railgun designs.
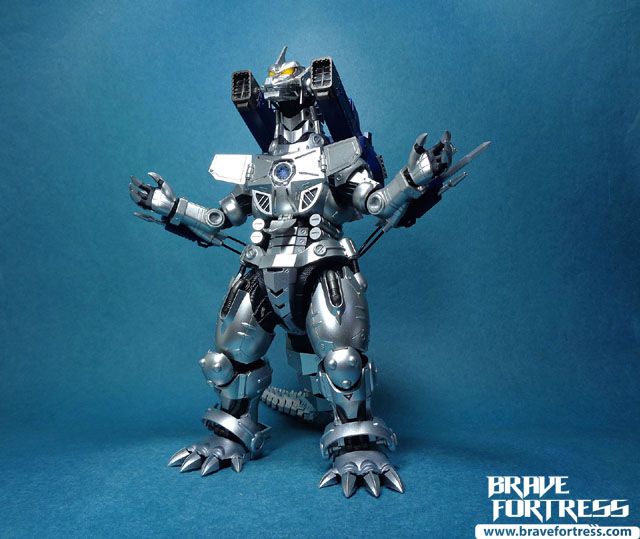
Kiryu’s Back Unit – When equipped on Kiryu, it dual provides multi-type rocket launchers and additional boosters for flight, as well as increases the Kiryu’s land movement speed.
To attach the Back Unit, you’ll have to pull off some fins/ panel covers on Kiryu’s back first to expose the slots.
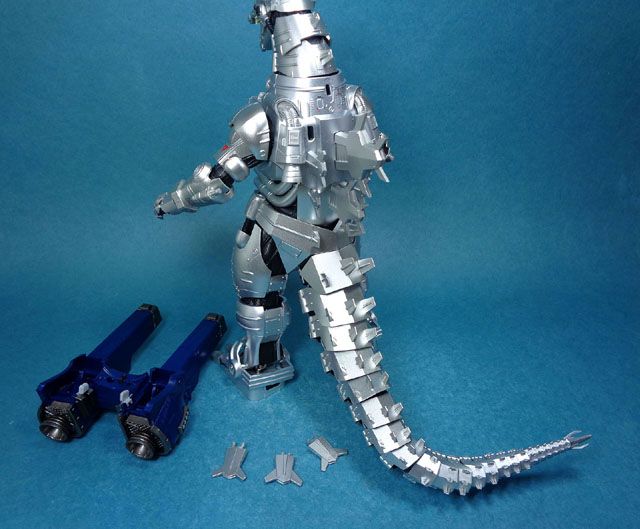
To remove the fins, I STRONGLY RECOMMEND holding them like so, and then moving up and down as opposed to left and right to prevent breakage.
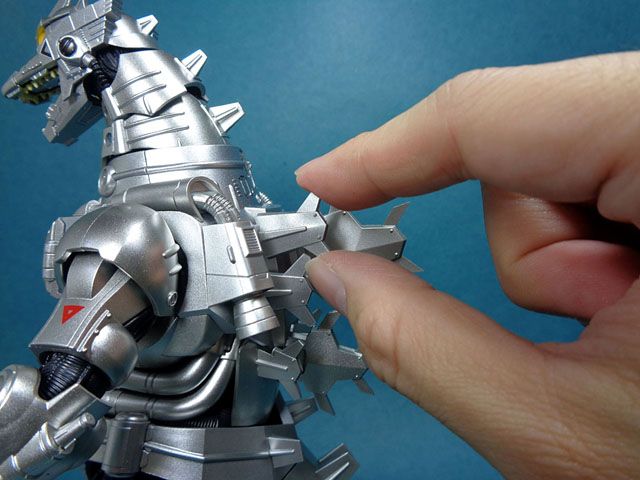
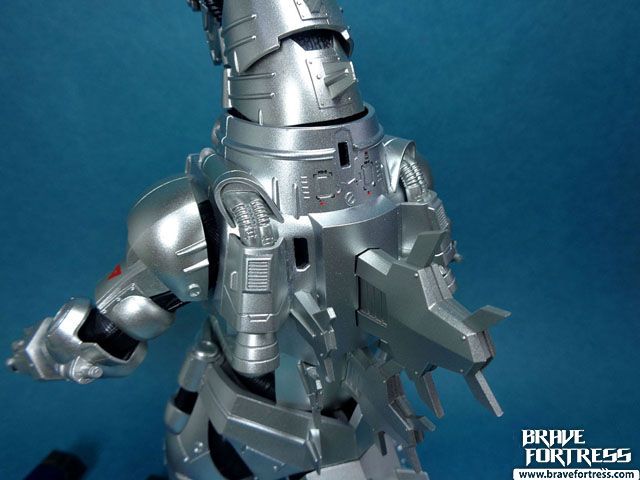
Make sure to remember each fin’s orientation when you remove them to make things easier for when you return them.
Mechagodzilla is loaded for bear!
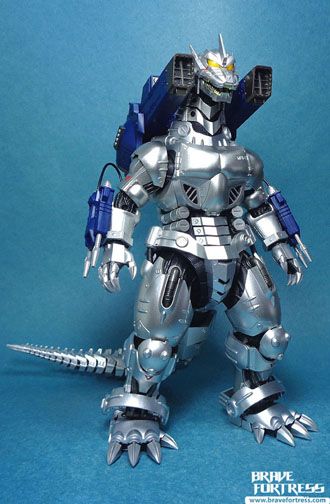
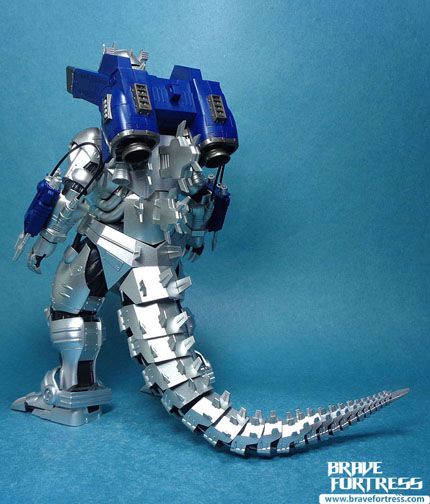
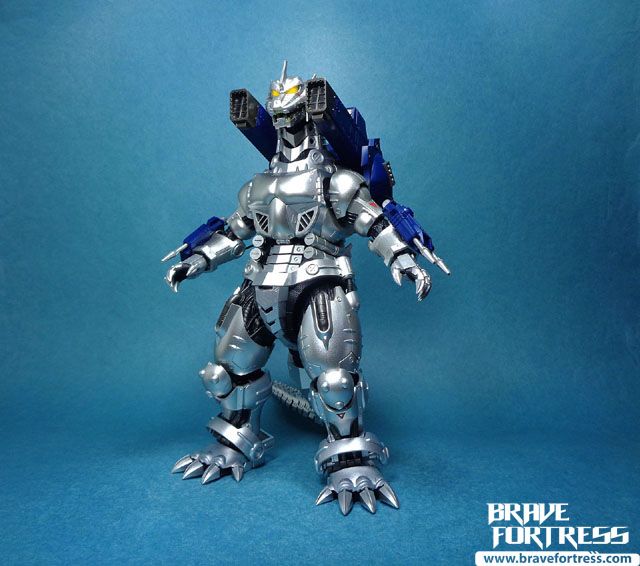
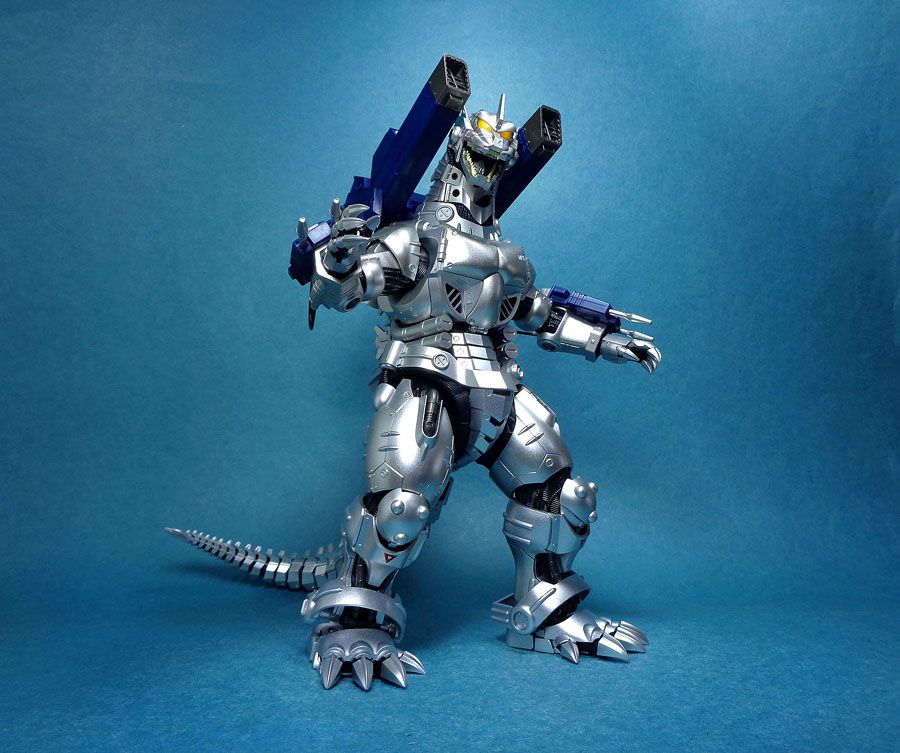
The Back Unit’s rocket launchers fire two types of missiles from its main forward-facing cannons.
-Type-87 680 mm Multiple Interlocking Rockets.
-MRL 2 Mk. IV rockets.
Both would later be replaced with the Type-04 MRL 2 Mk. IV Rockets in the sequel movie.
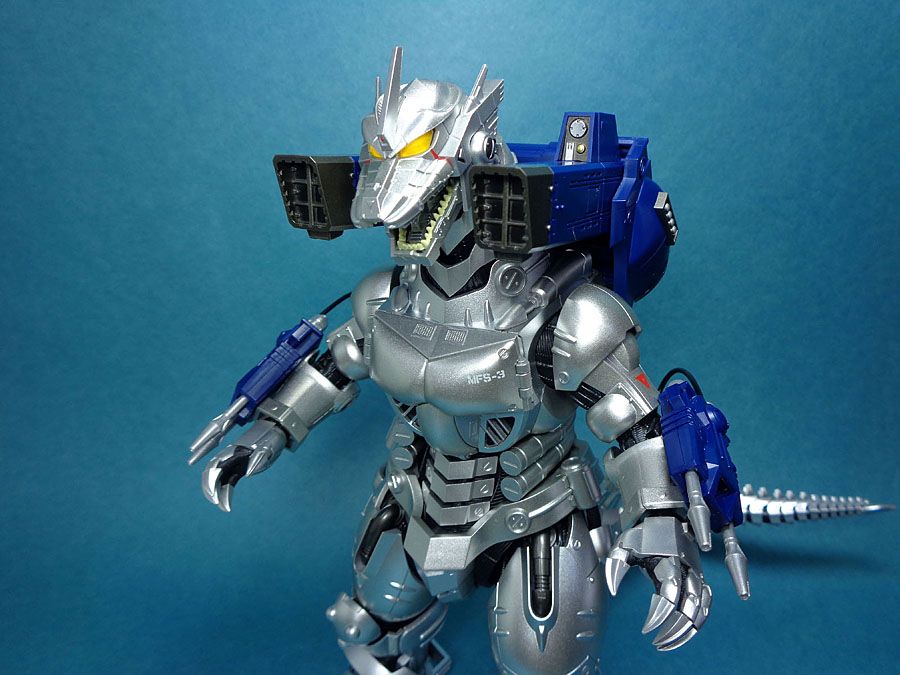
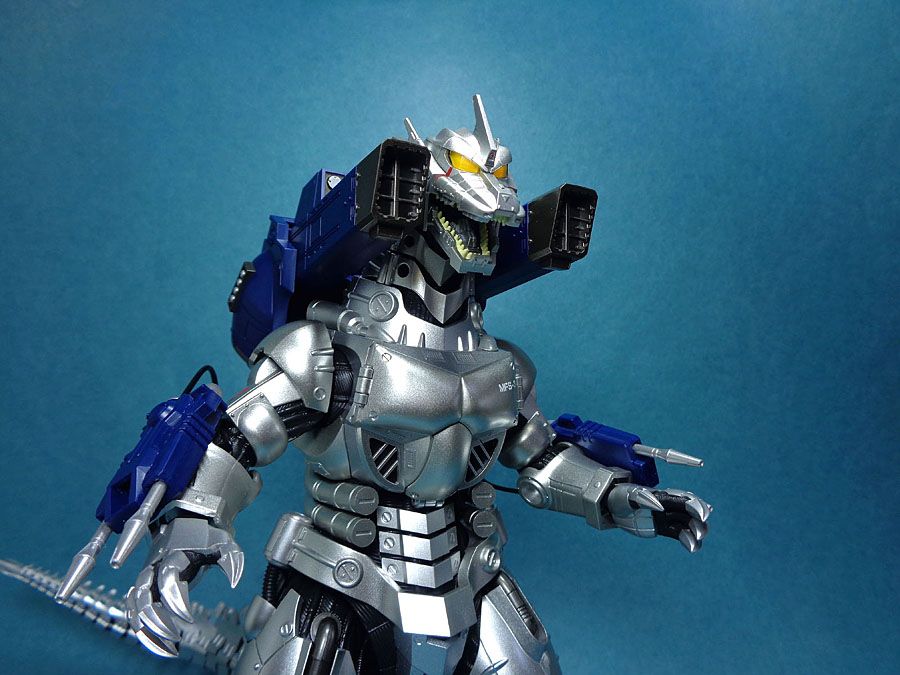
Multipurpose Guided Missiles – Type-95 470 mm Multipurpose Guided/ Homing Missiles are fired from the sides of the Back Unit. These are later replaced with replaced with Type-98 320 mm Multipurpose Guided Missiles for the sequel movie.
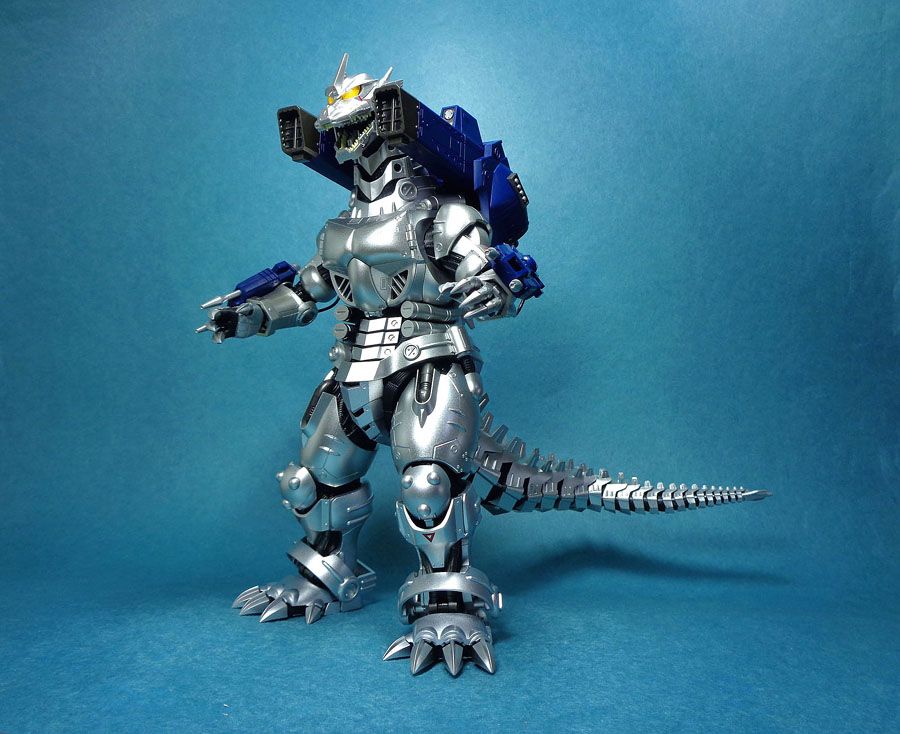
Absolute Zero Cannon – a powerful cannon installed inside Kiryu’s chest. This weapon fires a beam that instantaneously freezes the target to absolute zero. Any target struck by the Absolute Zero will be instantly frozen on an atomic level, causing it to disintegrate under its own weight. This attack consumes 40% of Kiryu’s energy reserves
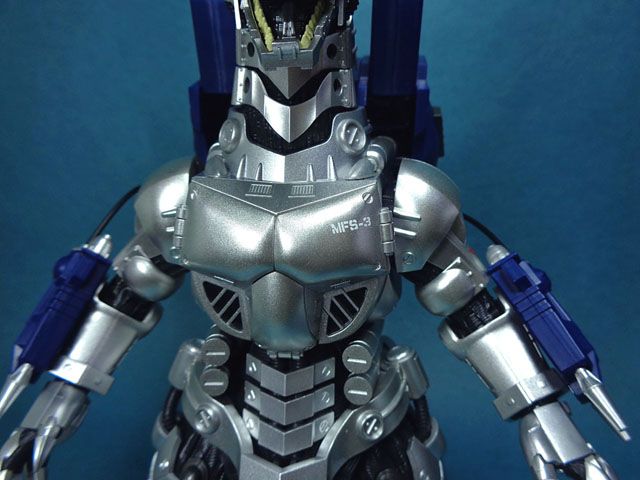
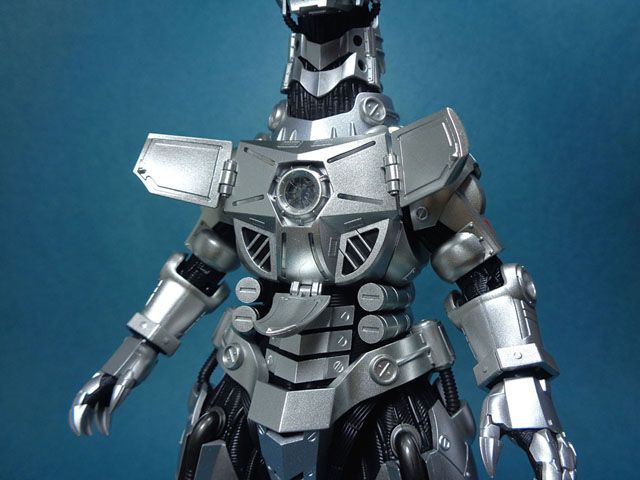
The cannon LED runs on 3x LR41 batteries.
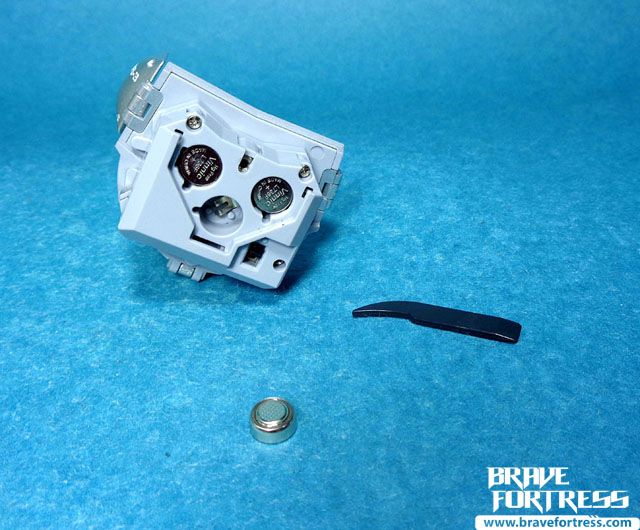
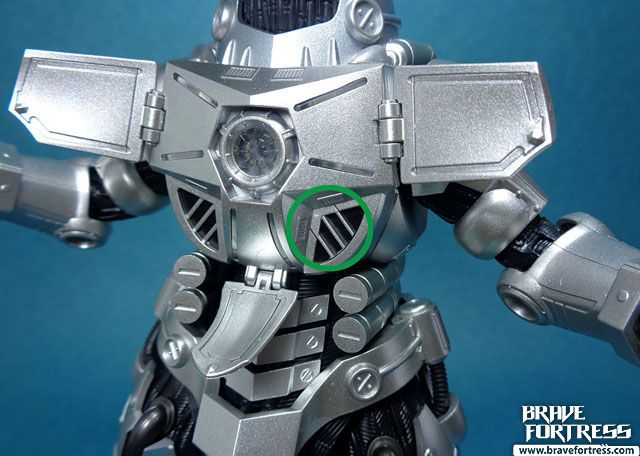
To activate the cannon, you’ll have to pull the entire component out and turn on the switch first. 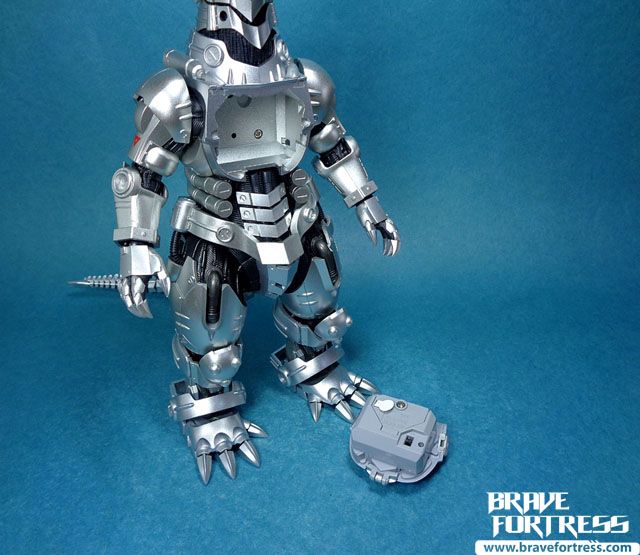
Remember to remove the battery seal here.
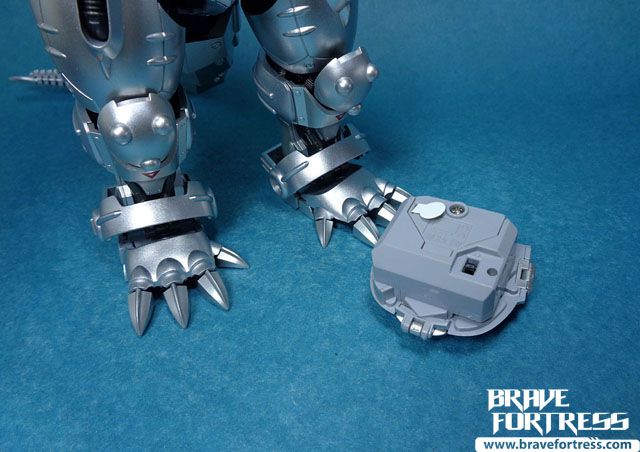
The LED will then activate every time you press the left vent button on the component.
The light in cannon changes color, glowing from yellow to blue, recreating its firing sequence.
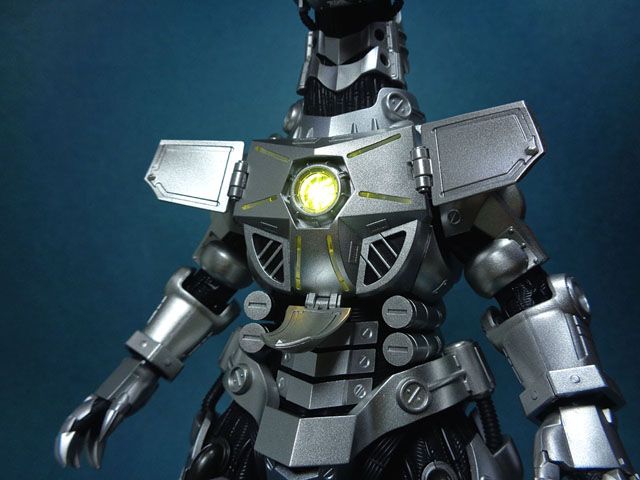
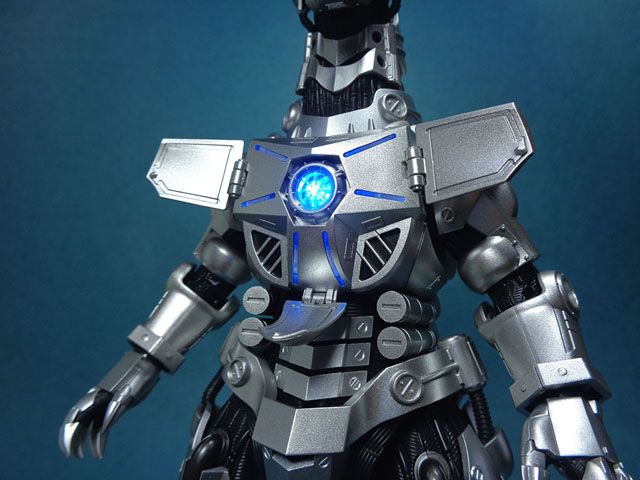
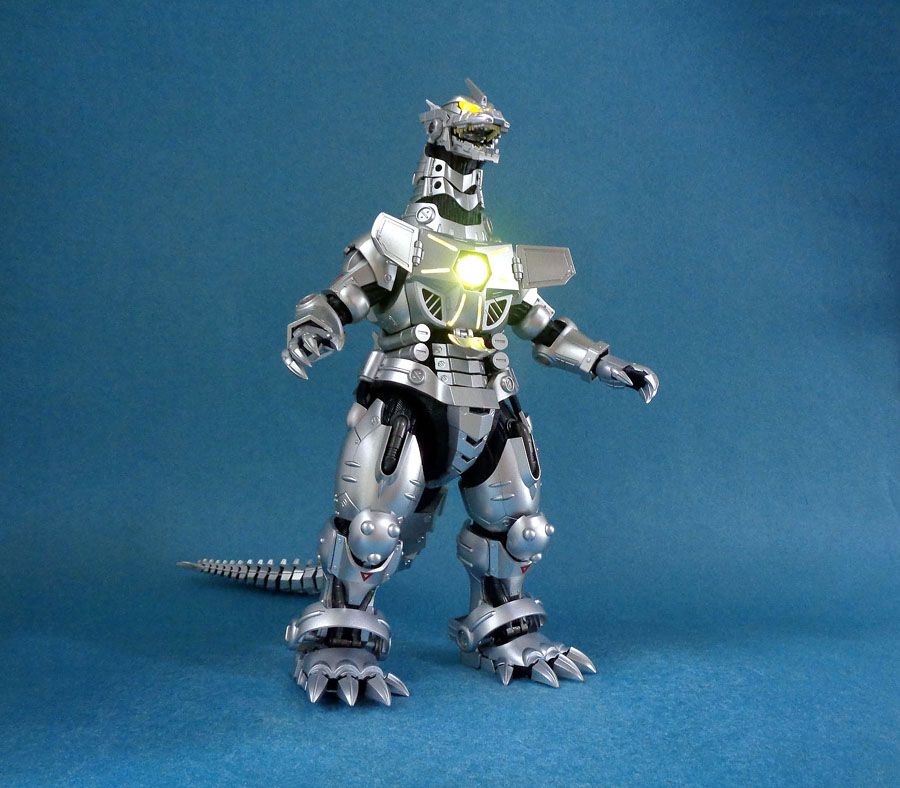
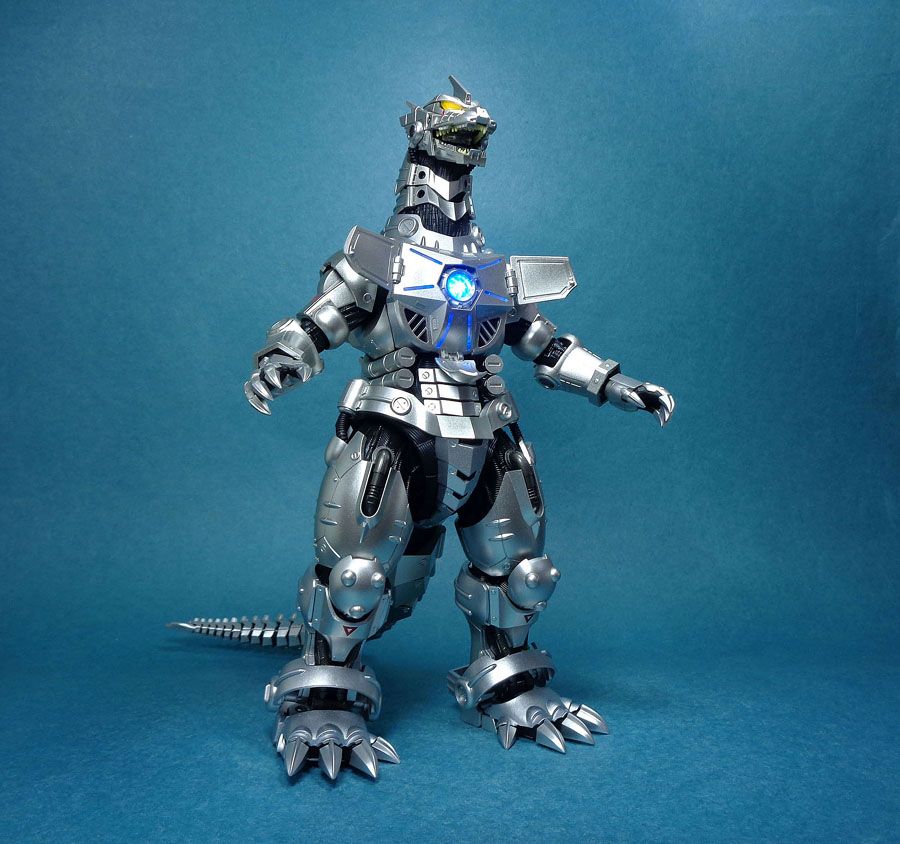
I am super happy the LEDs are super bright on this thing!

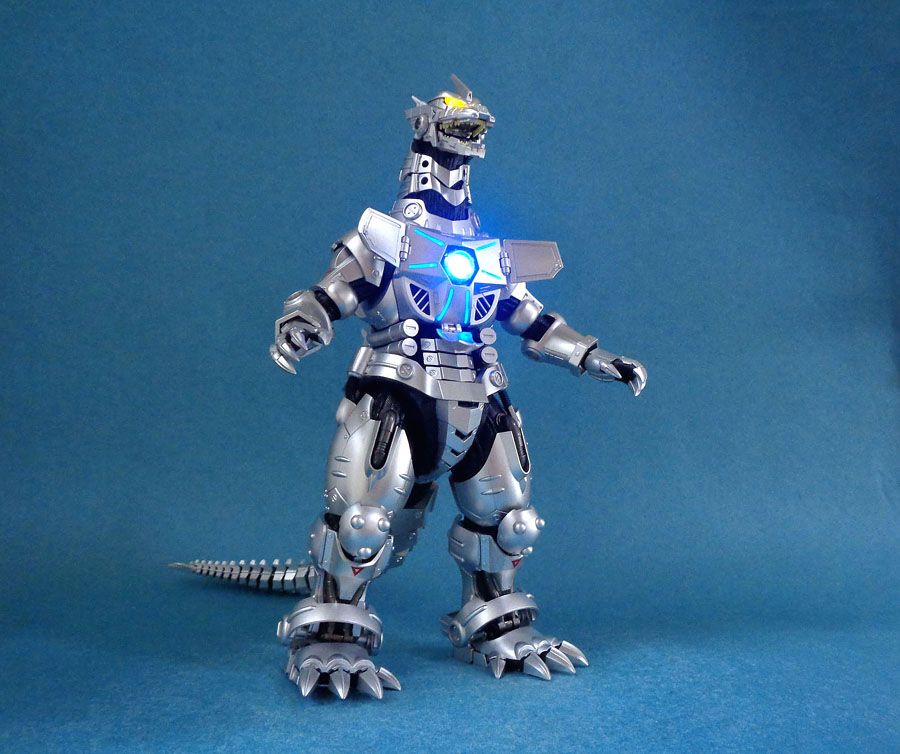
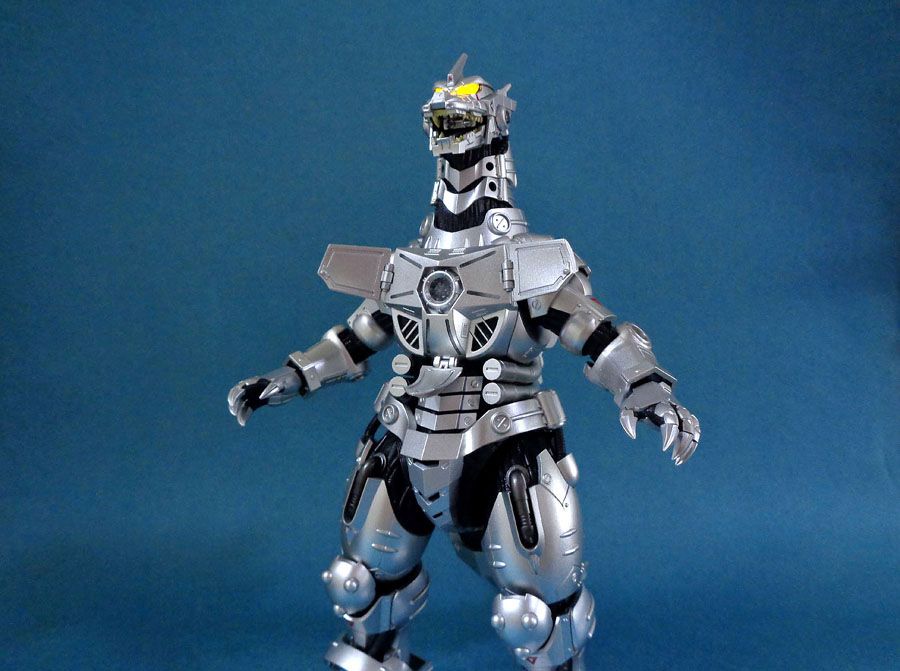
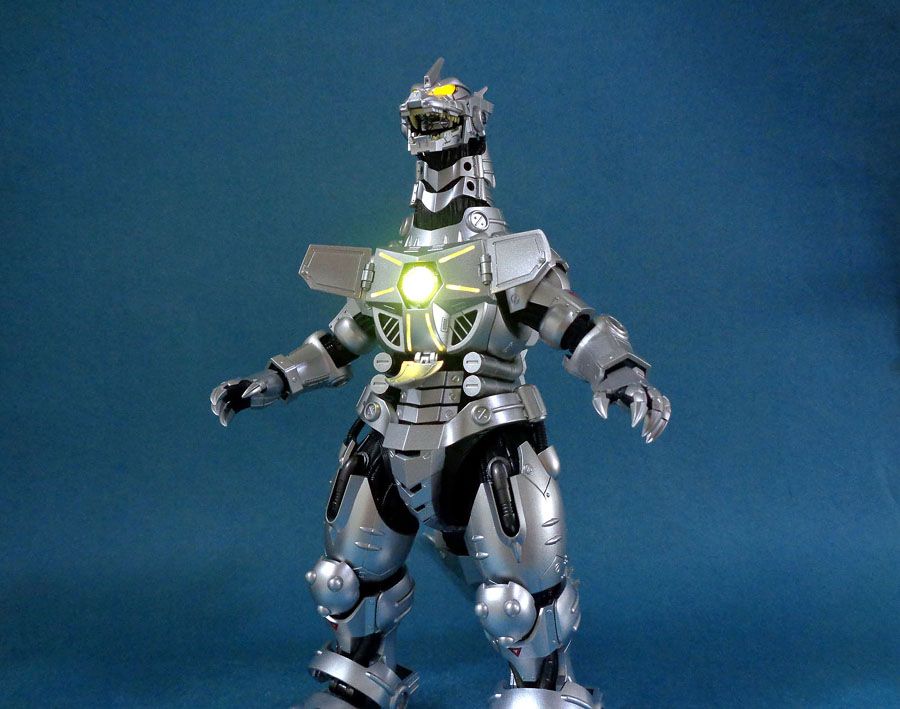
The Absolute Zero Cannon is later replaced with Type-4 Triple Hyper Maser Cannon in the sequel movie. The latter is less powerful than the Absolute Zero Cannon but is more energy efficient.

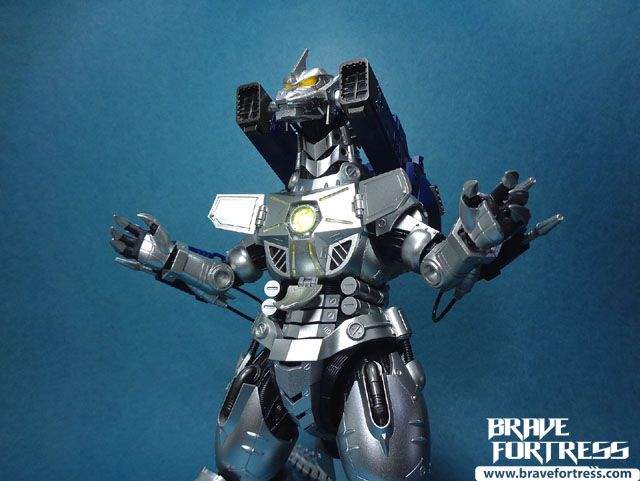
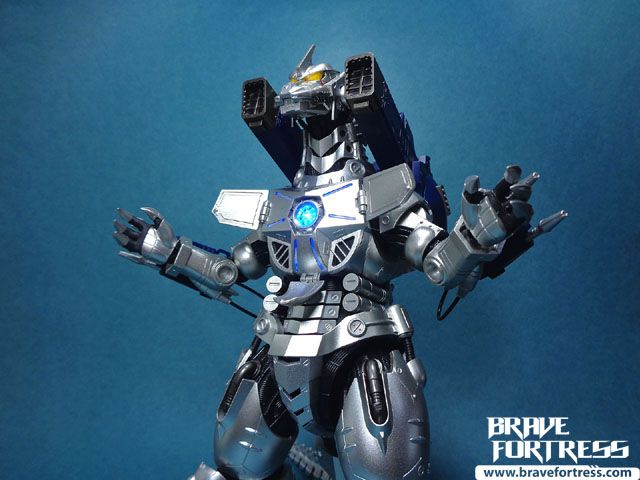
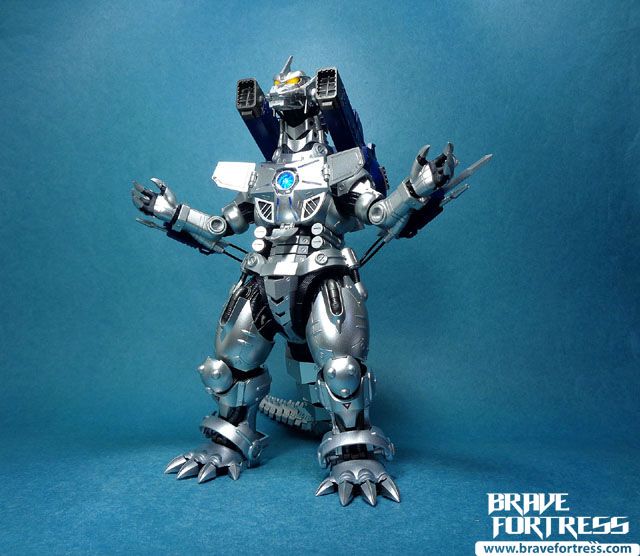
Last but not least, battle damaged parts for the Absolute Zero Cannon and Kiryu’s right arm are also included.
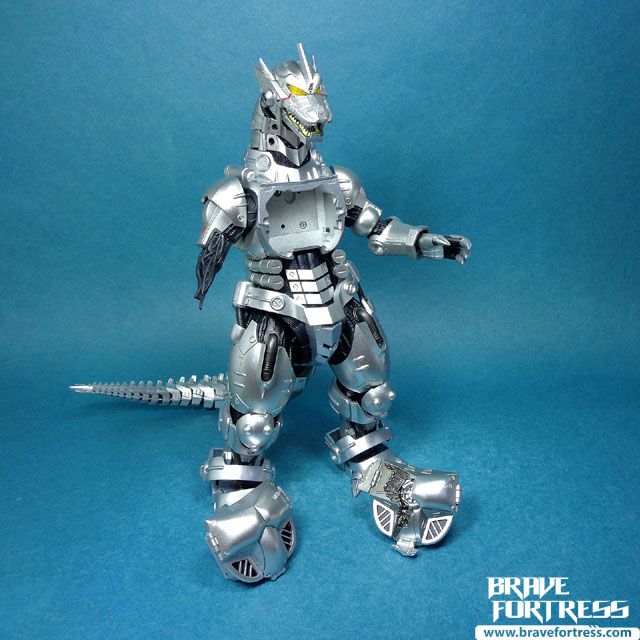
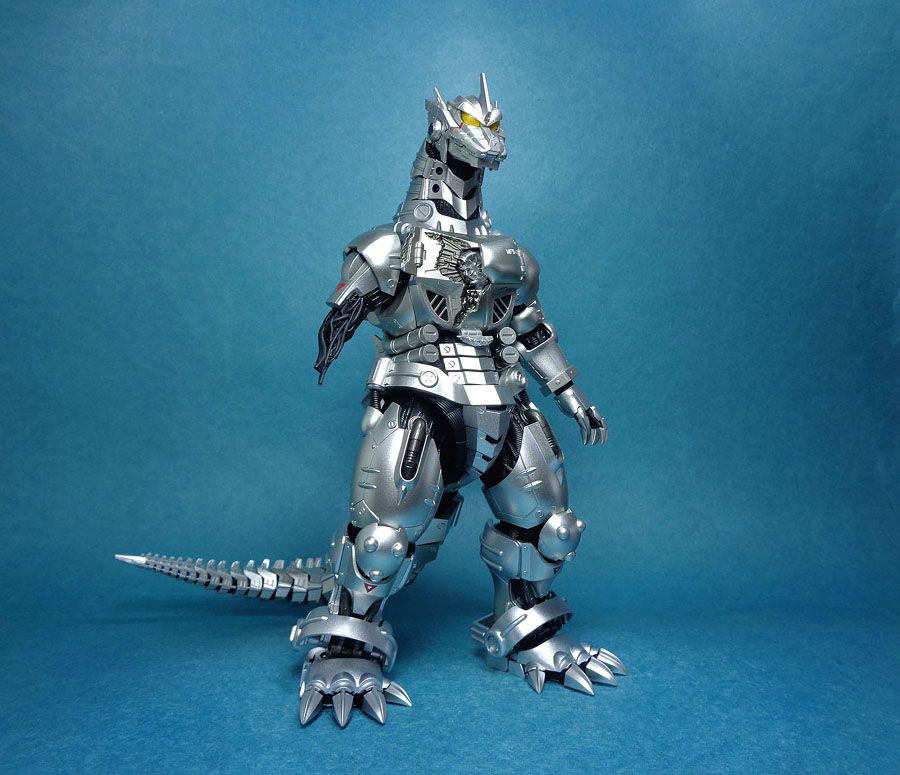
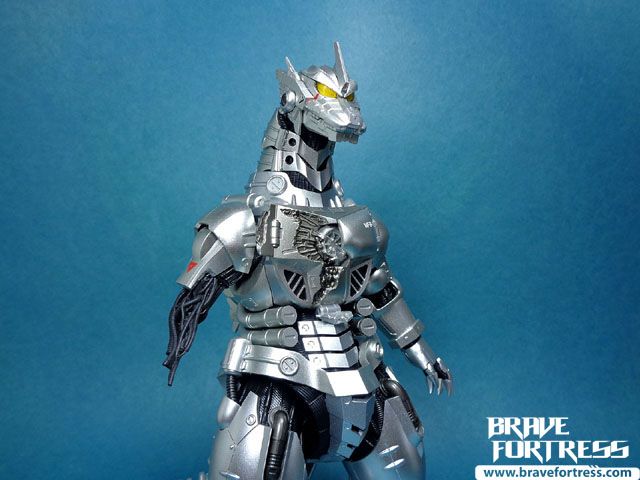
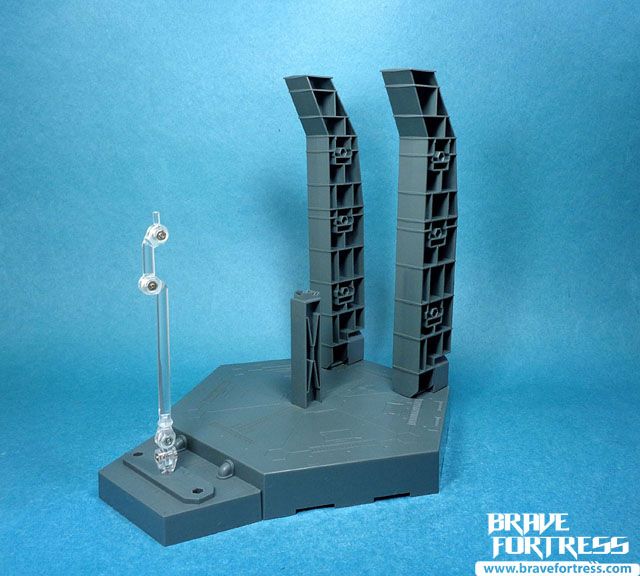
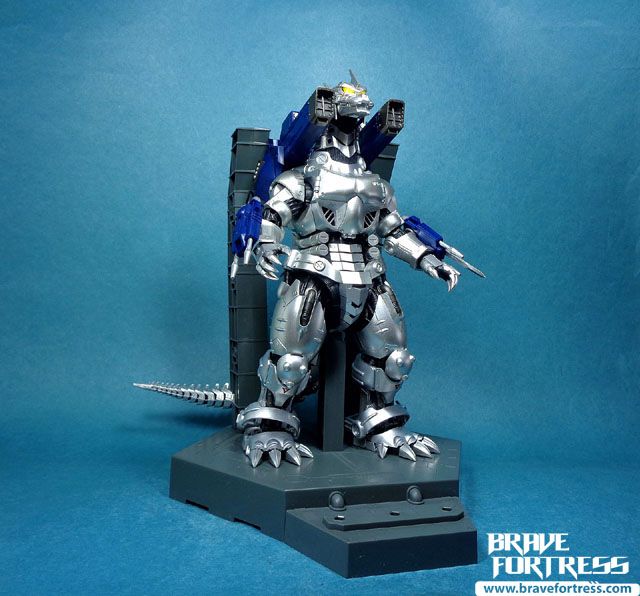
DISPLAY BASE – The Kiryu’s pedestal is based on the hangar’s appearance in the movies.
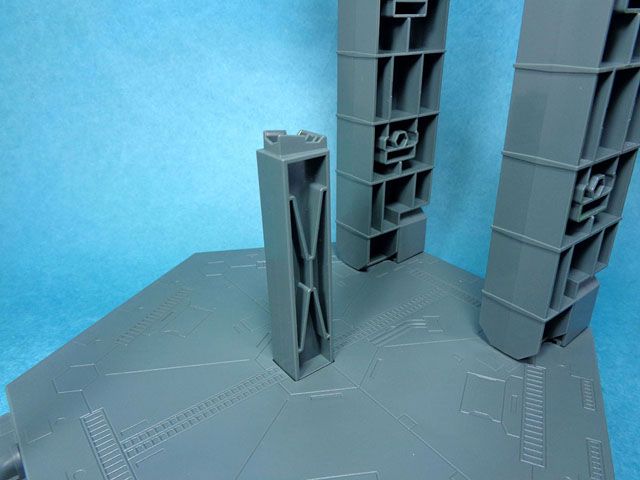
Make sure you get the orientation right for the crotch support piece.
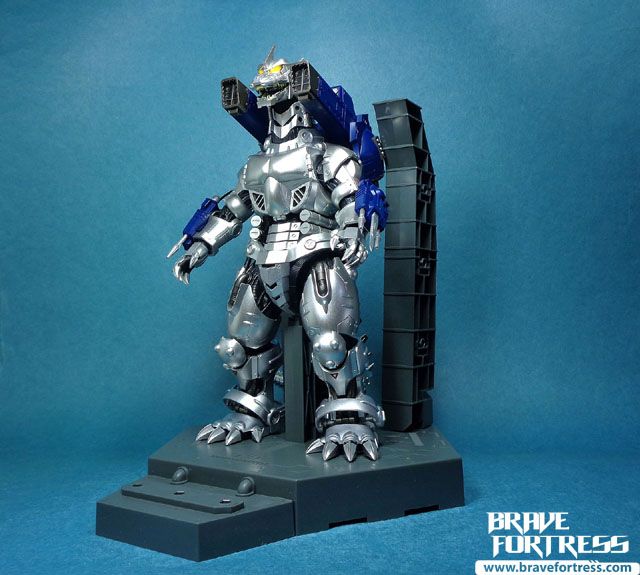
Storage for Mechagodzilla’s Railguns.
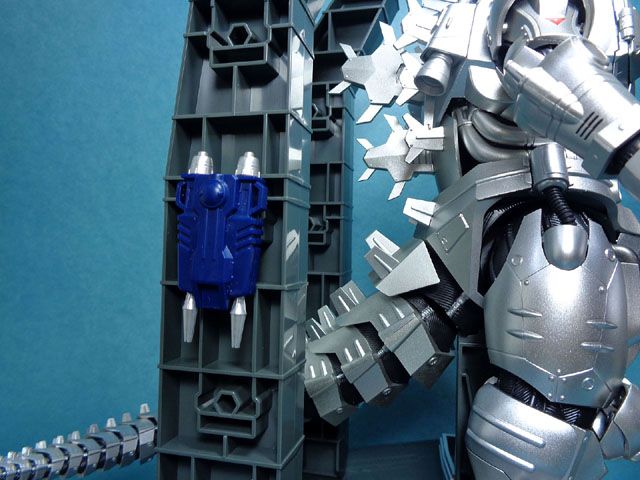
Be mindful that the connector ports for the Railguns tend to stay stuck onto the pylons. Make sure not to lose them.
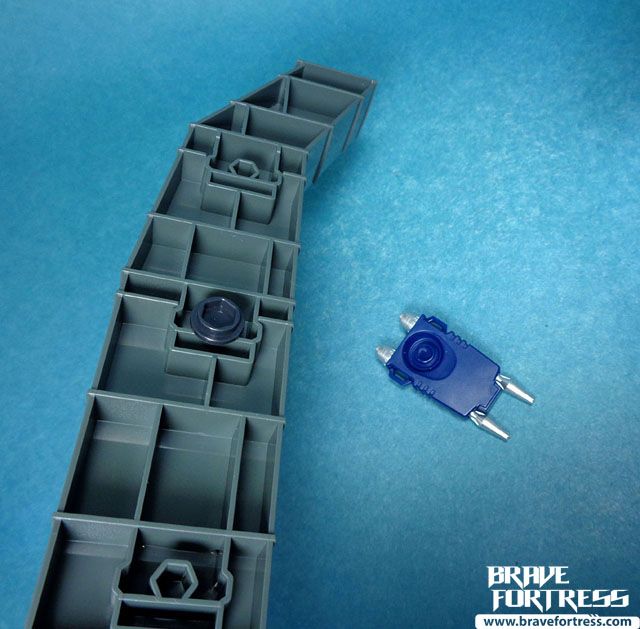
You can set the pylons in the slightly tilted sideways (requires removing the posts and resetting, DO NOT attempt to rotate the pylons outright) for some added visuals to sort of recreate Mechagodzilla’s launch sequence (it’s not how he launches in the movie though).
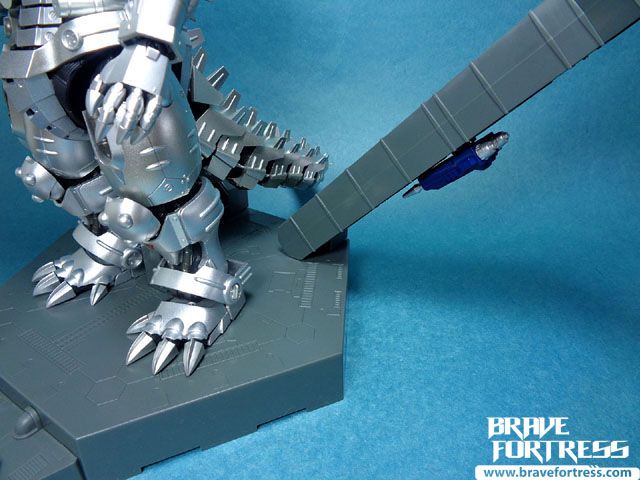
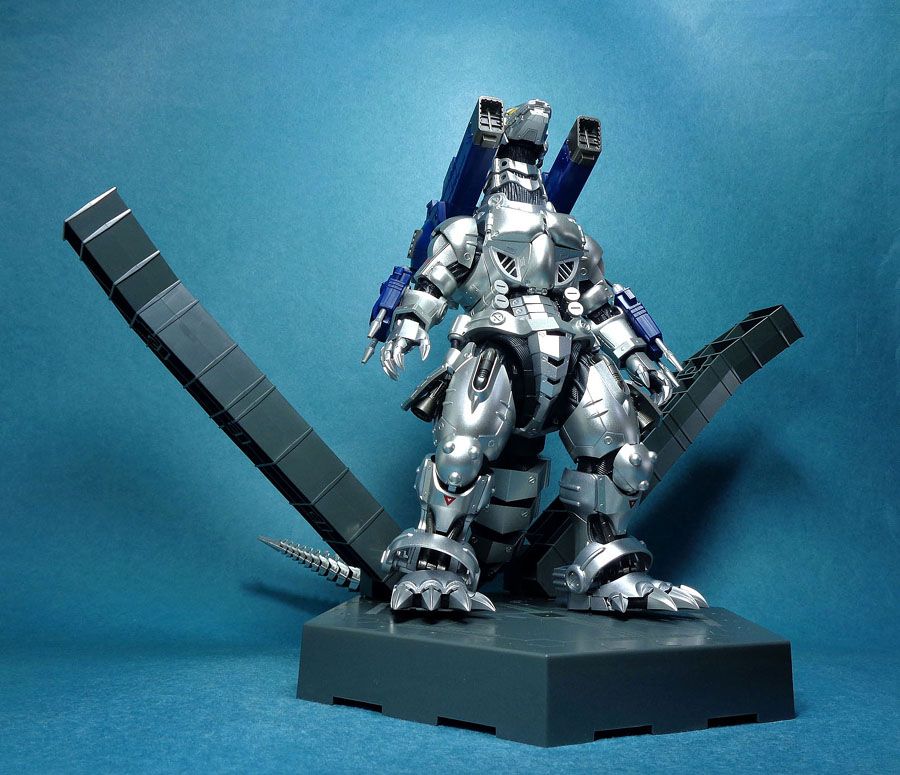
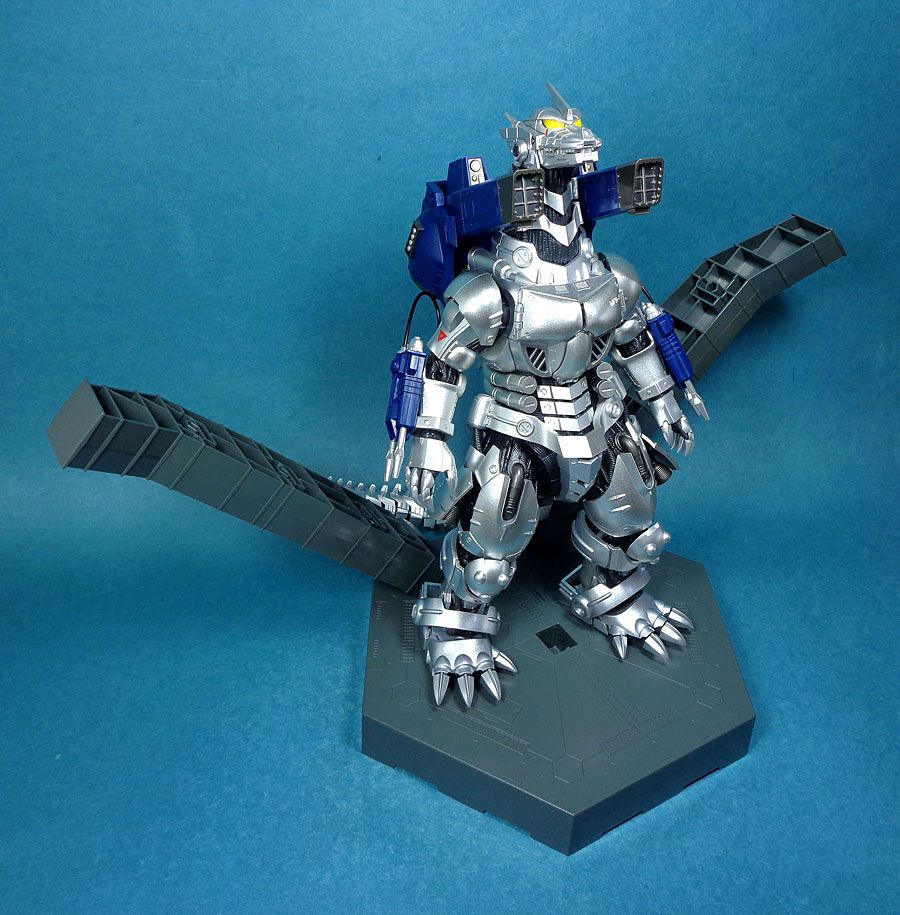
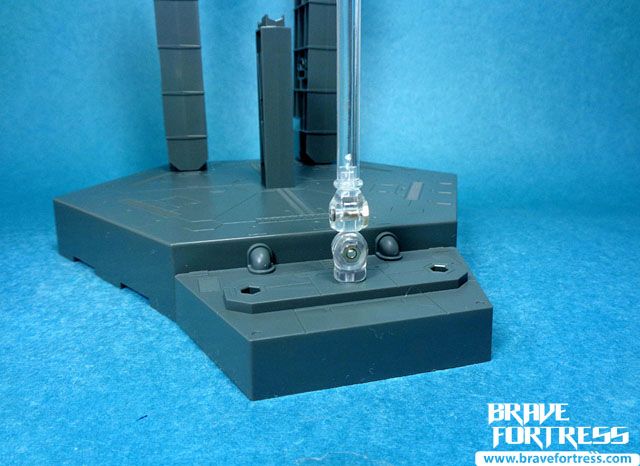
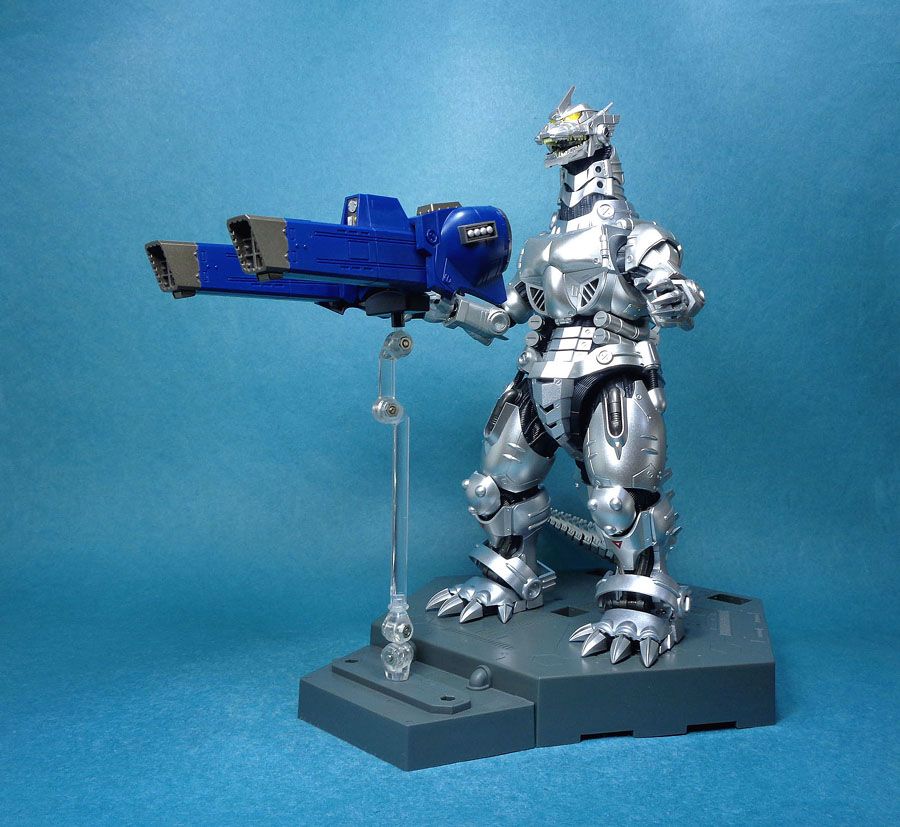
Lastly, with the display base, you can recreate the scene where Kiryu launches its Back Unit at Godzilla by mounting the Back Unit on this display arm.
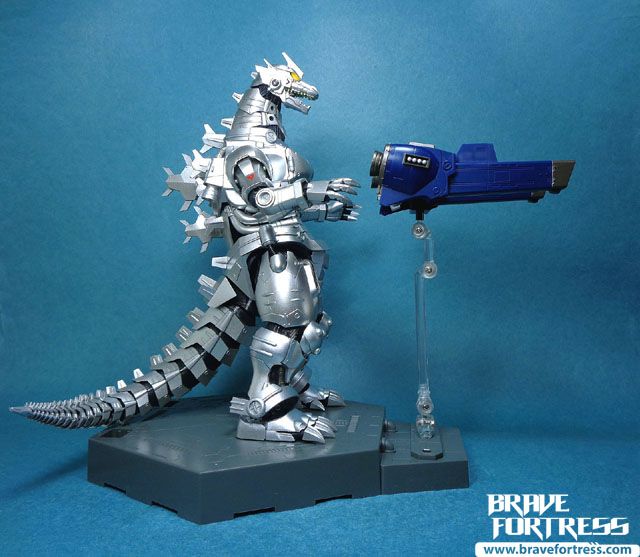
The Good
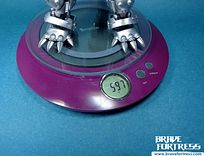
-Kiryu stands roughly 9.5 inches and weighs 546 Grams. The figure’s weight increases to 597 Grams when the Back Unit and Railguns are equipped.


-Diecast parts include:
— Sections of the torso
— Lower legs
— Feet
-Very bright light up gimmicks. A welcome addition as always.
-Multiple eye color options.
-Great sculpt details all over the figure.
-Damaged parts included. Nice!
-Ab crunch joint is present for this figure.
-Multi-segmented tail design, greatly improves the tail’s poseability.
-Impressive paint work. Considering there isn’t really much to work with as the toy is generally all just one color, the paint finish still manages to make it look really good. The detailed tampographs on the body of the figure also really stand out.
-Display base included! I’m glad this is still a thing. The more recent SOC releases didn’t have display bases included.
The Bad
-The Akane figure isn’t painted. It’s just black. Granted it is tiny and her uniform was dark grey and black, I wish they somehow executed it better.
-While the LEDs are great, I do kind of wish Bandai included some sort of sound gimmick as well, even if it’s only incorporated into the display base. We got the old Soul Spec Layzner almost a decade ago and that came with an electronic base, that was fun.
-The lack of ratchet joints in the elbows is a bit disappointing IMHO. At least the legs have ratchets.
-The hip hoses tend to limit leg articulation.
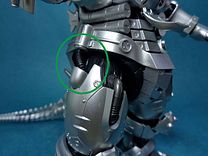
The Ugly
No QC issues thankfully.
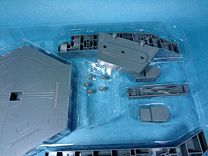
A heads up though, the batteries come PRE-INSTALLED!!! Be mindful of this if you plan to keep the item sealed. I wish Bandai just placed the batteries on a separate tray or something. I just tossed mine into the space for the display stand on the plastic tray when I was done to prevent them from leaking while inside the toy.
Overall, It’s pretty good. I appreciate the sheer amount of detail that went into making this figure. It does look like Kiryu stepped right out of the screen and the addition of LED gimmicks really make this thing pop. I think my only real gripe would probably be the hip hoses limiting the poseability of the figure’s legs.
Admittedly, I am not a big fan of Toku, I only got this figure to complete my SOC collection. I think most folks who generally collect only super robot based SOC figures probably skipped on this guy as well?
Another missed mark I think is that none of the S.H. Monsterarts Godzillas pair up to this SOC release in terms of scale? Which is a shame, since that would’ve been a good tie-in product for folks (like me) to get.
For more info on this particular version of Mechagodzilla go here:
https://wikizilla.org/wiki/Kiryu#History
Funfact: Kiryu is actually the third version of Mechagodzilla, with the original Showa Era Mechagodzilla being created by evil aliens in 1974’s “Godzilla vs. Mechagodzilla”, followed by its Heisei Era predecessor the Super Mechagodzilla/ Mechagodzilla II in 1993’s “Godzilla vs. Mechagodzilla 2”.
Gold

